The instrument is finished! After a few months of hard work, I am happy to say the sonAqua has turned out well and is pretty fun to play. Here’s a video of my performance:
The inspiration for this instrument derives from the gap between the physical and digital realms of computer music performance. The sonAqua is an attempt to bridge the physical and digital aspects of electronic instrumentation by utilizing the physical medium of water as both the sound source and the control mechanism of playback. The details of the instrument development can be found in the previous blog posts.
Looking back on the instrument’s development, there are several things that could have been improved:
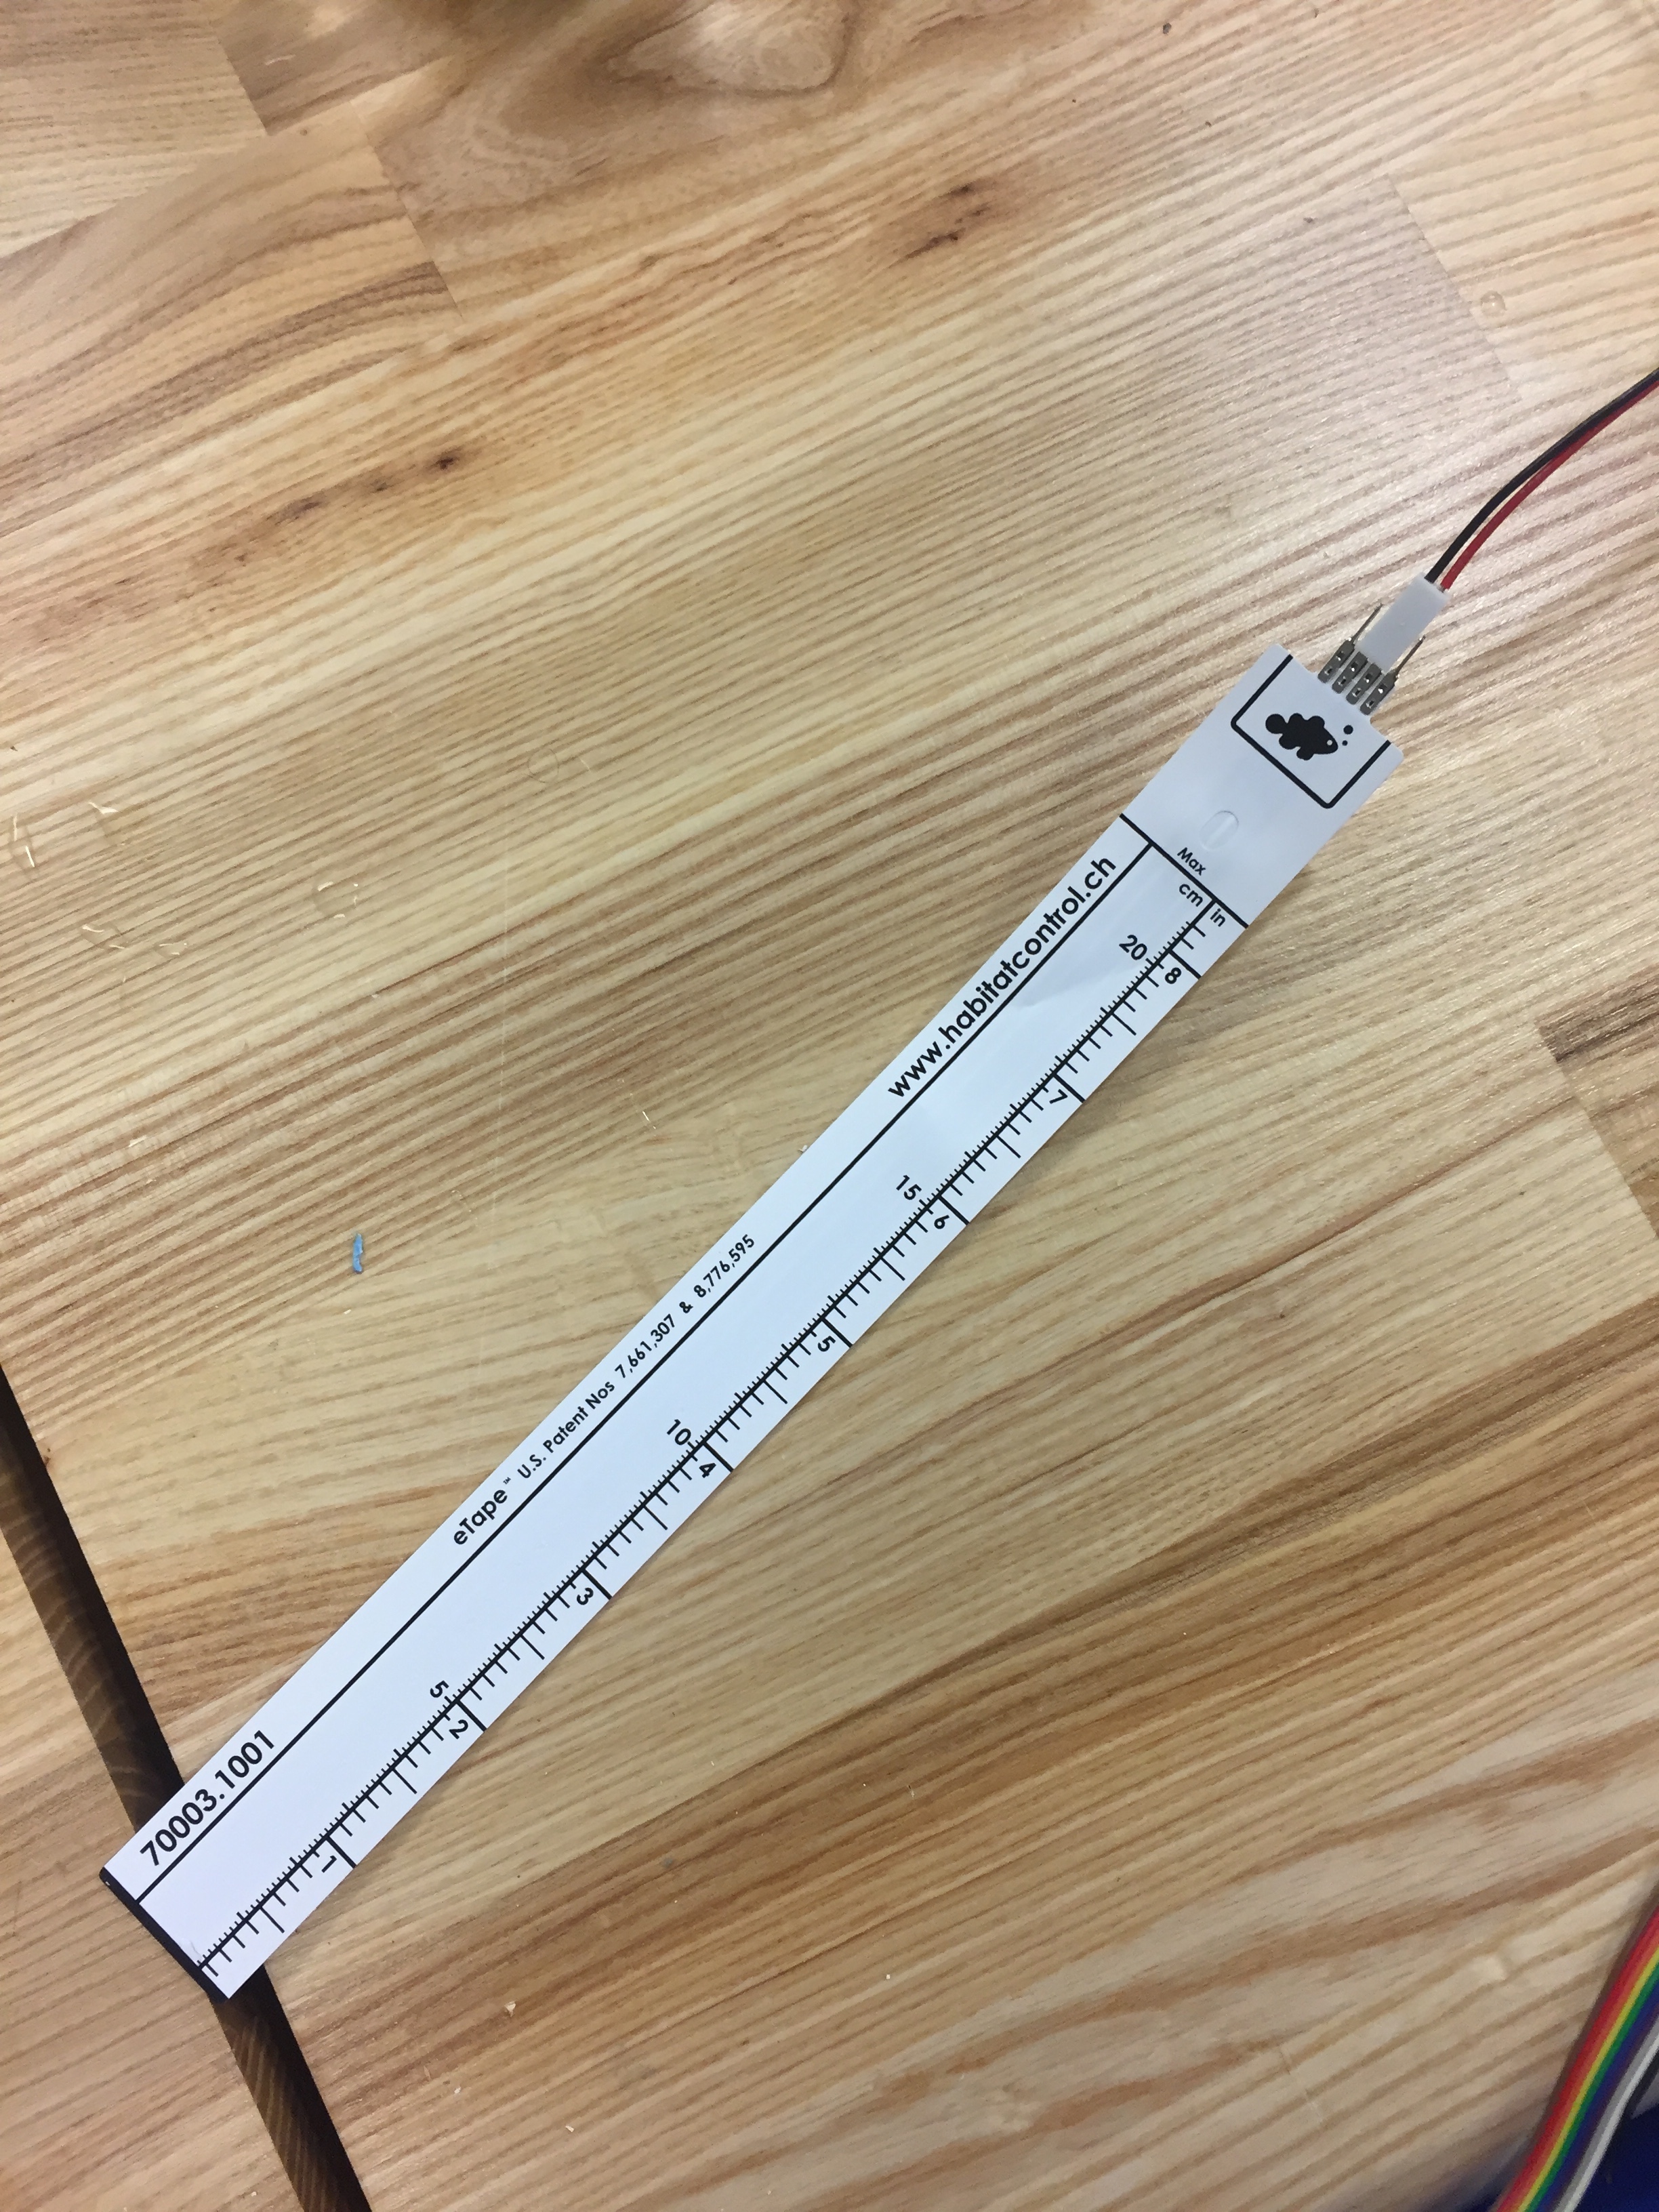
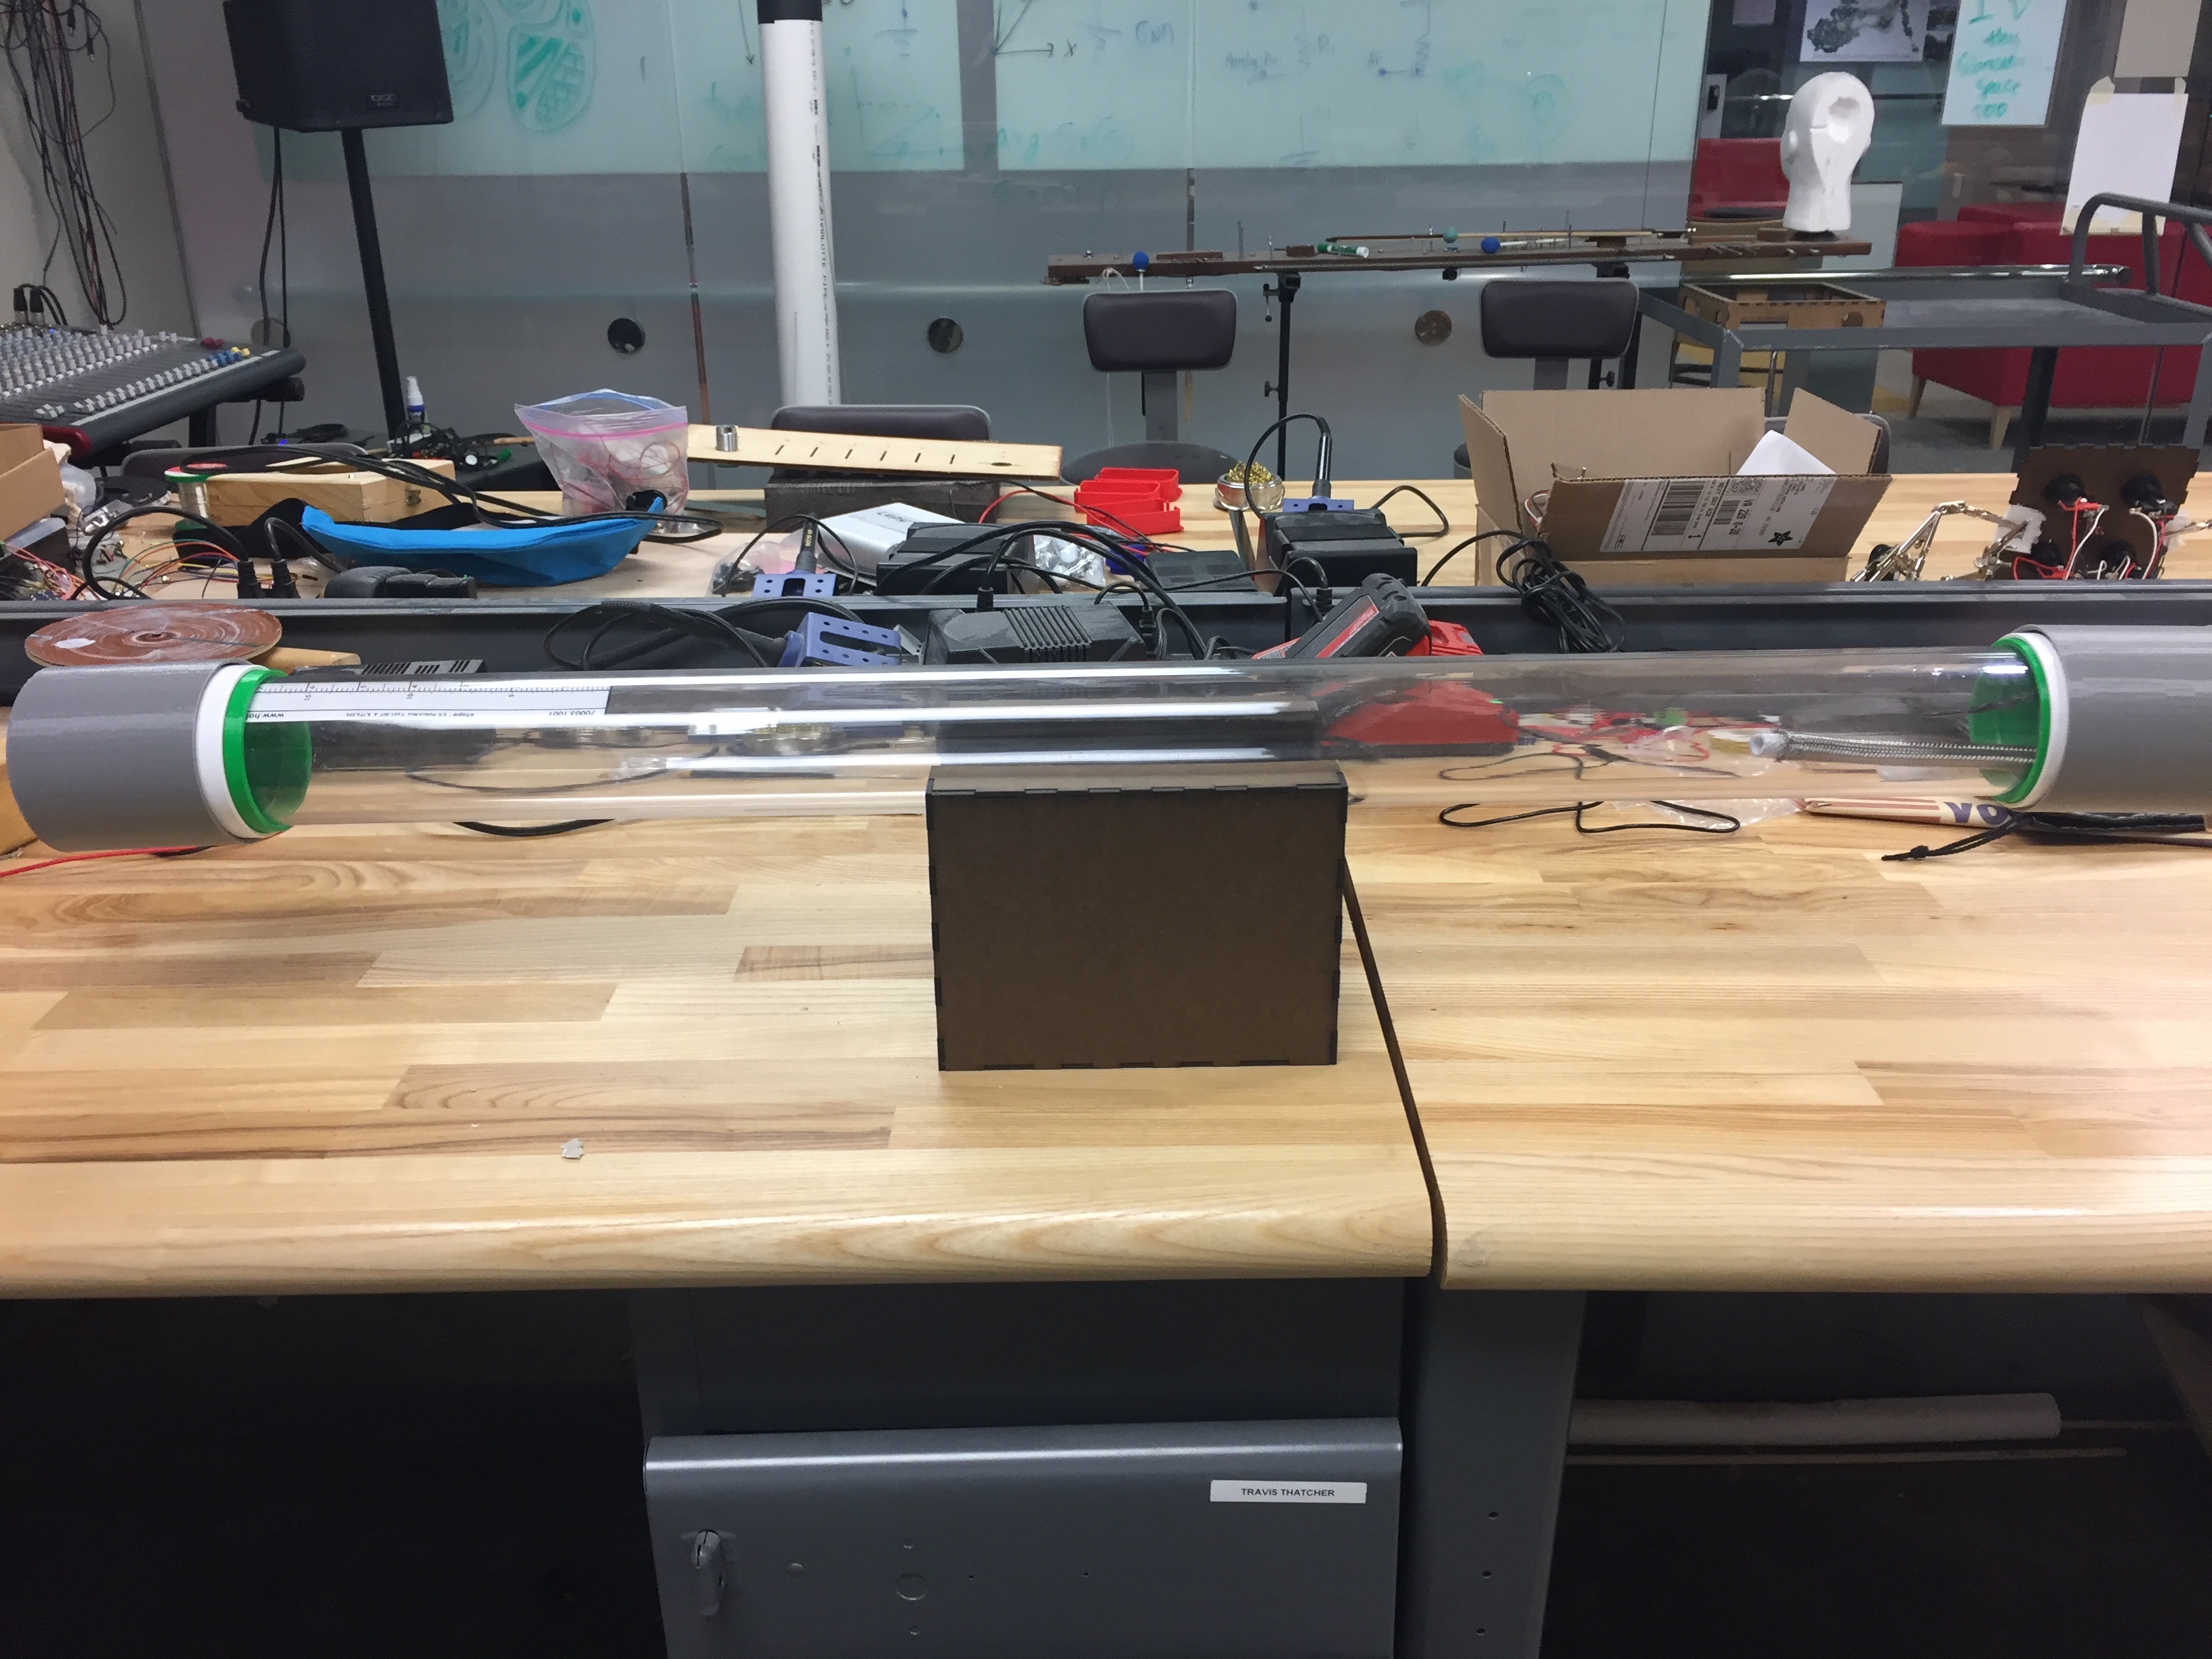
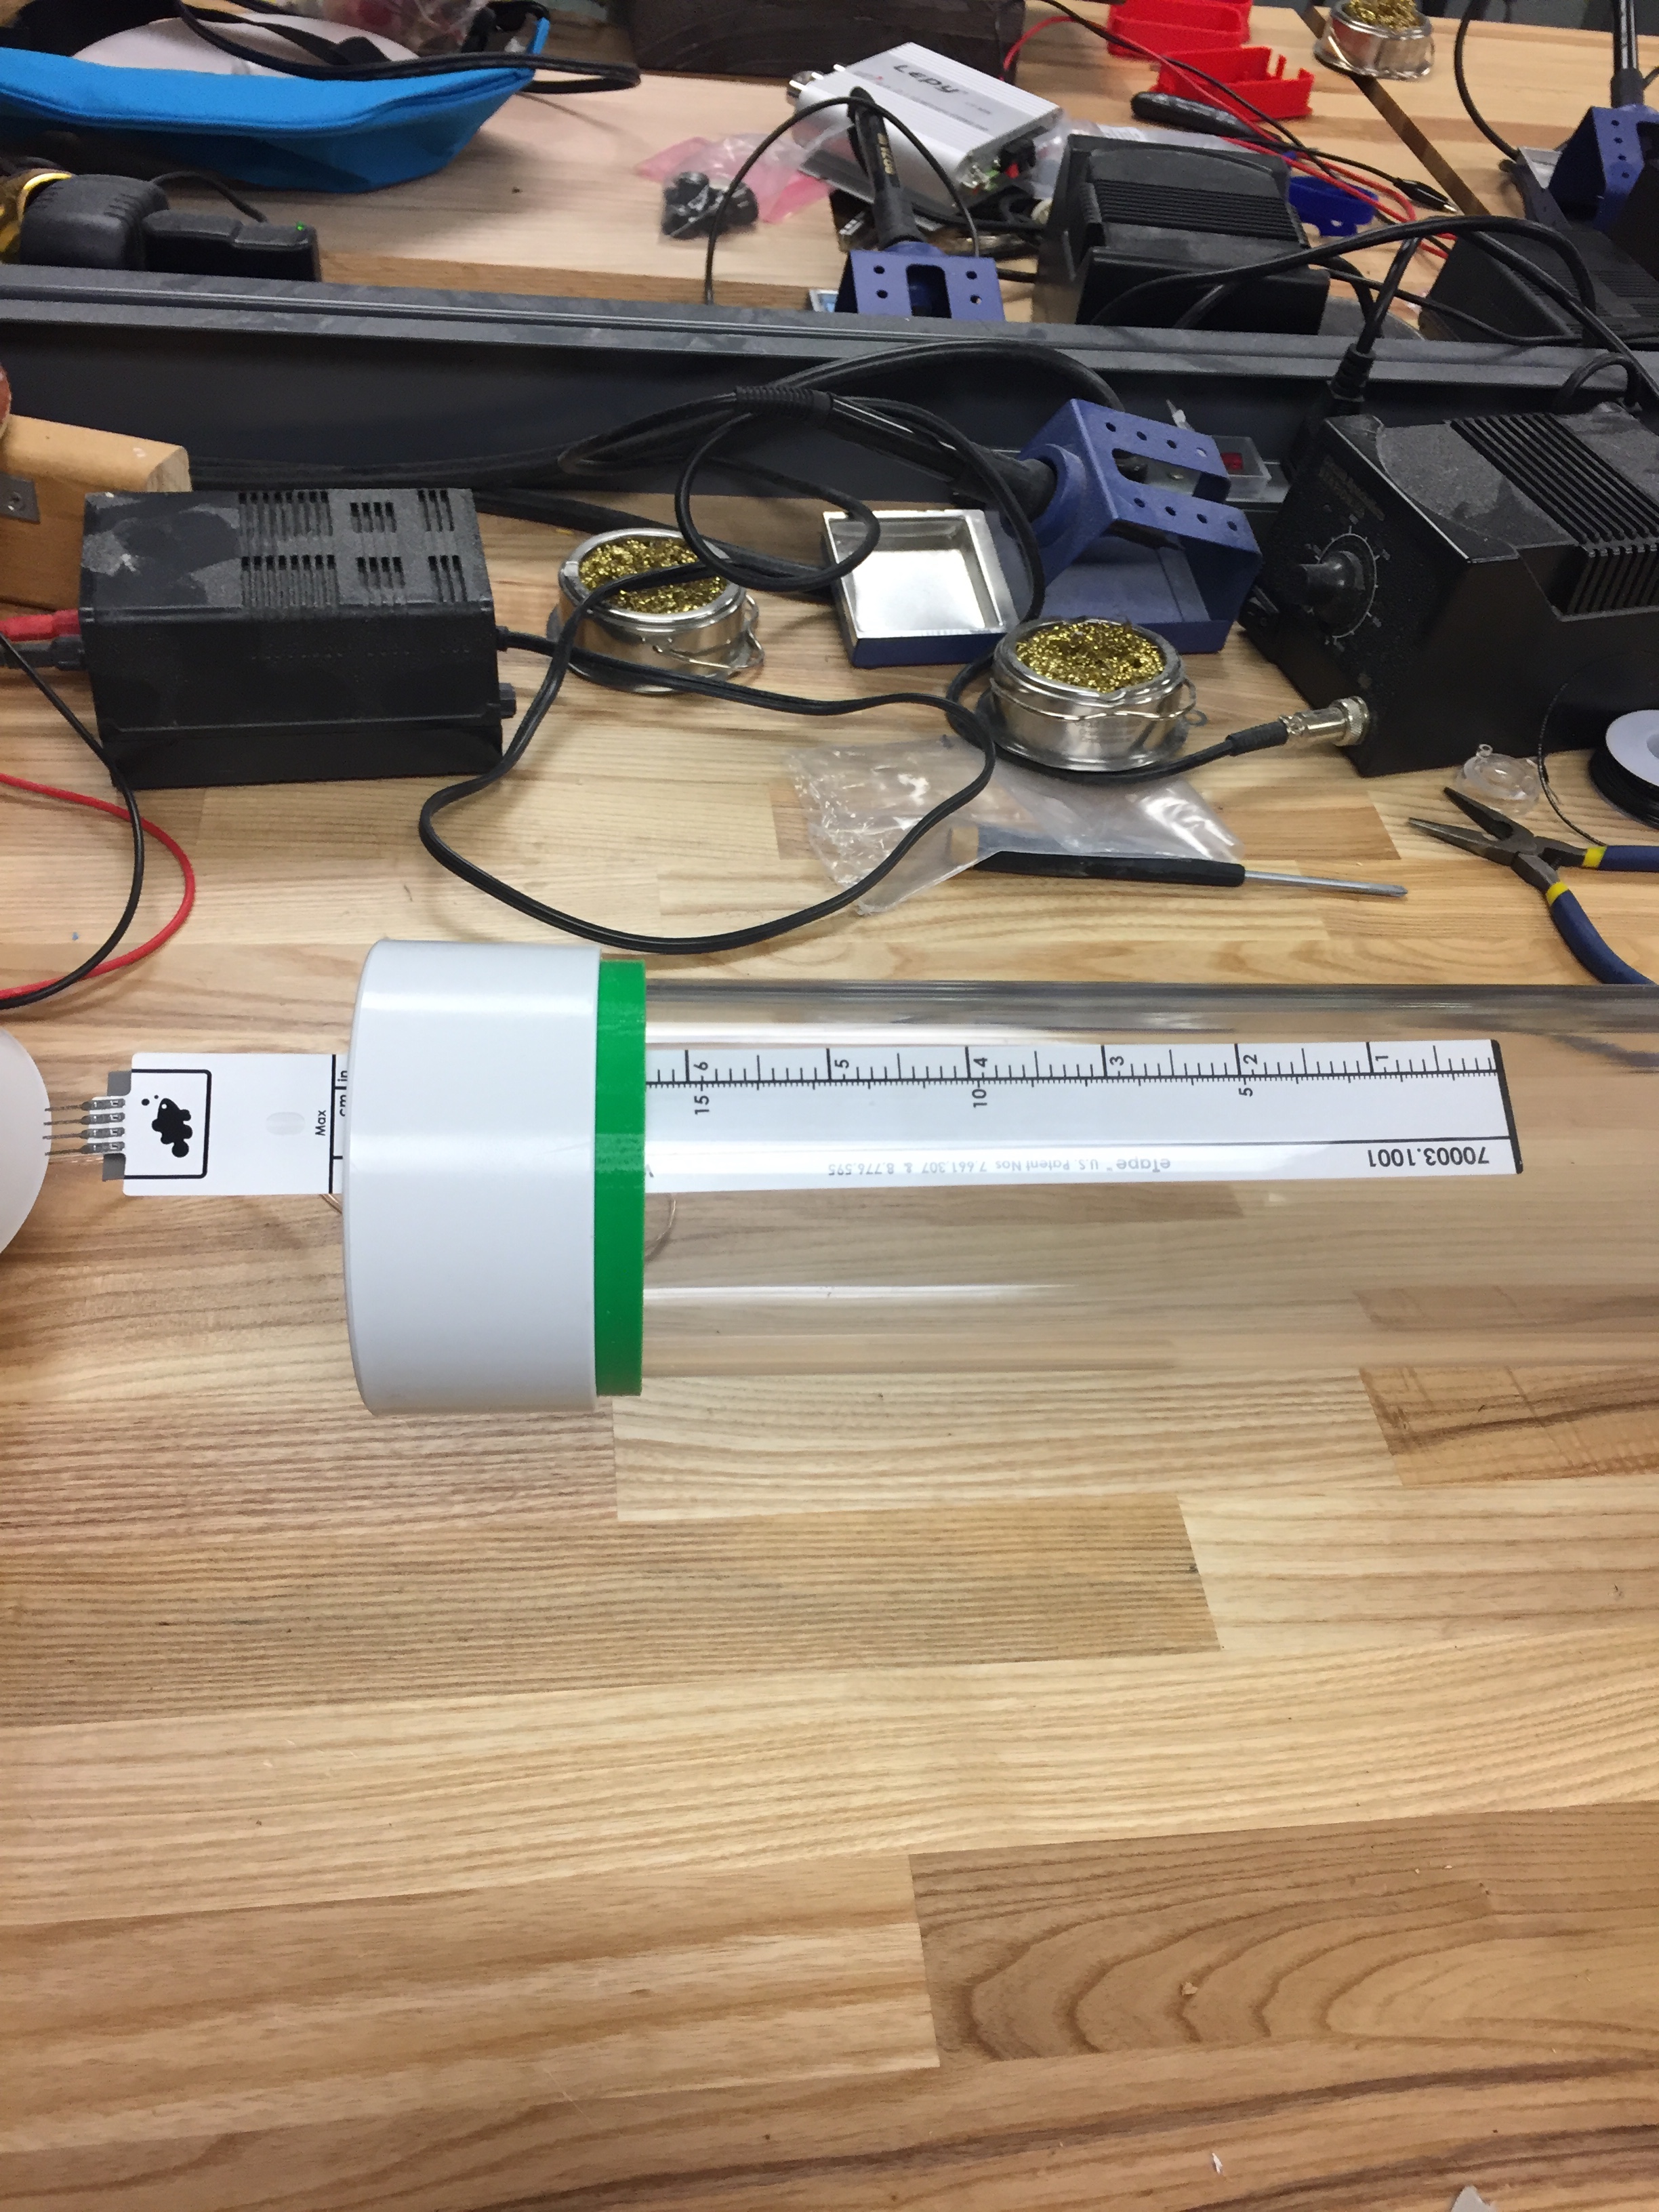
Primarily, the use of the water level sensor added unnecessary stress and cost to the project. Initially, I thought the water level sensor would be perfect for my idea. After purchasing the $40 sensor, I realized that it must remain perfectly straight in order to provide consistent data. In a horizontal tube of water, this proved to be an issue because the 8-inch sensor sags downward. In order to compensate for this issue, I glued the sensor to a metal brace and firmly secured it to the cap so it wouldn’t budge. Even with the brace, the moving water in the tube causes the unsupported part of the sensor to bend, which can result in spikes in data which can be unpredictable. It still sounds interesting, but is difficult to control. In another iteration of this instrument, I believe similar results could be found using accelerometer or similar sensors.
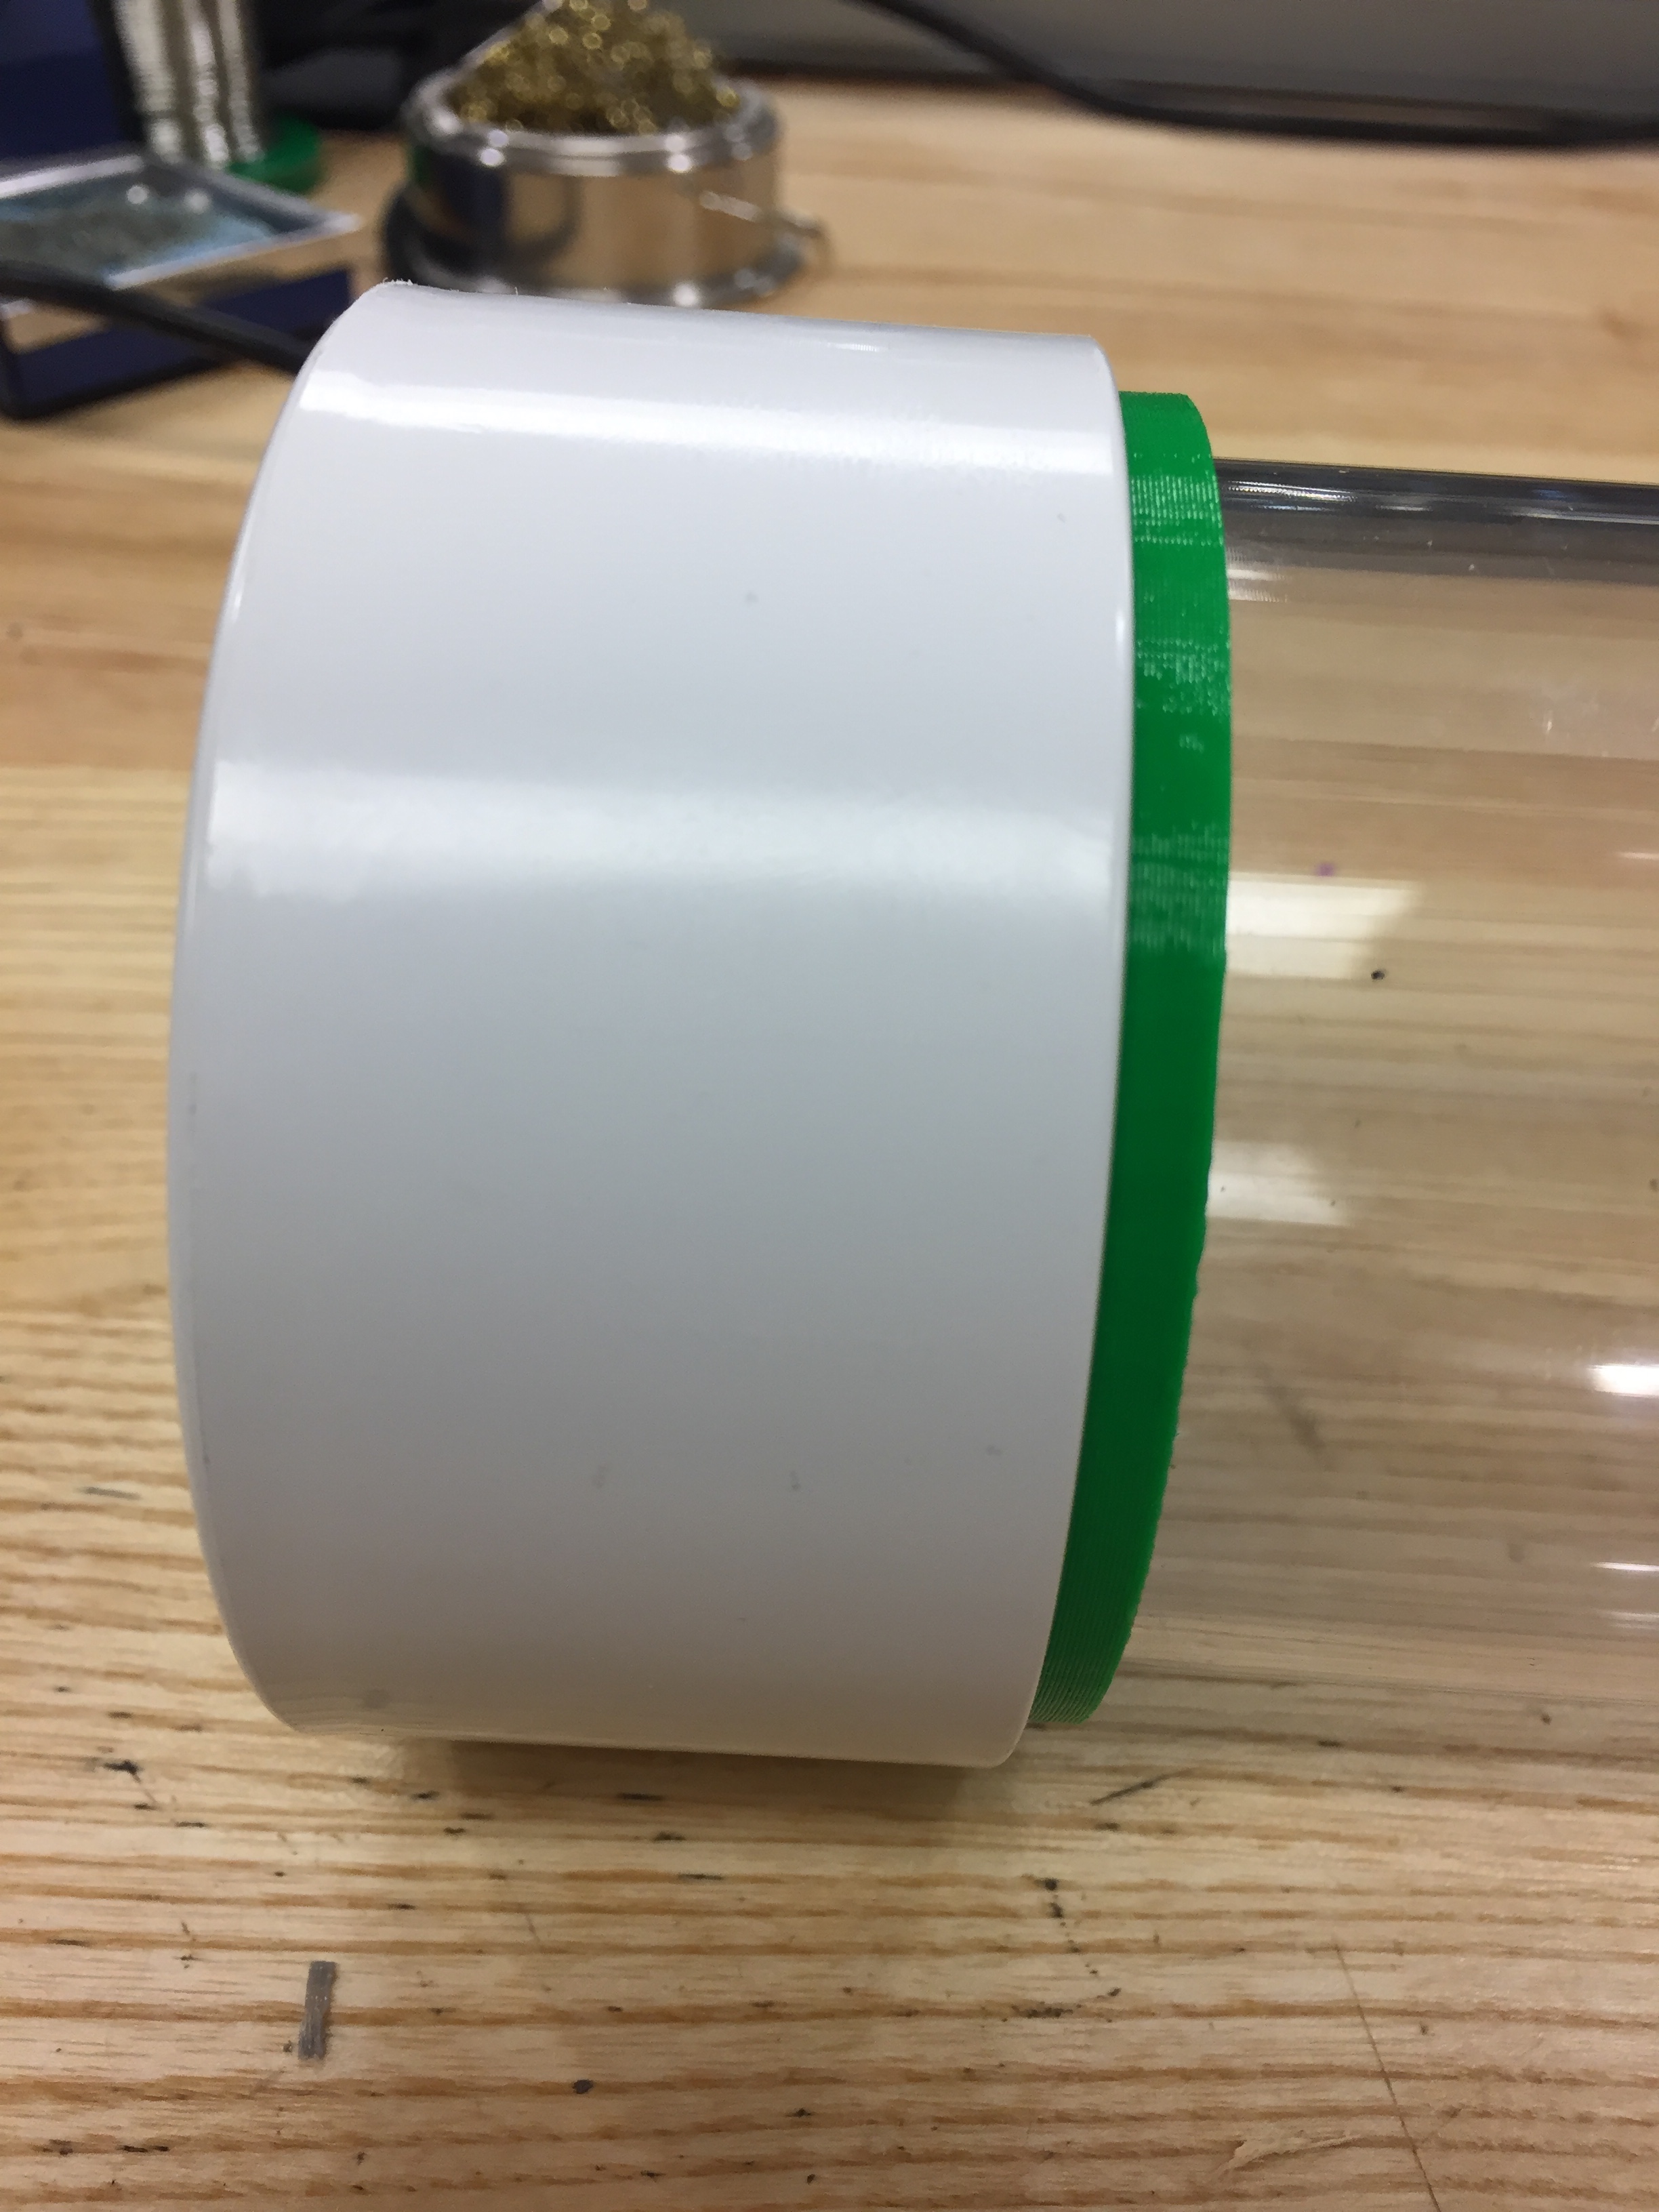
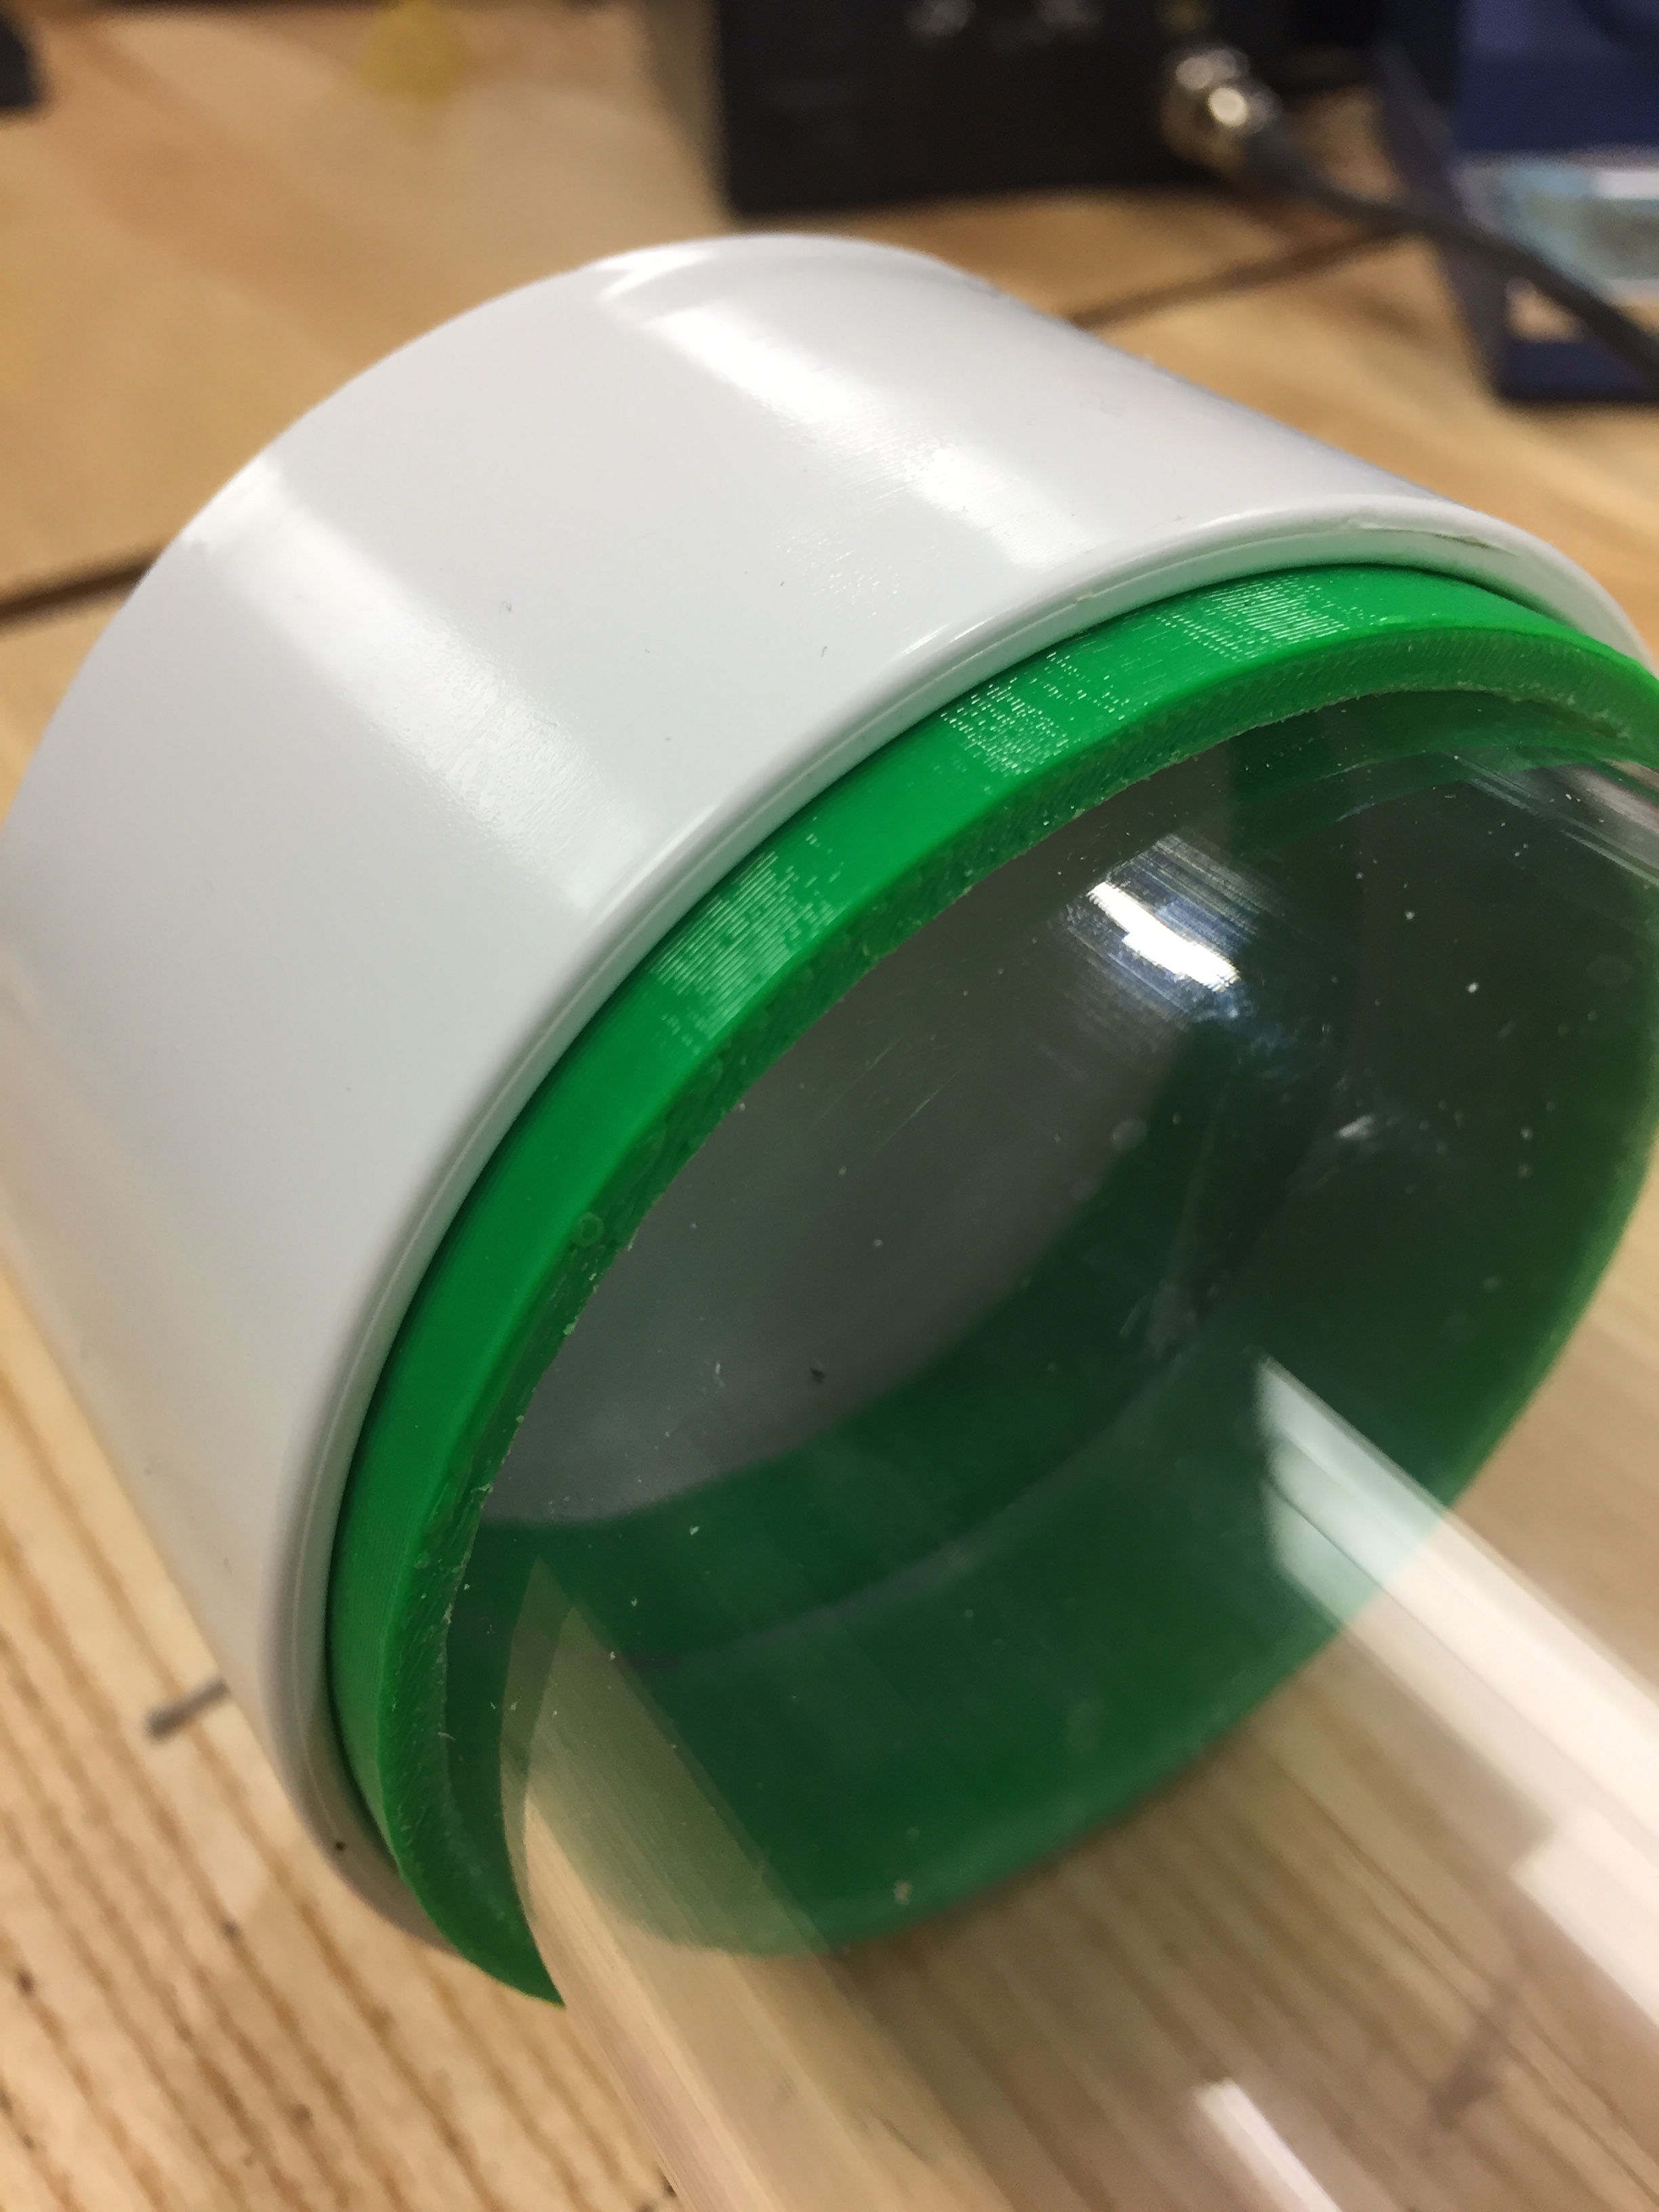
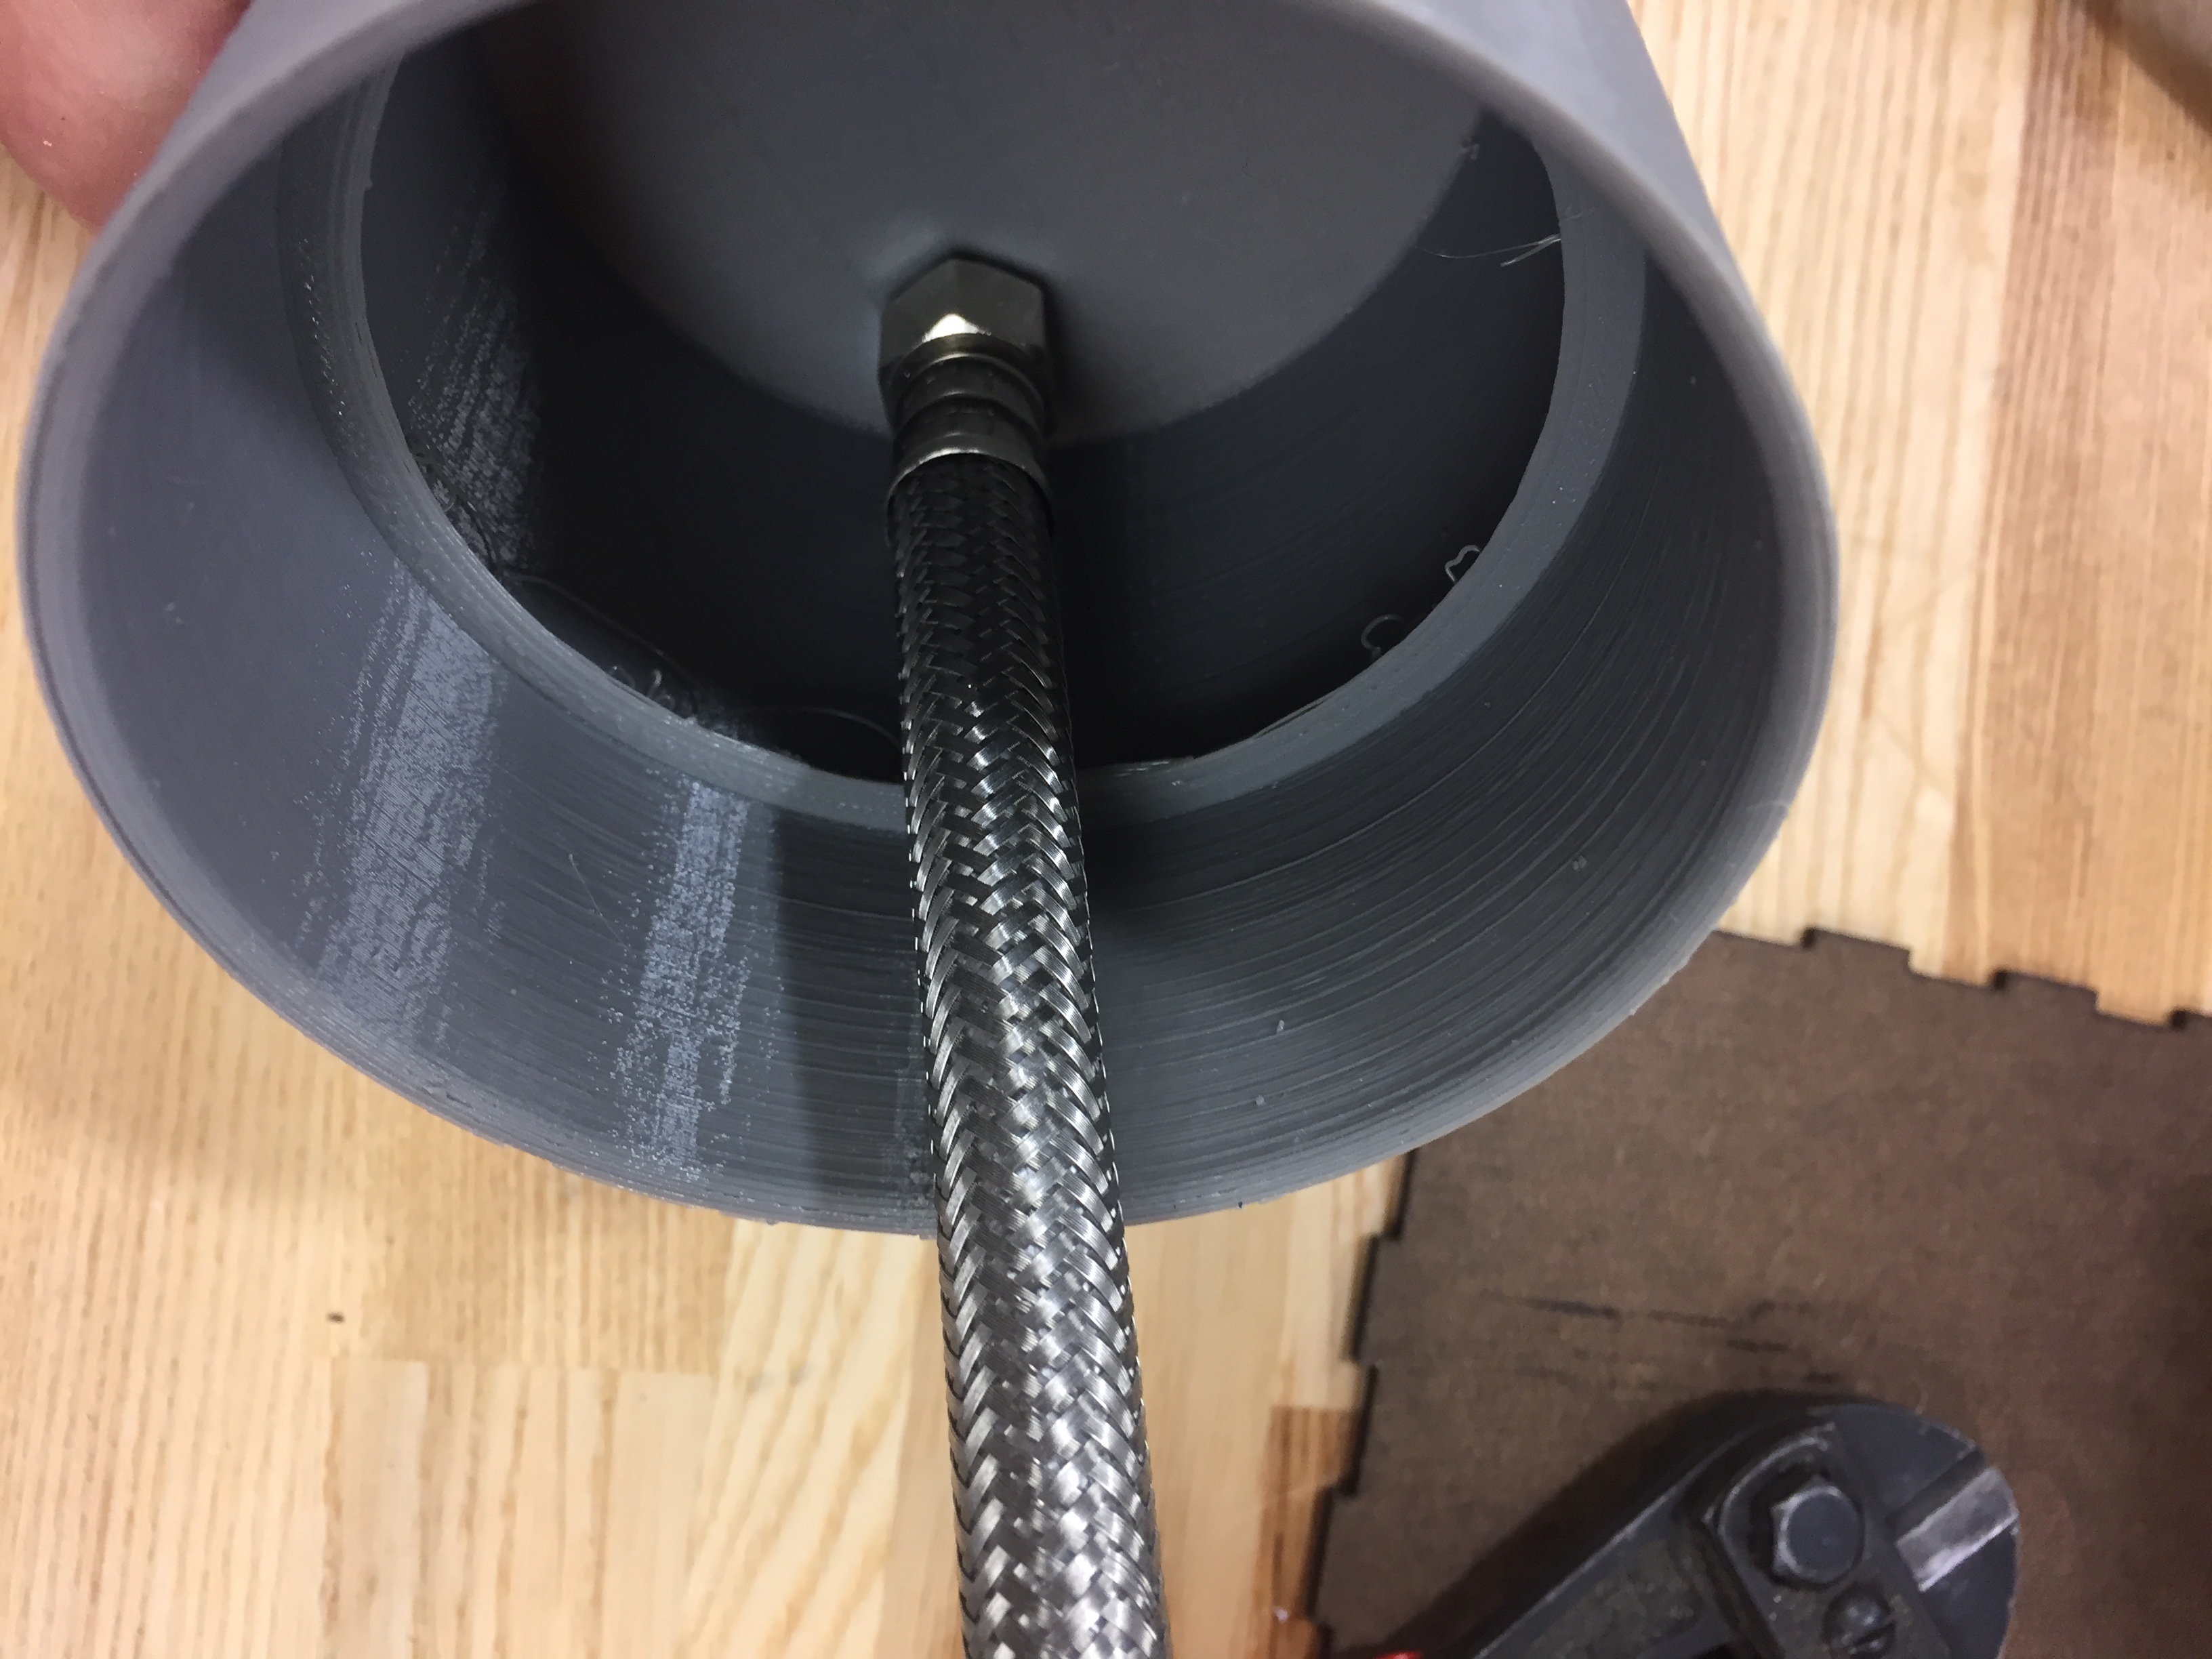
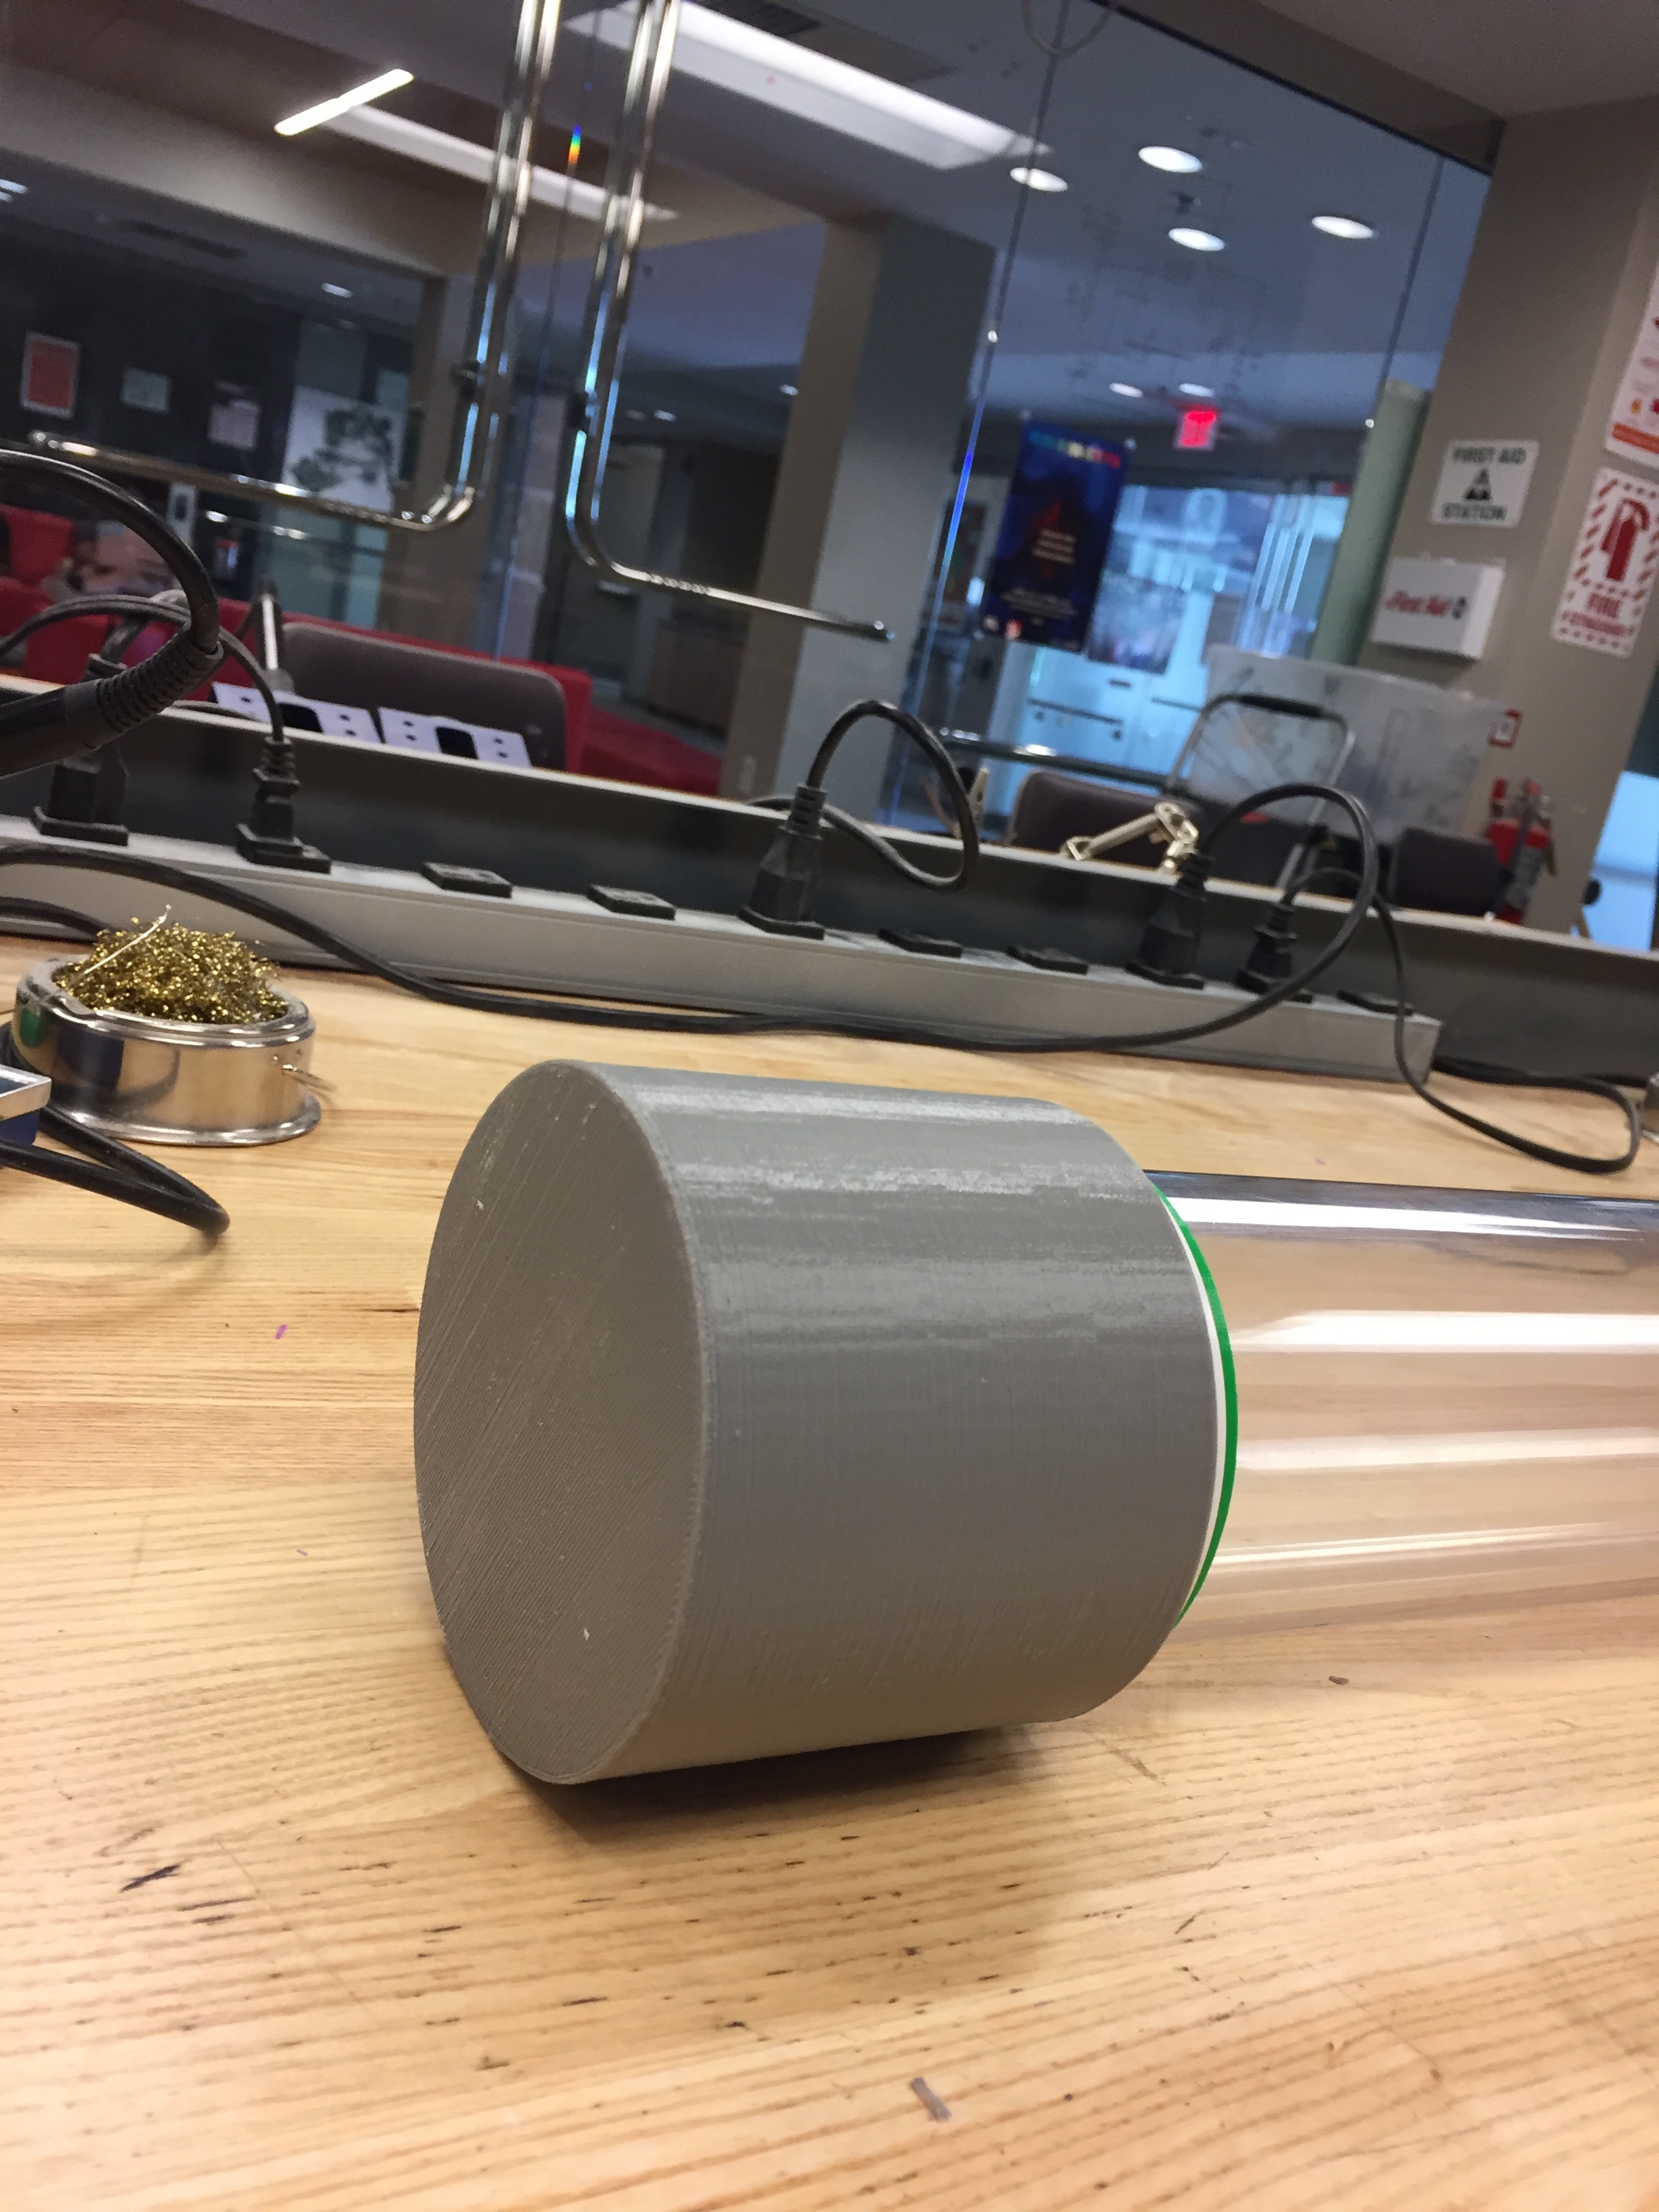
Another major issue with the instrument is waterproofing. Water and electronics don’t mix incredibly well, so I devoted a significant amount of effort into ensuring that water would not leak from the main chamber into the cap housing the electronics. After 8 different attempts at sealing the tube with hot glue, tape, silicone aquarium sealant, and plumber’s silicone sealing wrap, the instrument still leaks. I believe the issue comes from between the 3d-printed buffers and the PVC cap, but since the outside of the instrument is permanently sealed there is no way to remedy this situation. This problem arises from mislabeled PVC caps on Amazon, marketed as 3 inches in diameter when in reality they were 3.25 inches. In the future, I would find better caps with threads in order to screw the cap on and create a watertight seal rather than trying to create a seal using bonding materials.
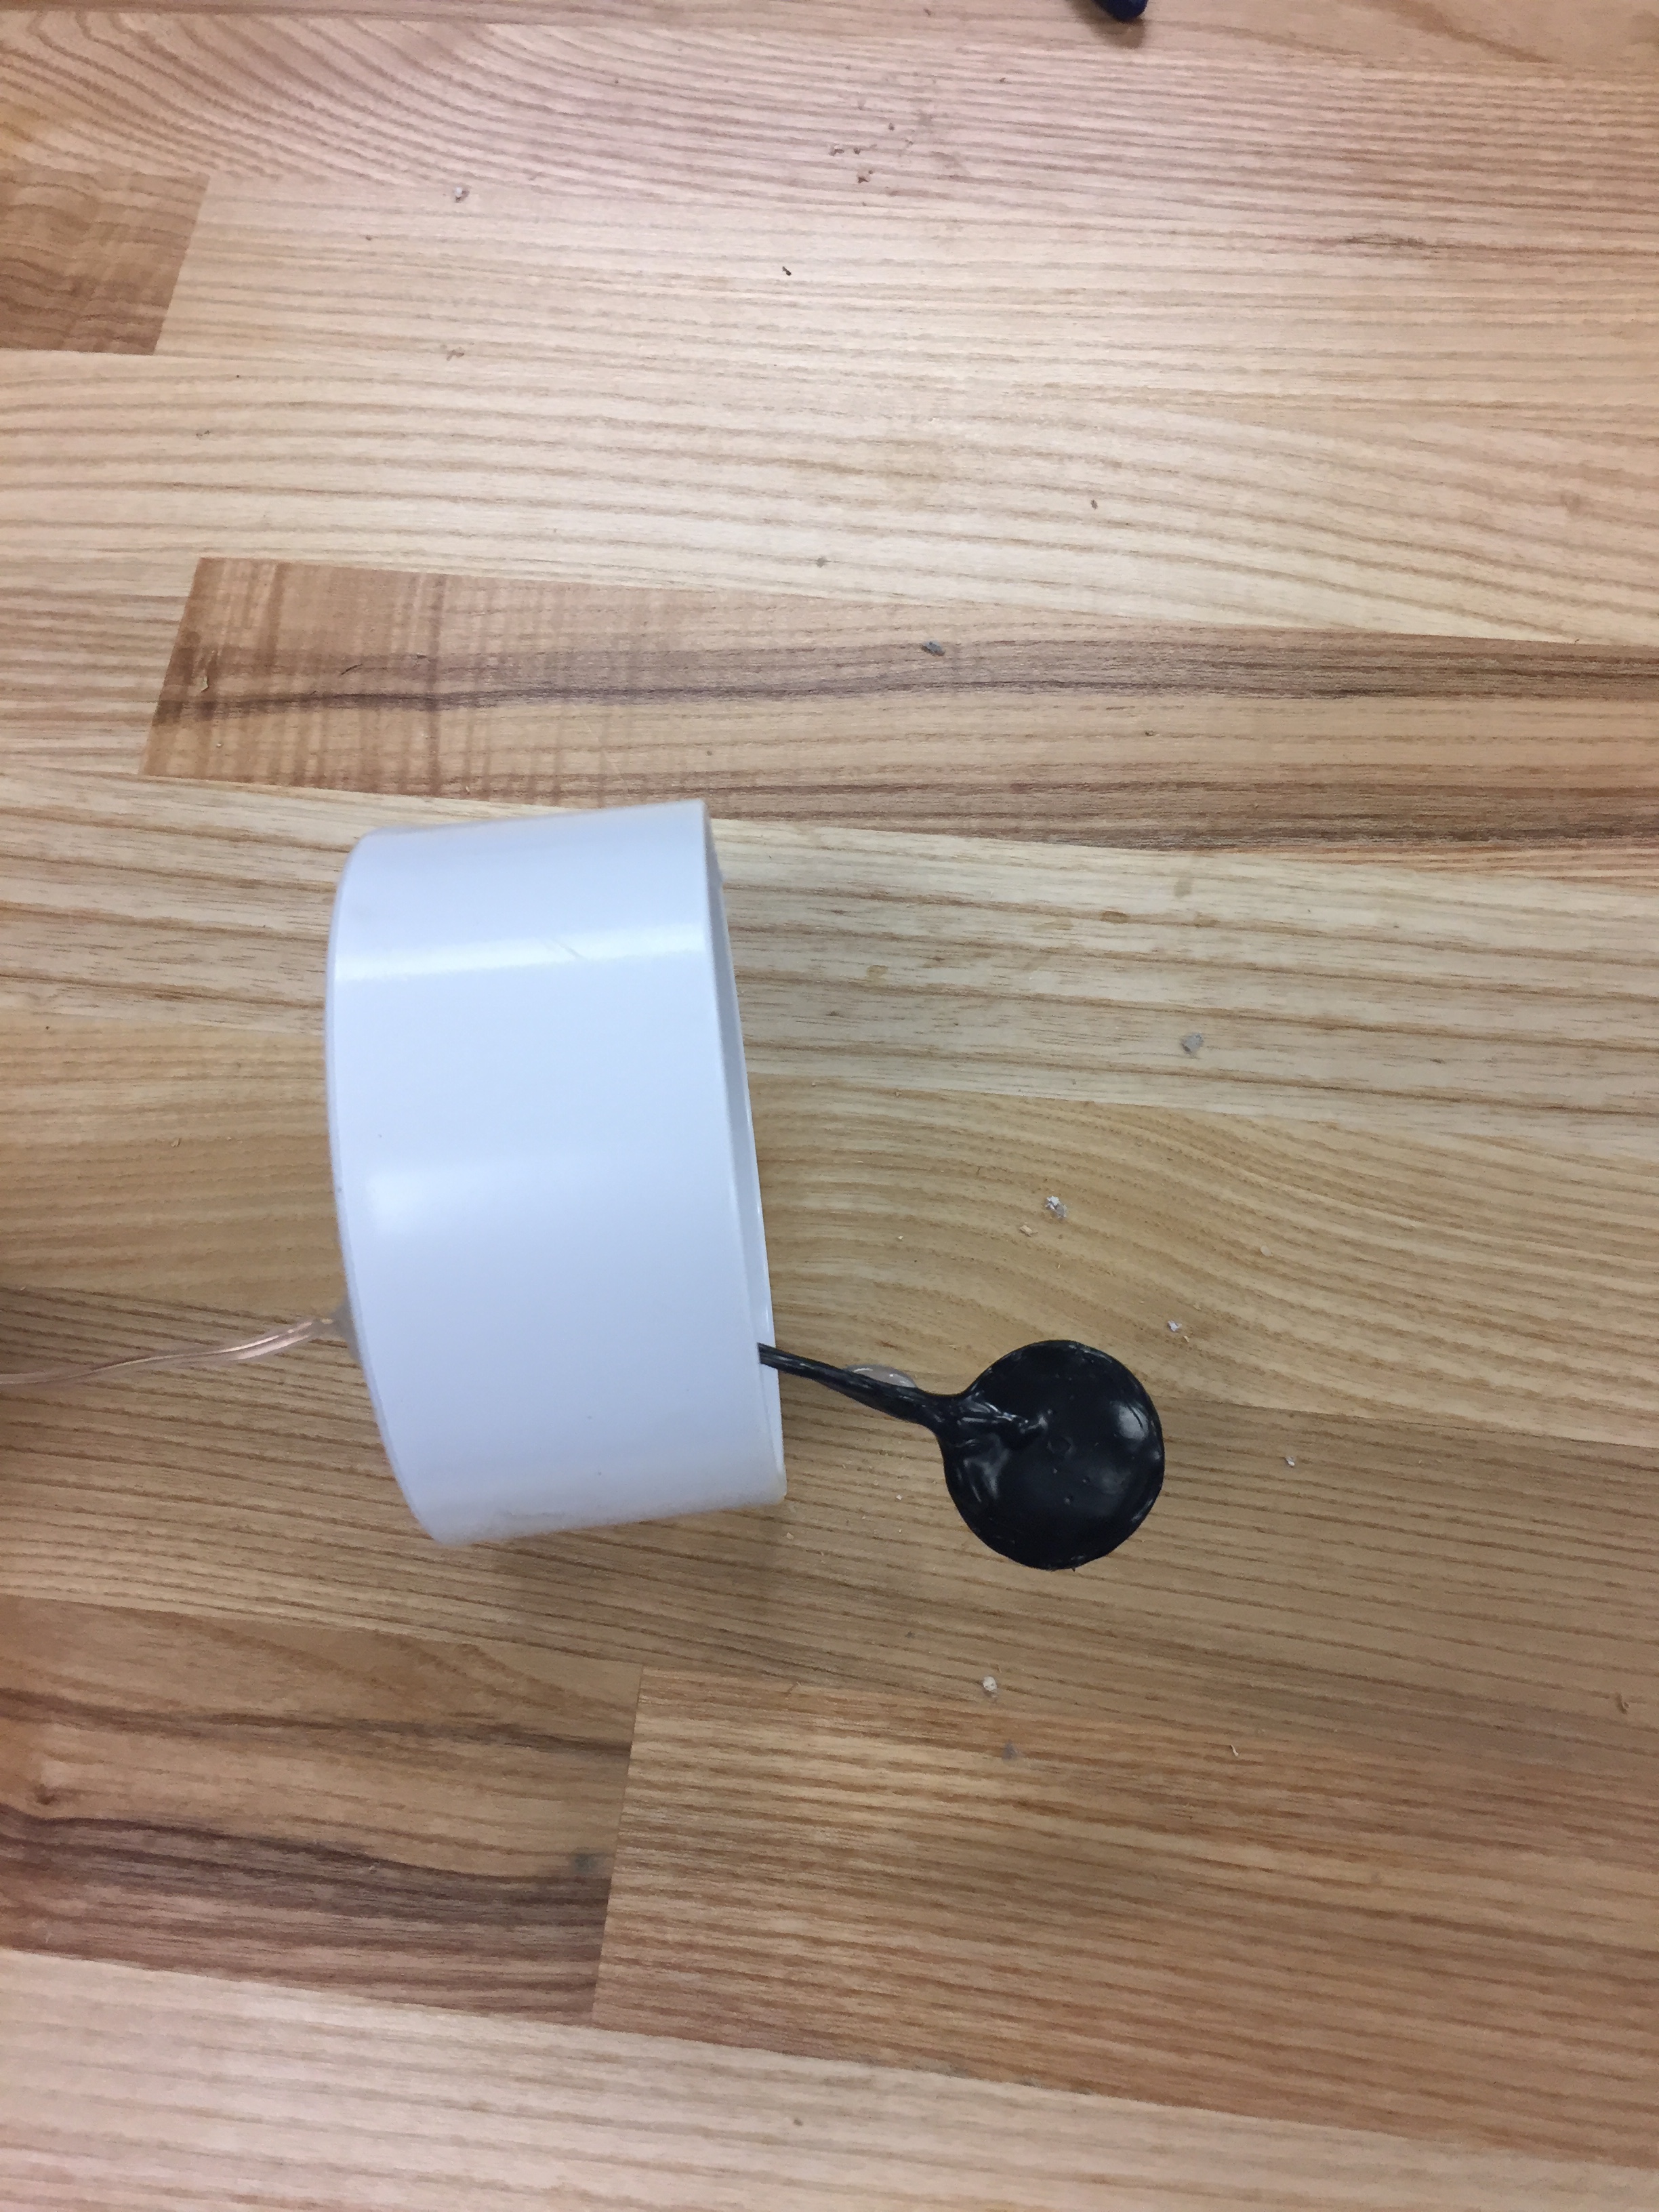
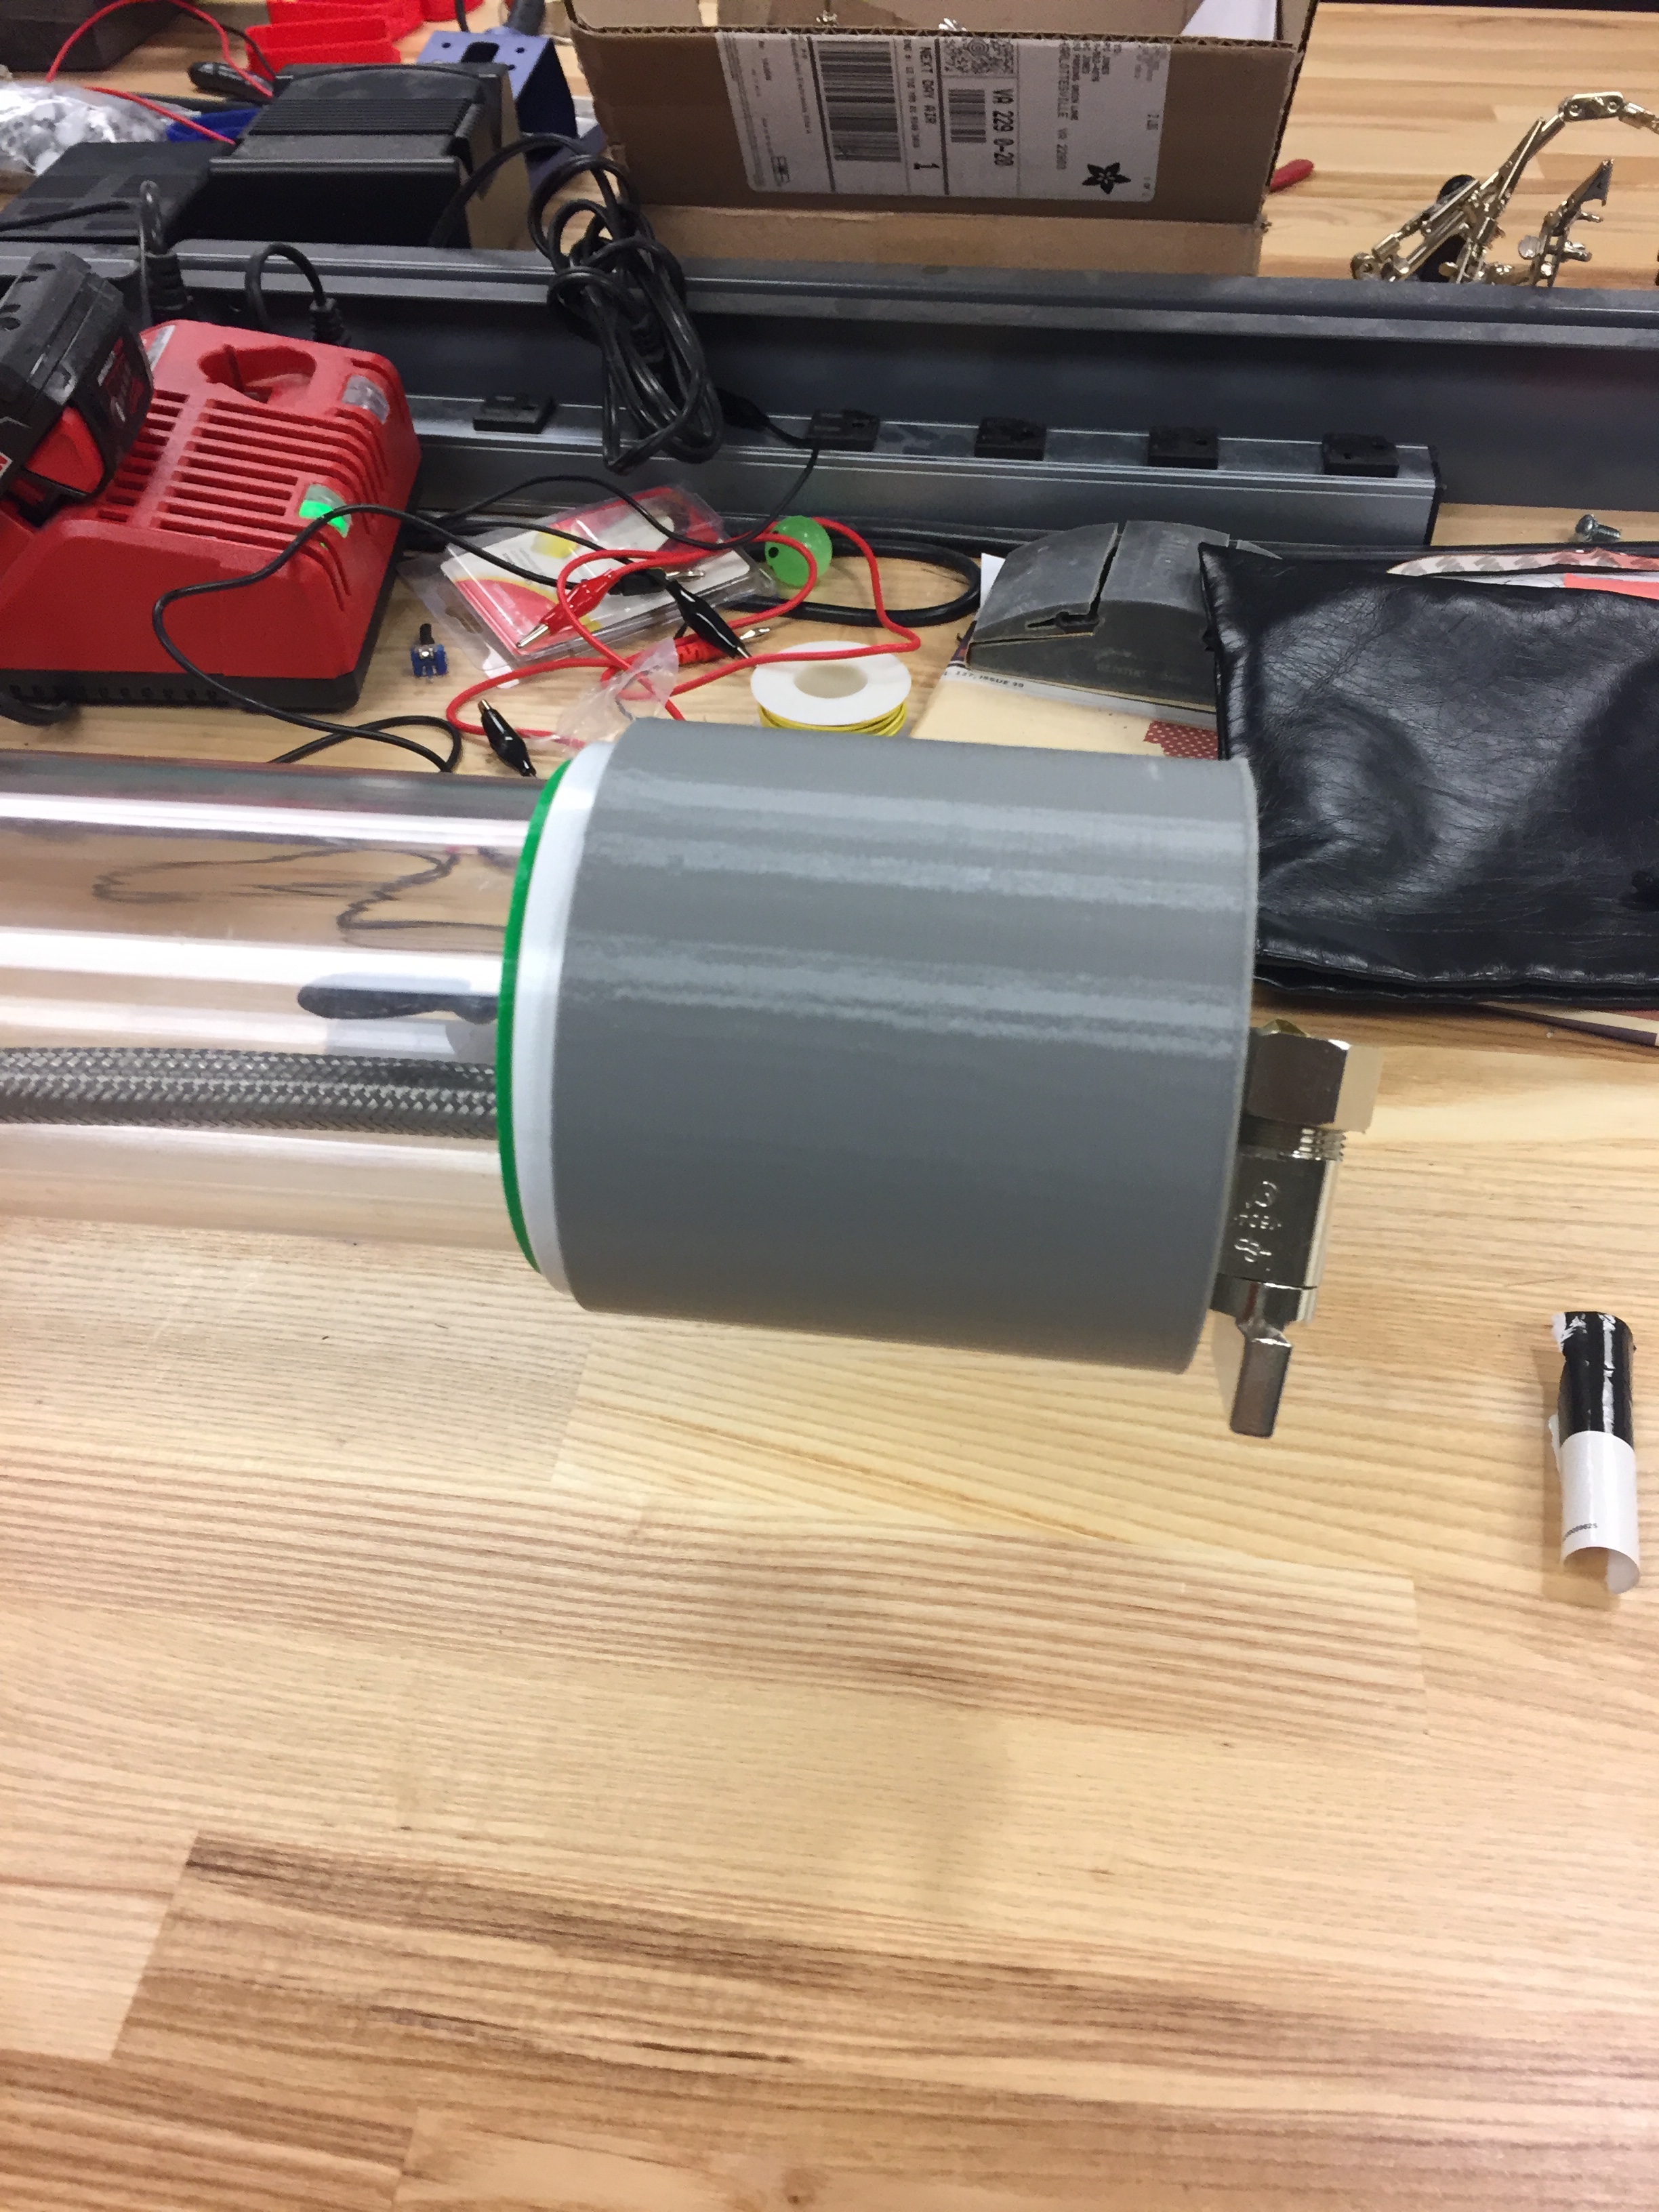
Another big issue is draining the tube. I designed and implemented a valve system which used a short hose and a valve to allow water to drain around the electronics and back into the tube. Unfortunately, the way the drain is implemented doesn’t allow air flow and results in what can generously be called a trickle. Draining and filling the sonAqua takes several minutes and spills everywhere which is incredibly annoying and I would definitely like to improve this aspect in future builds. This could possibly be remedied by adding an air flow hole or using a larger valve.
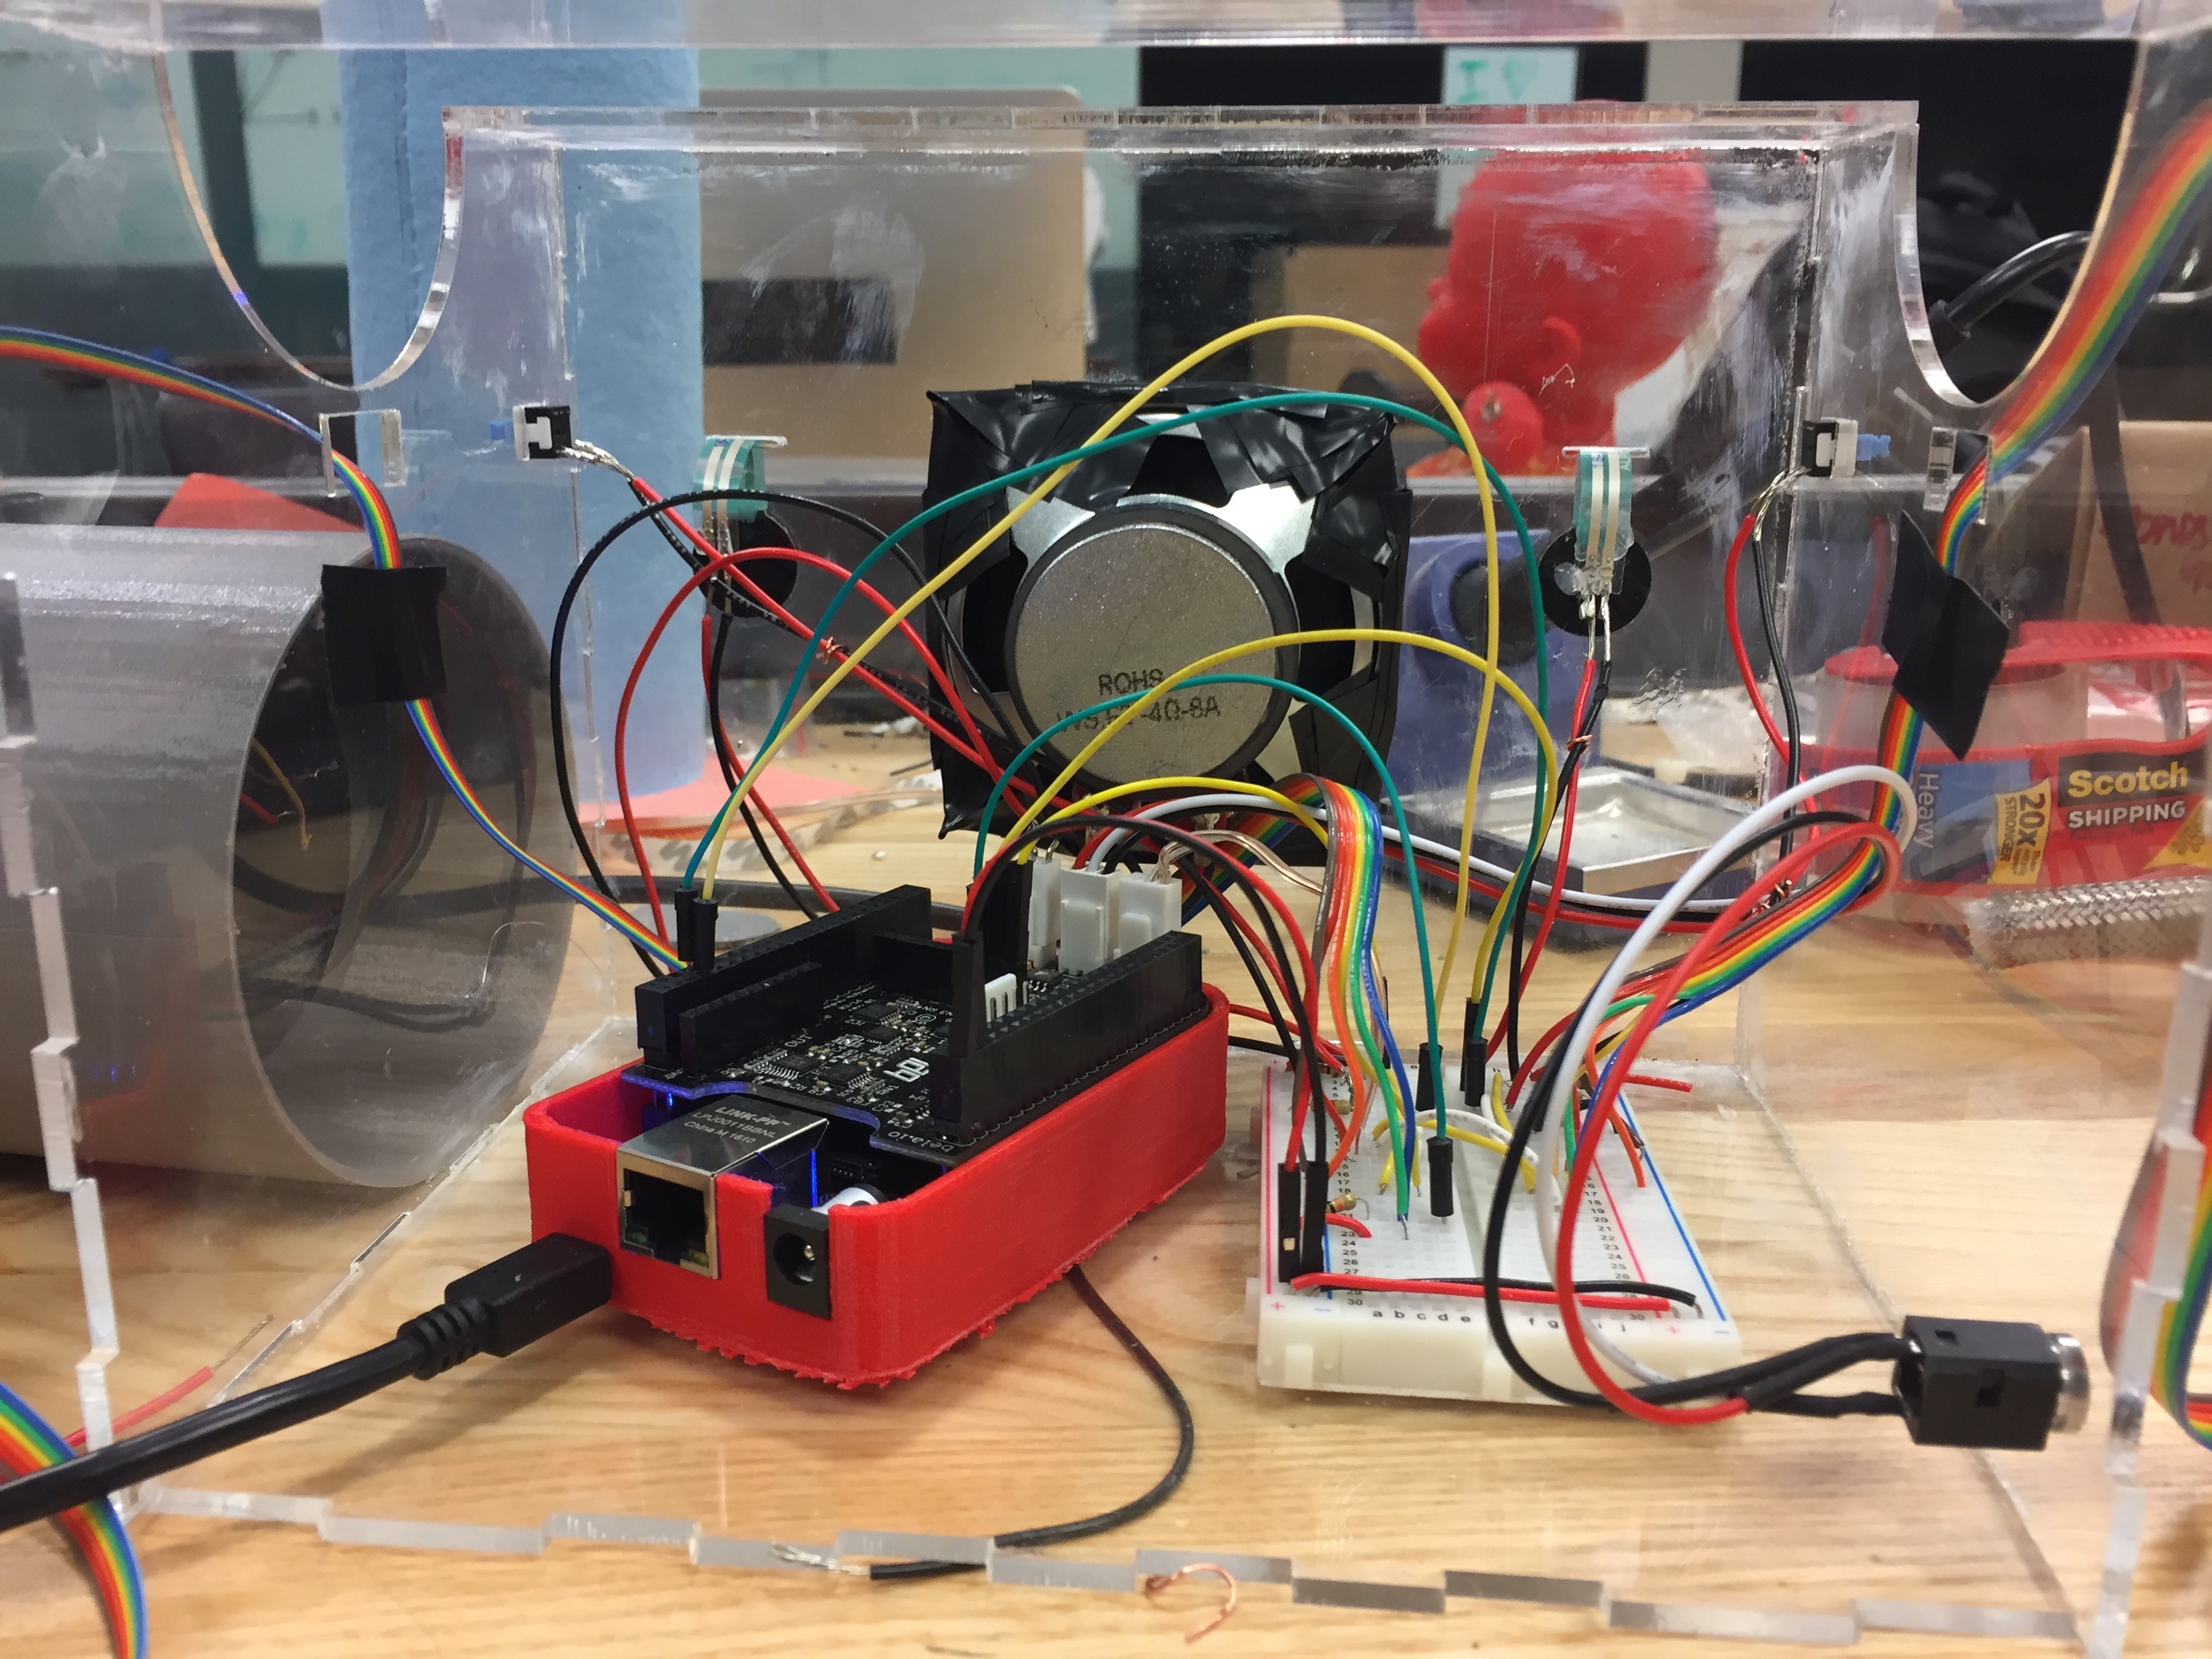
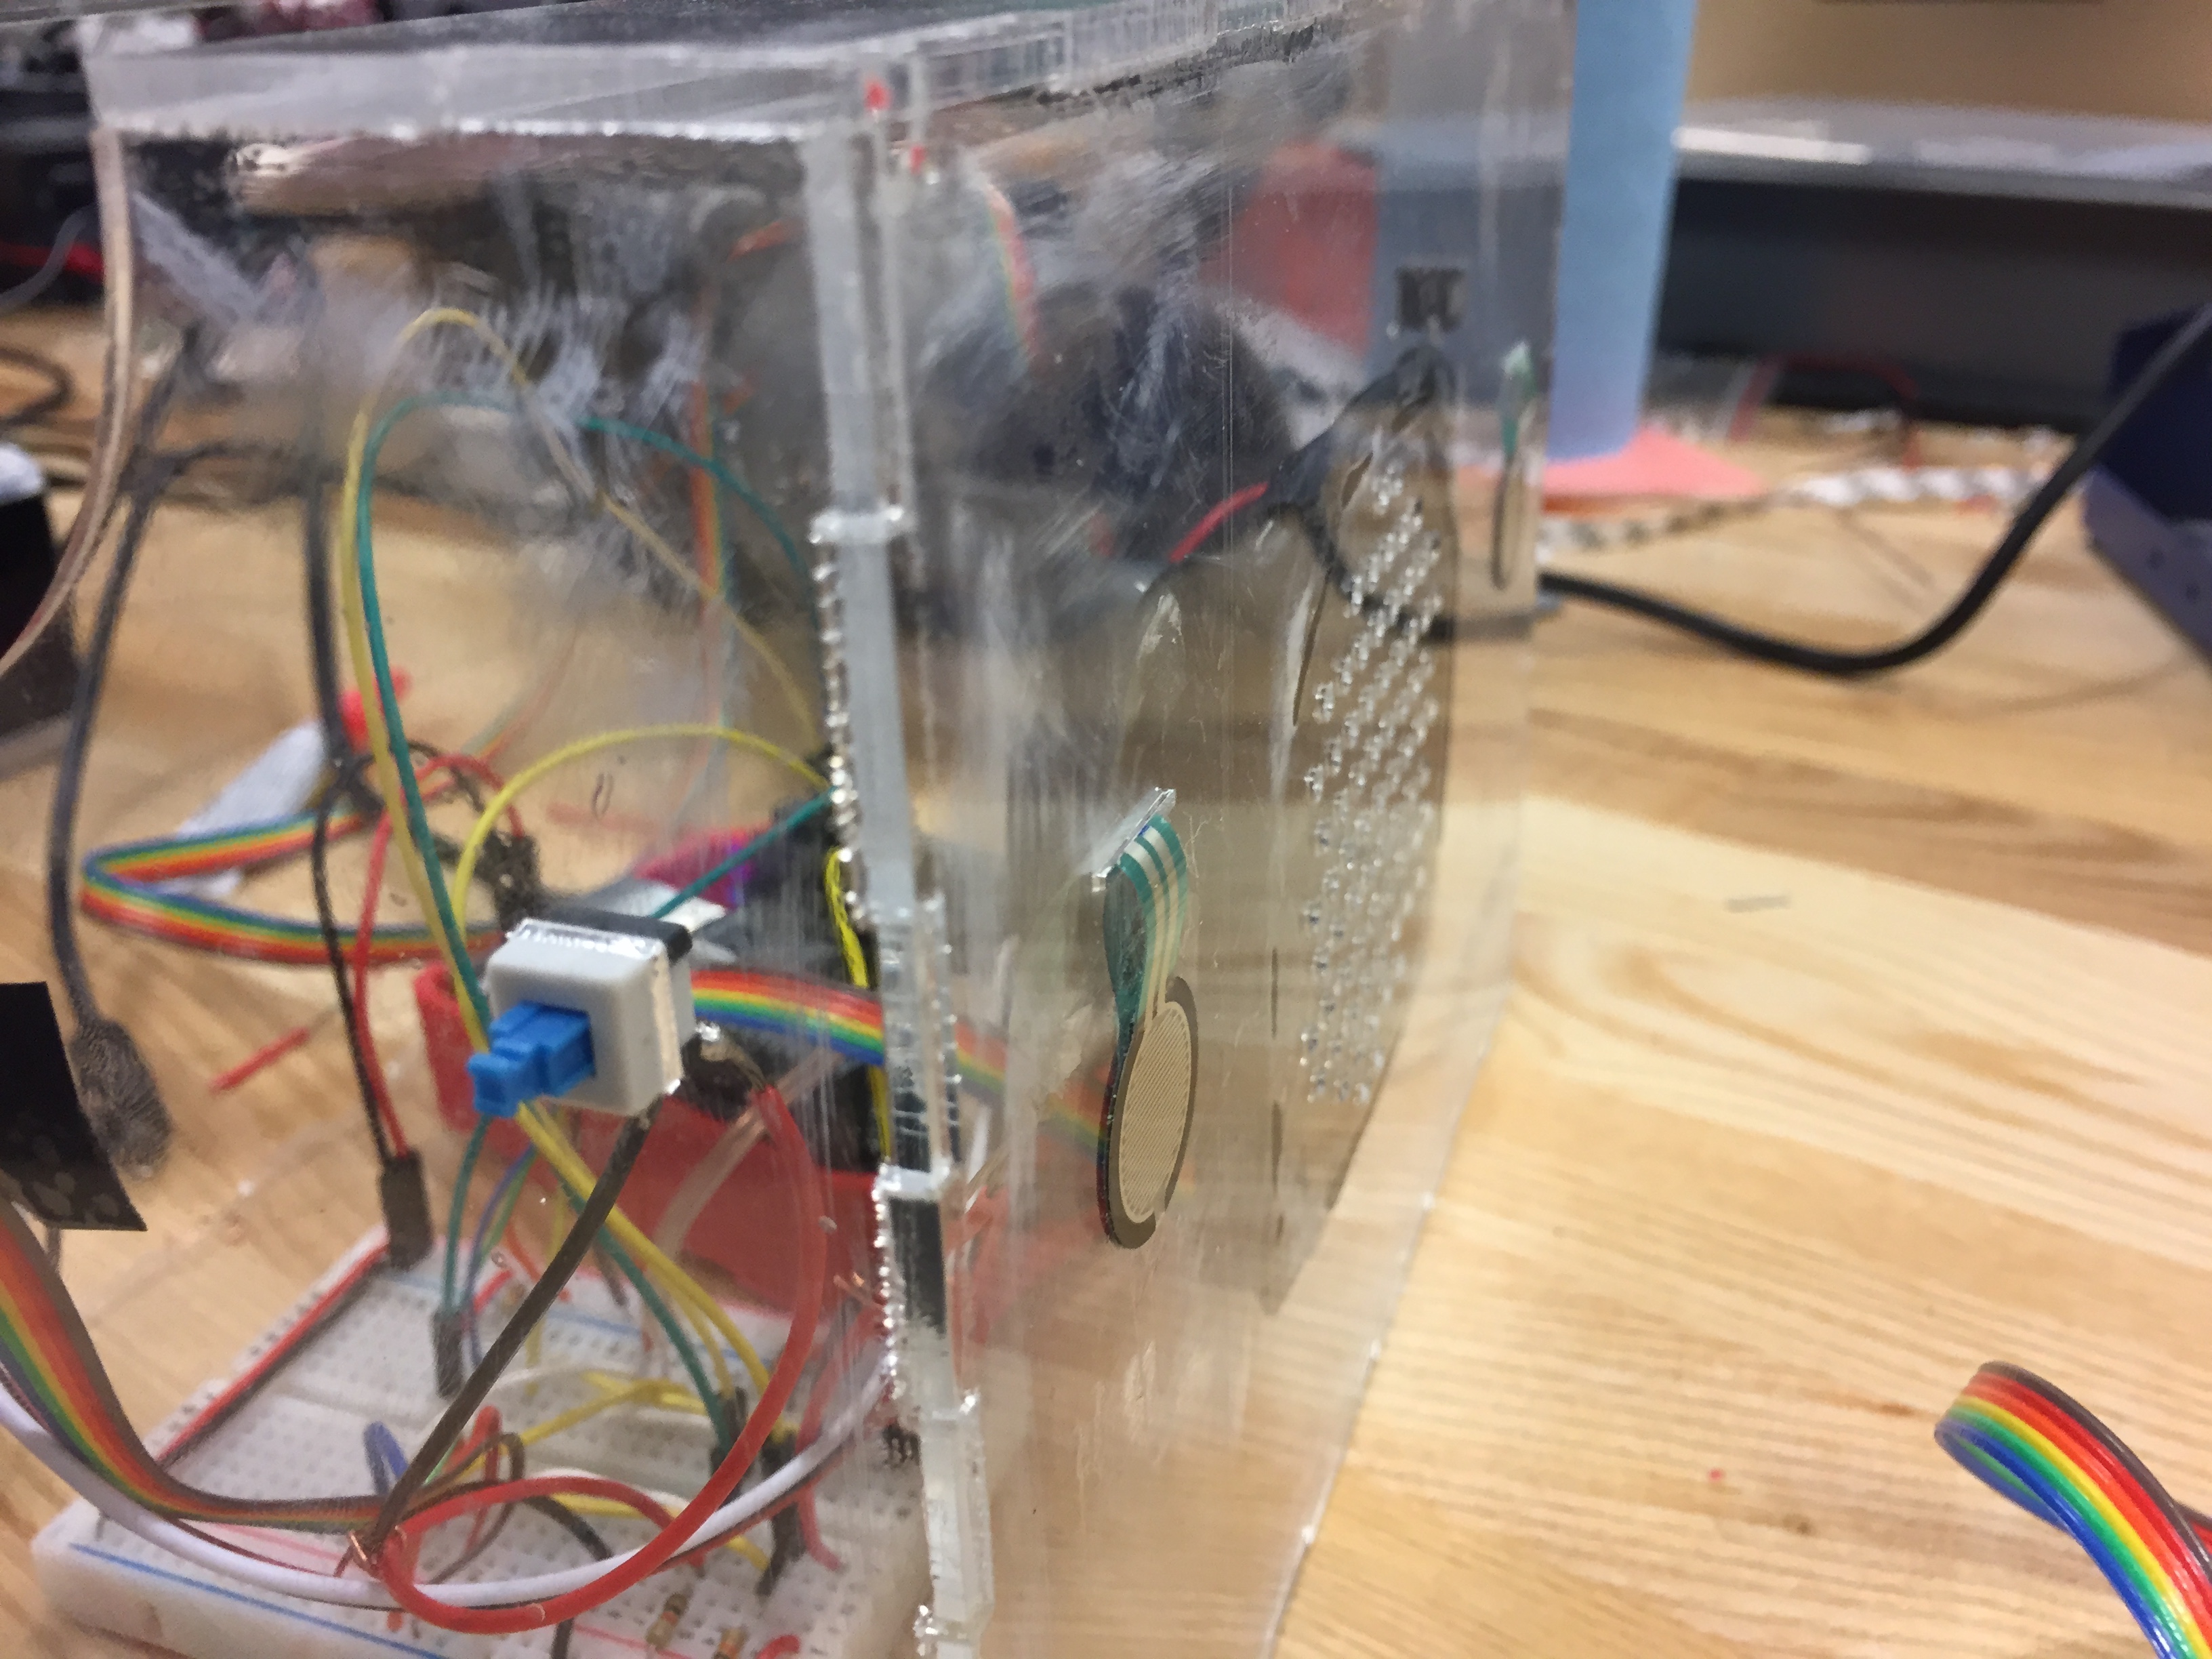
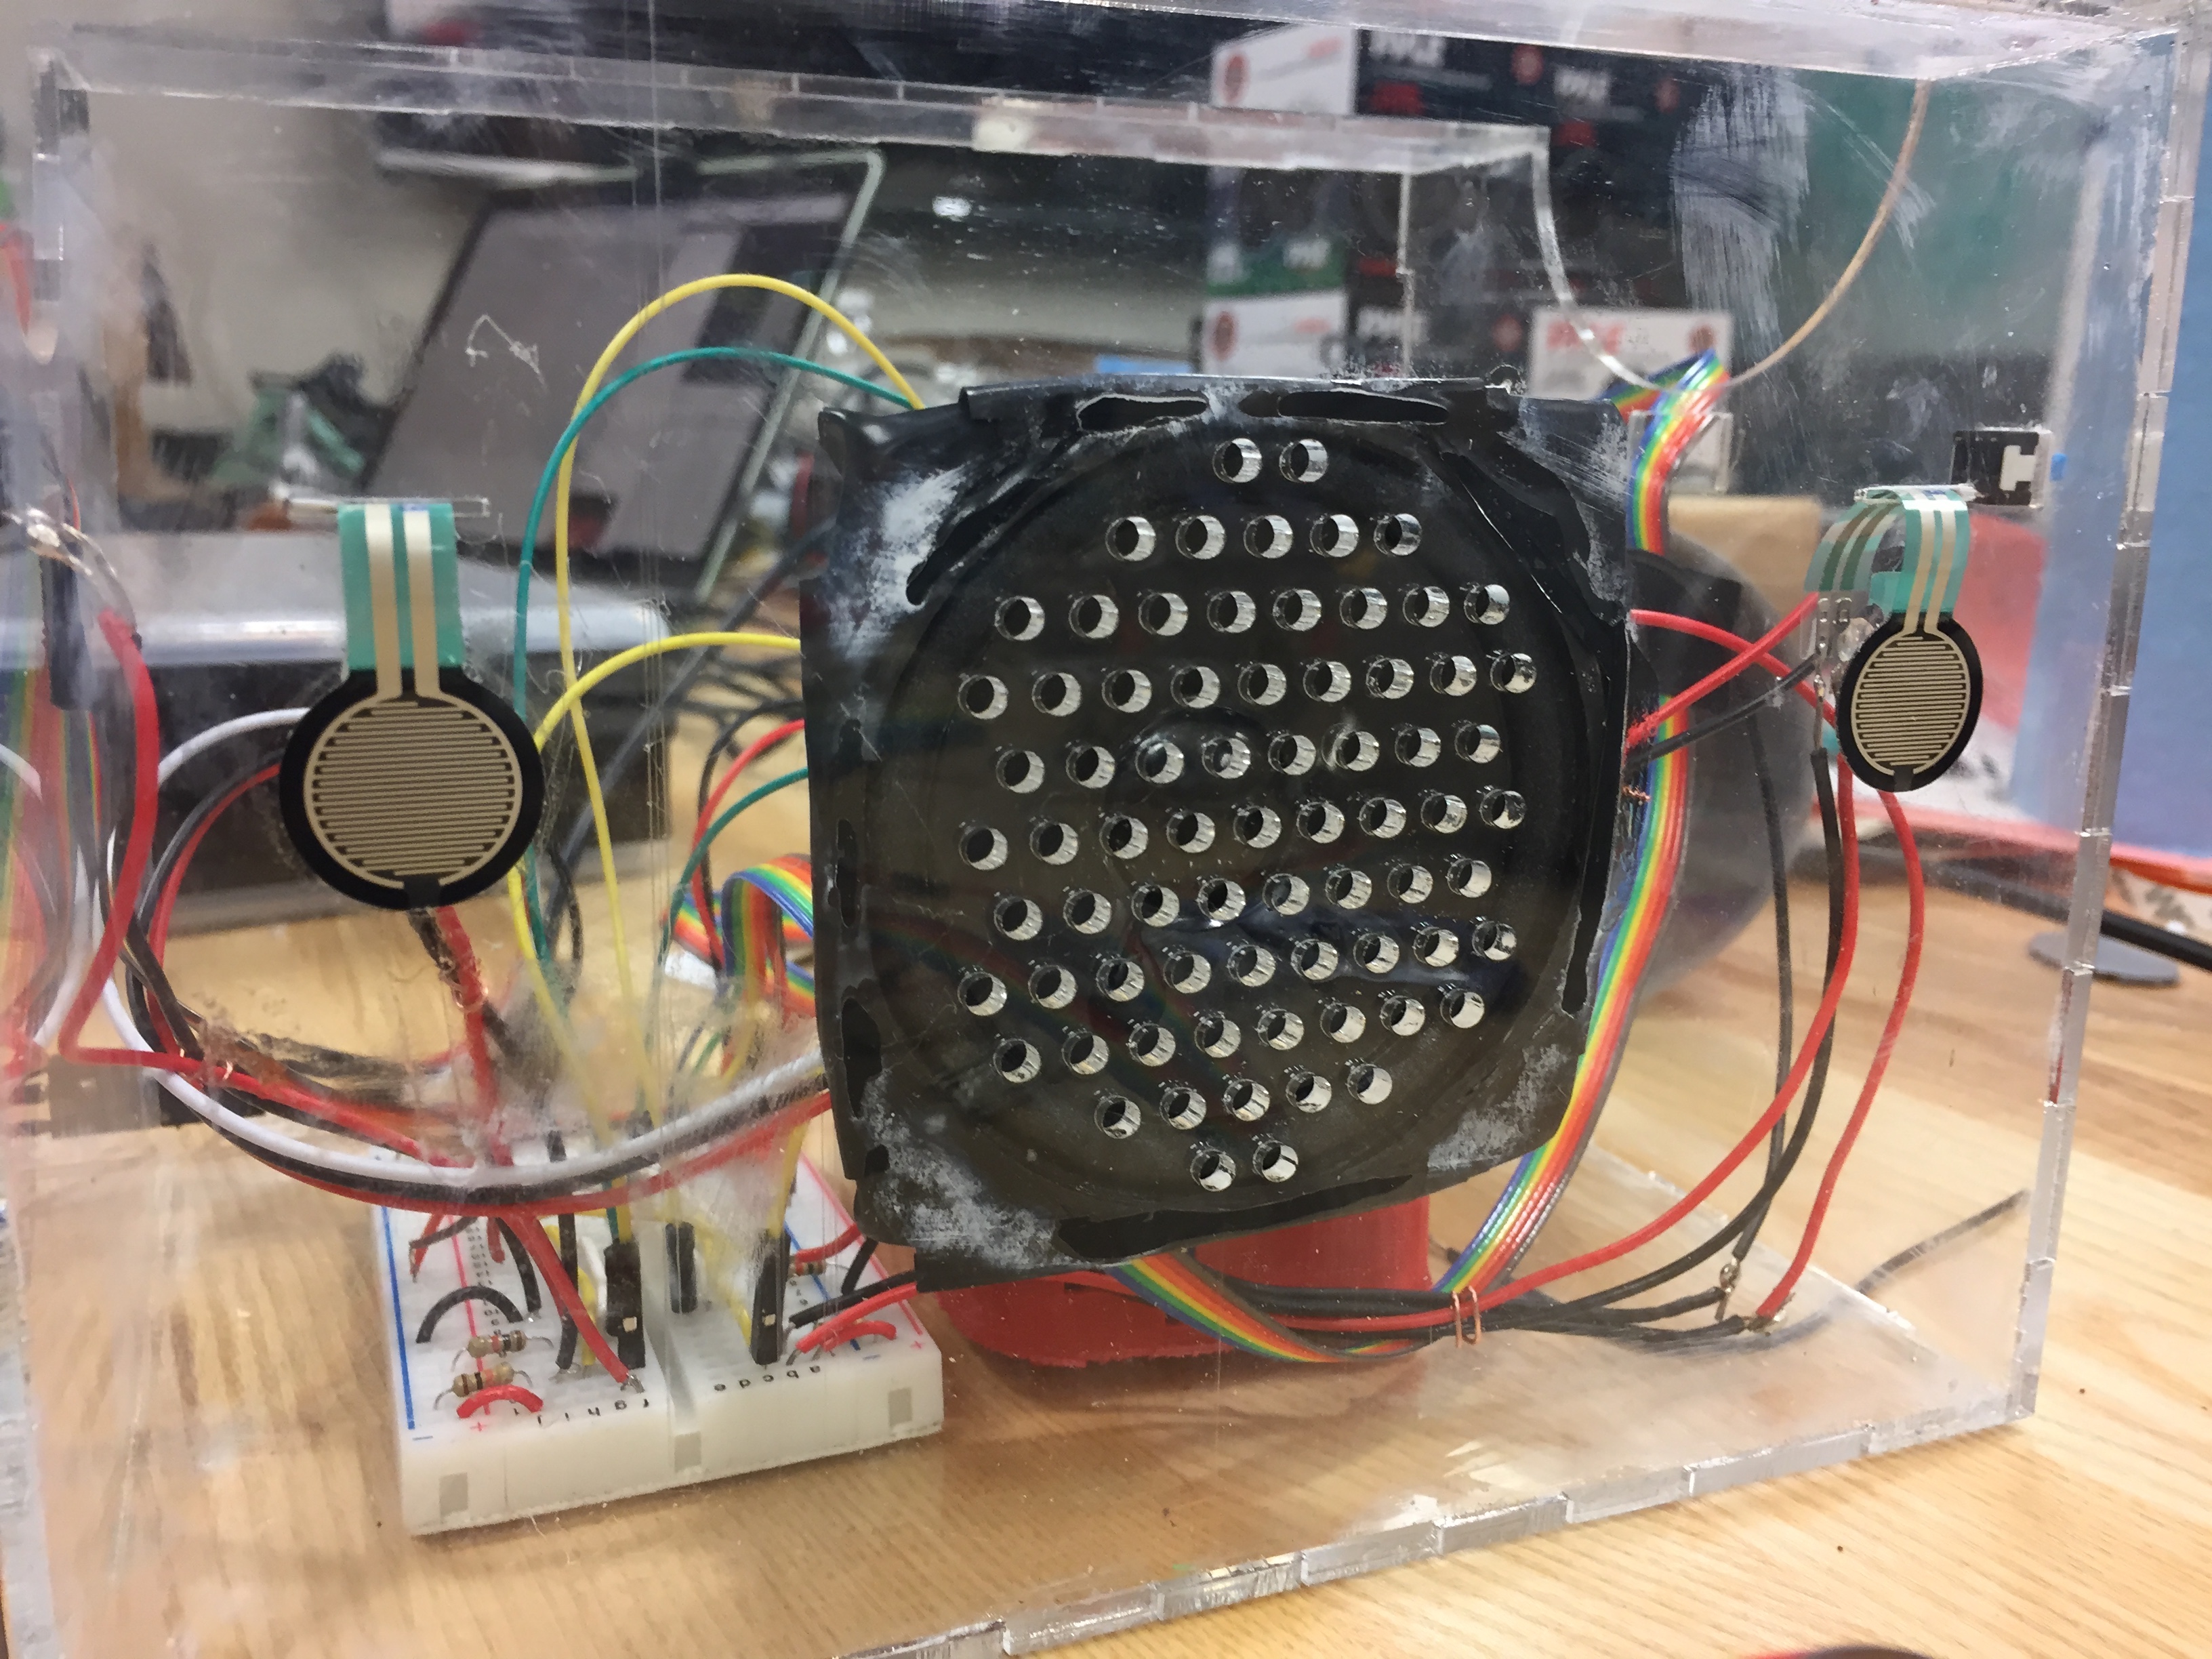
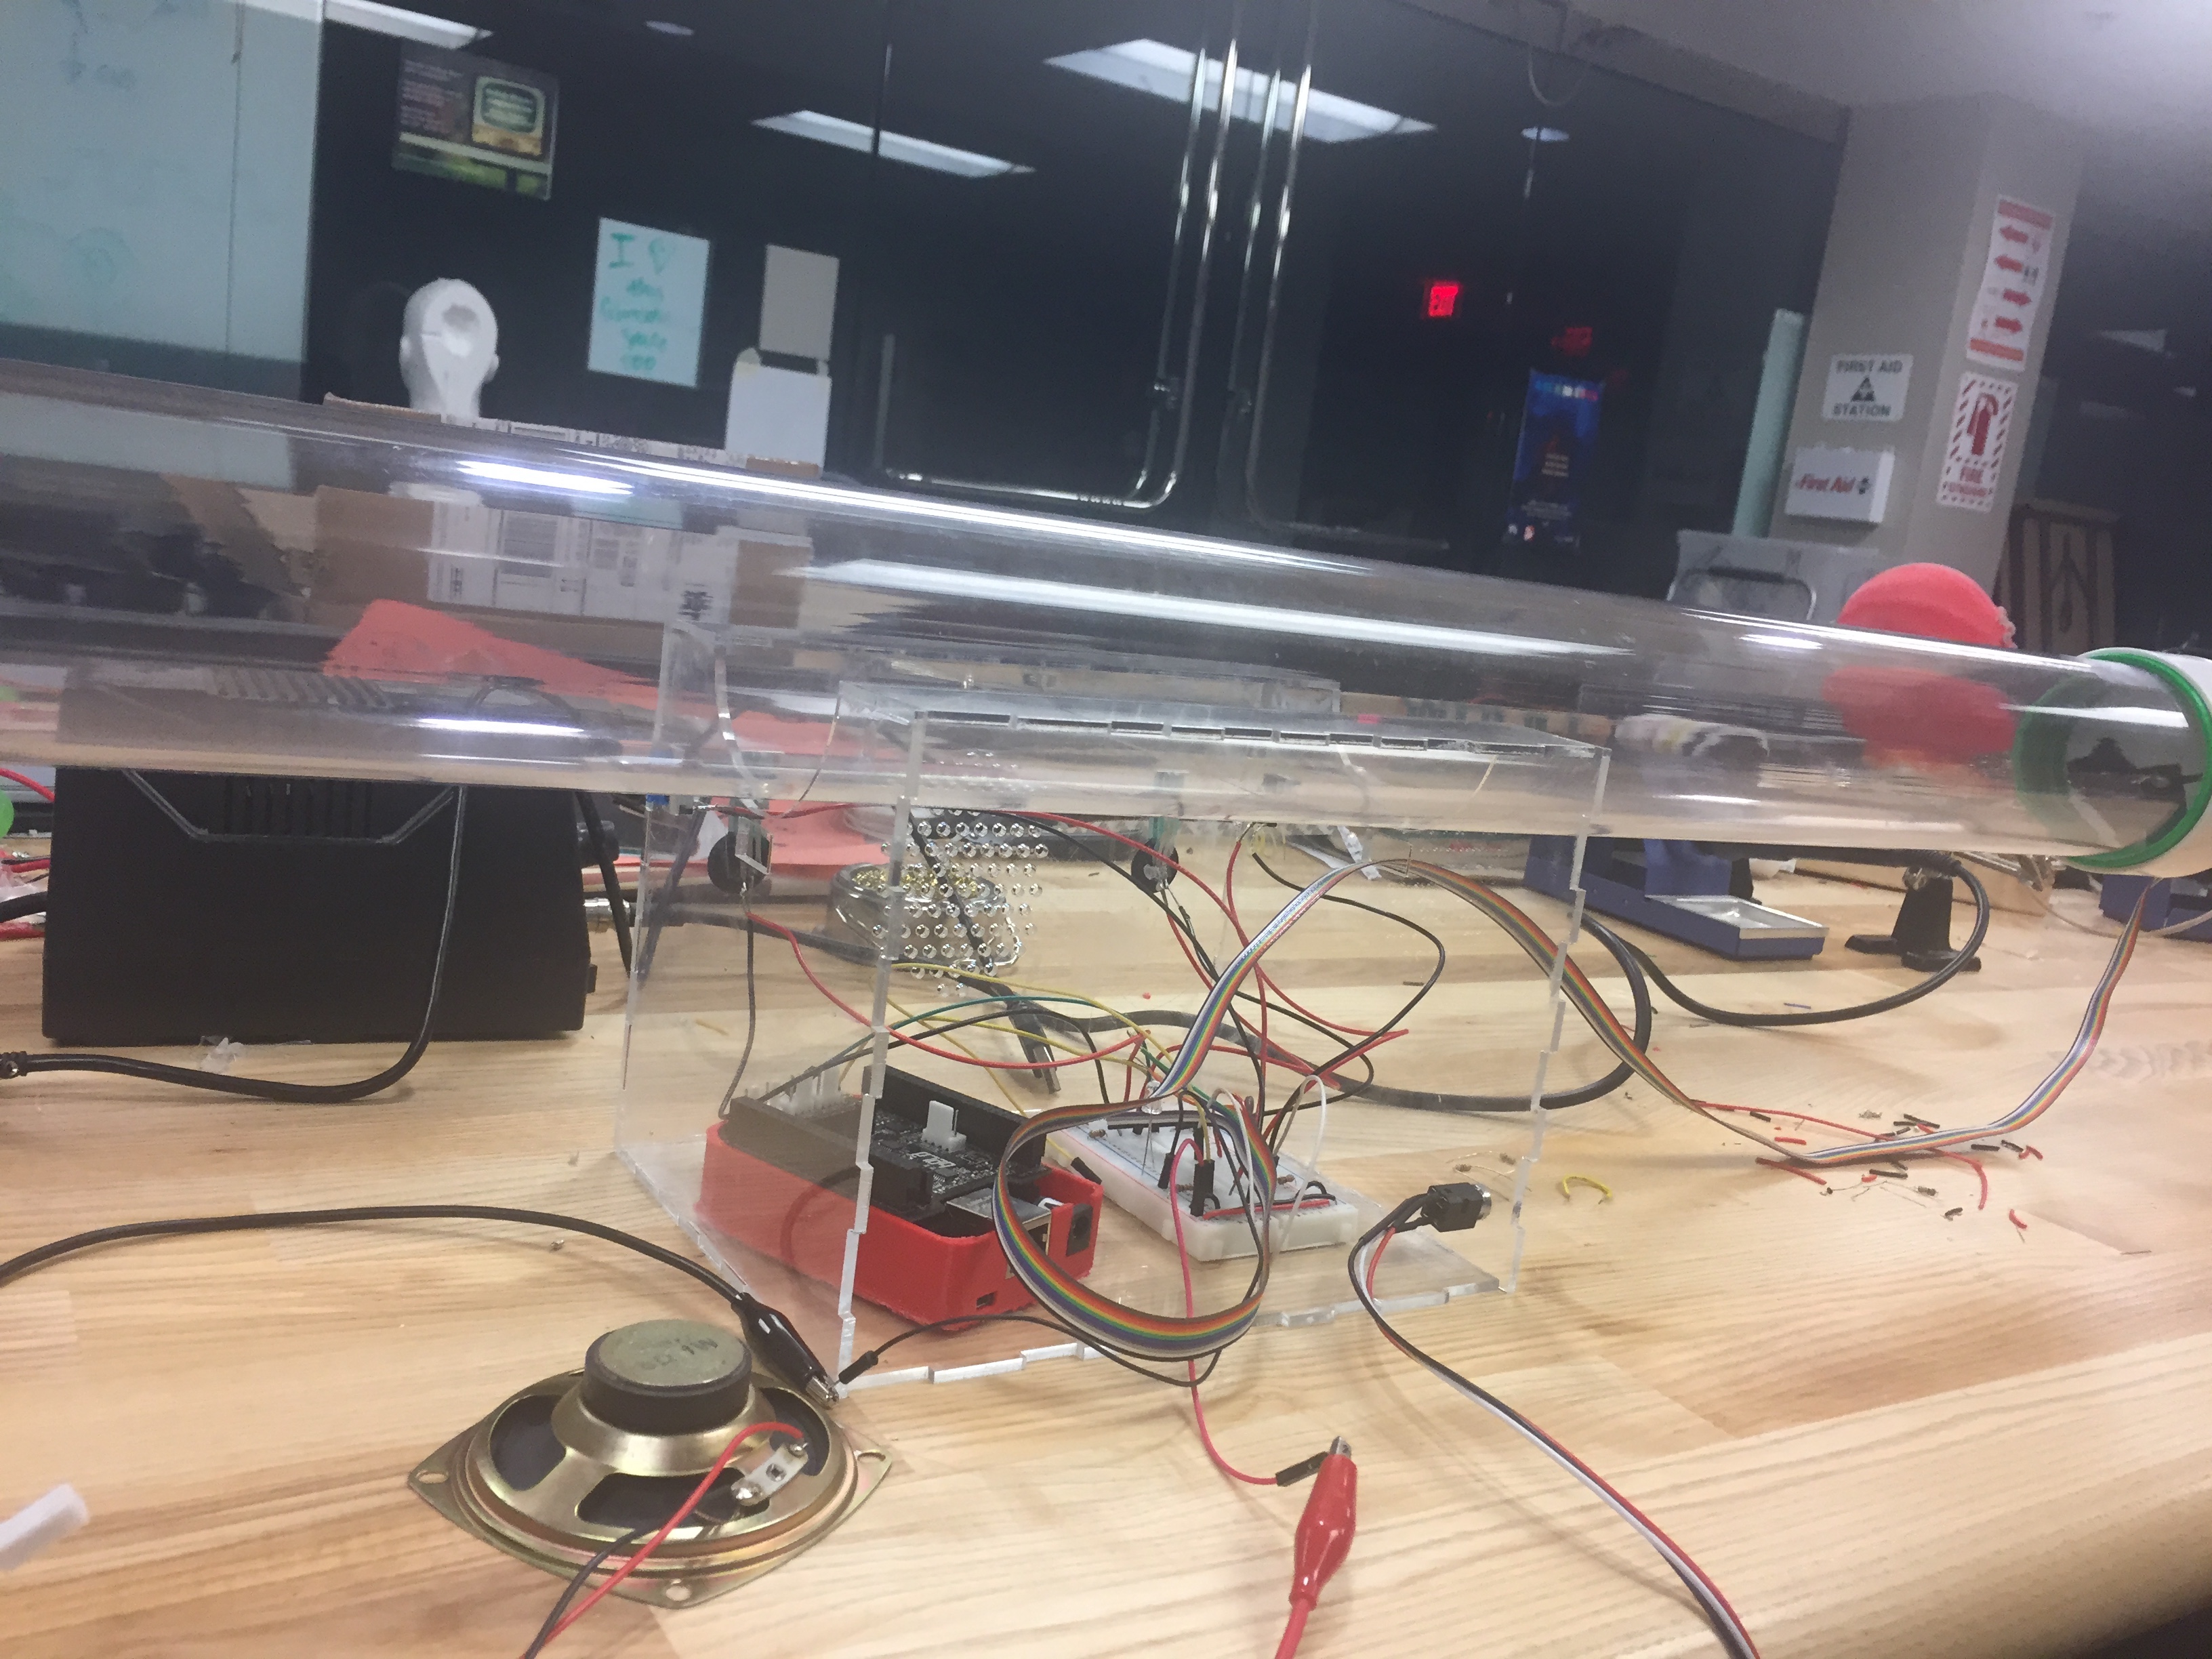
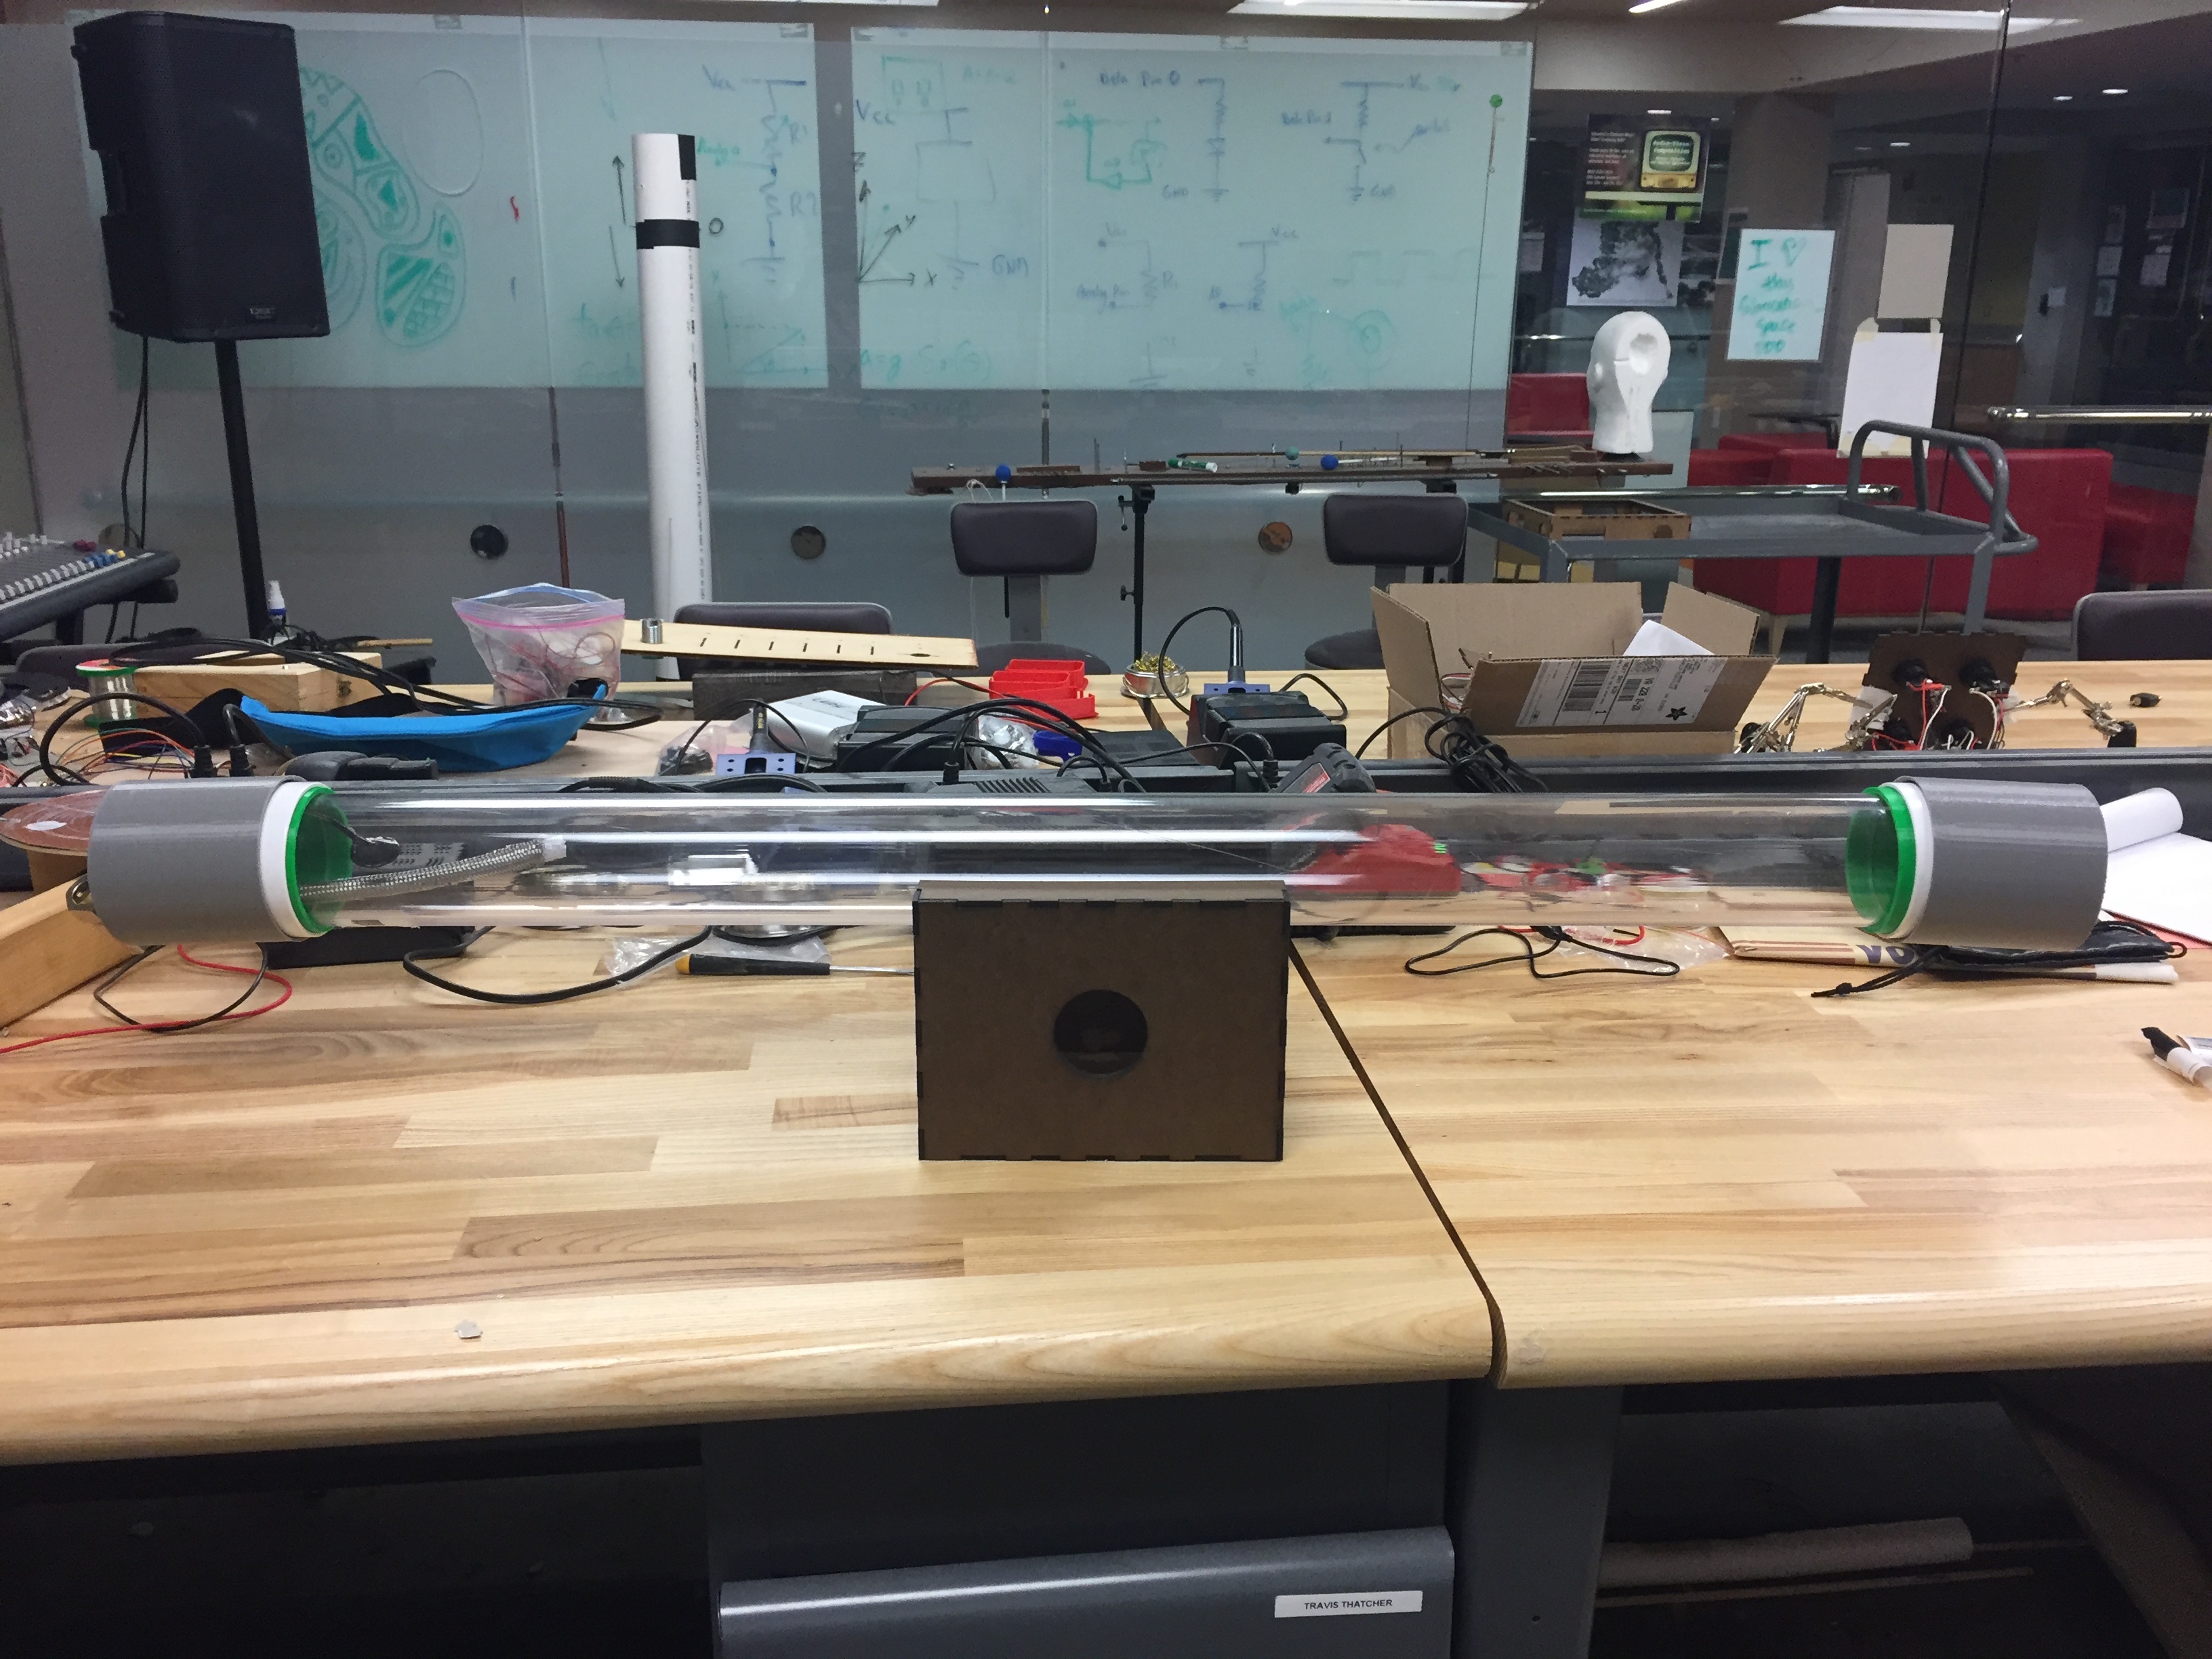
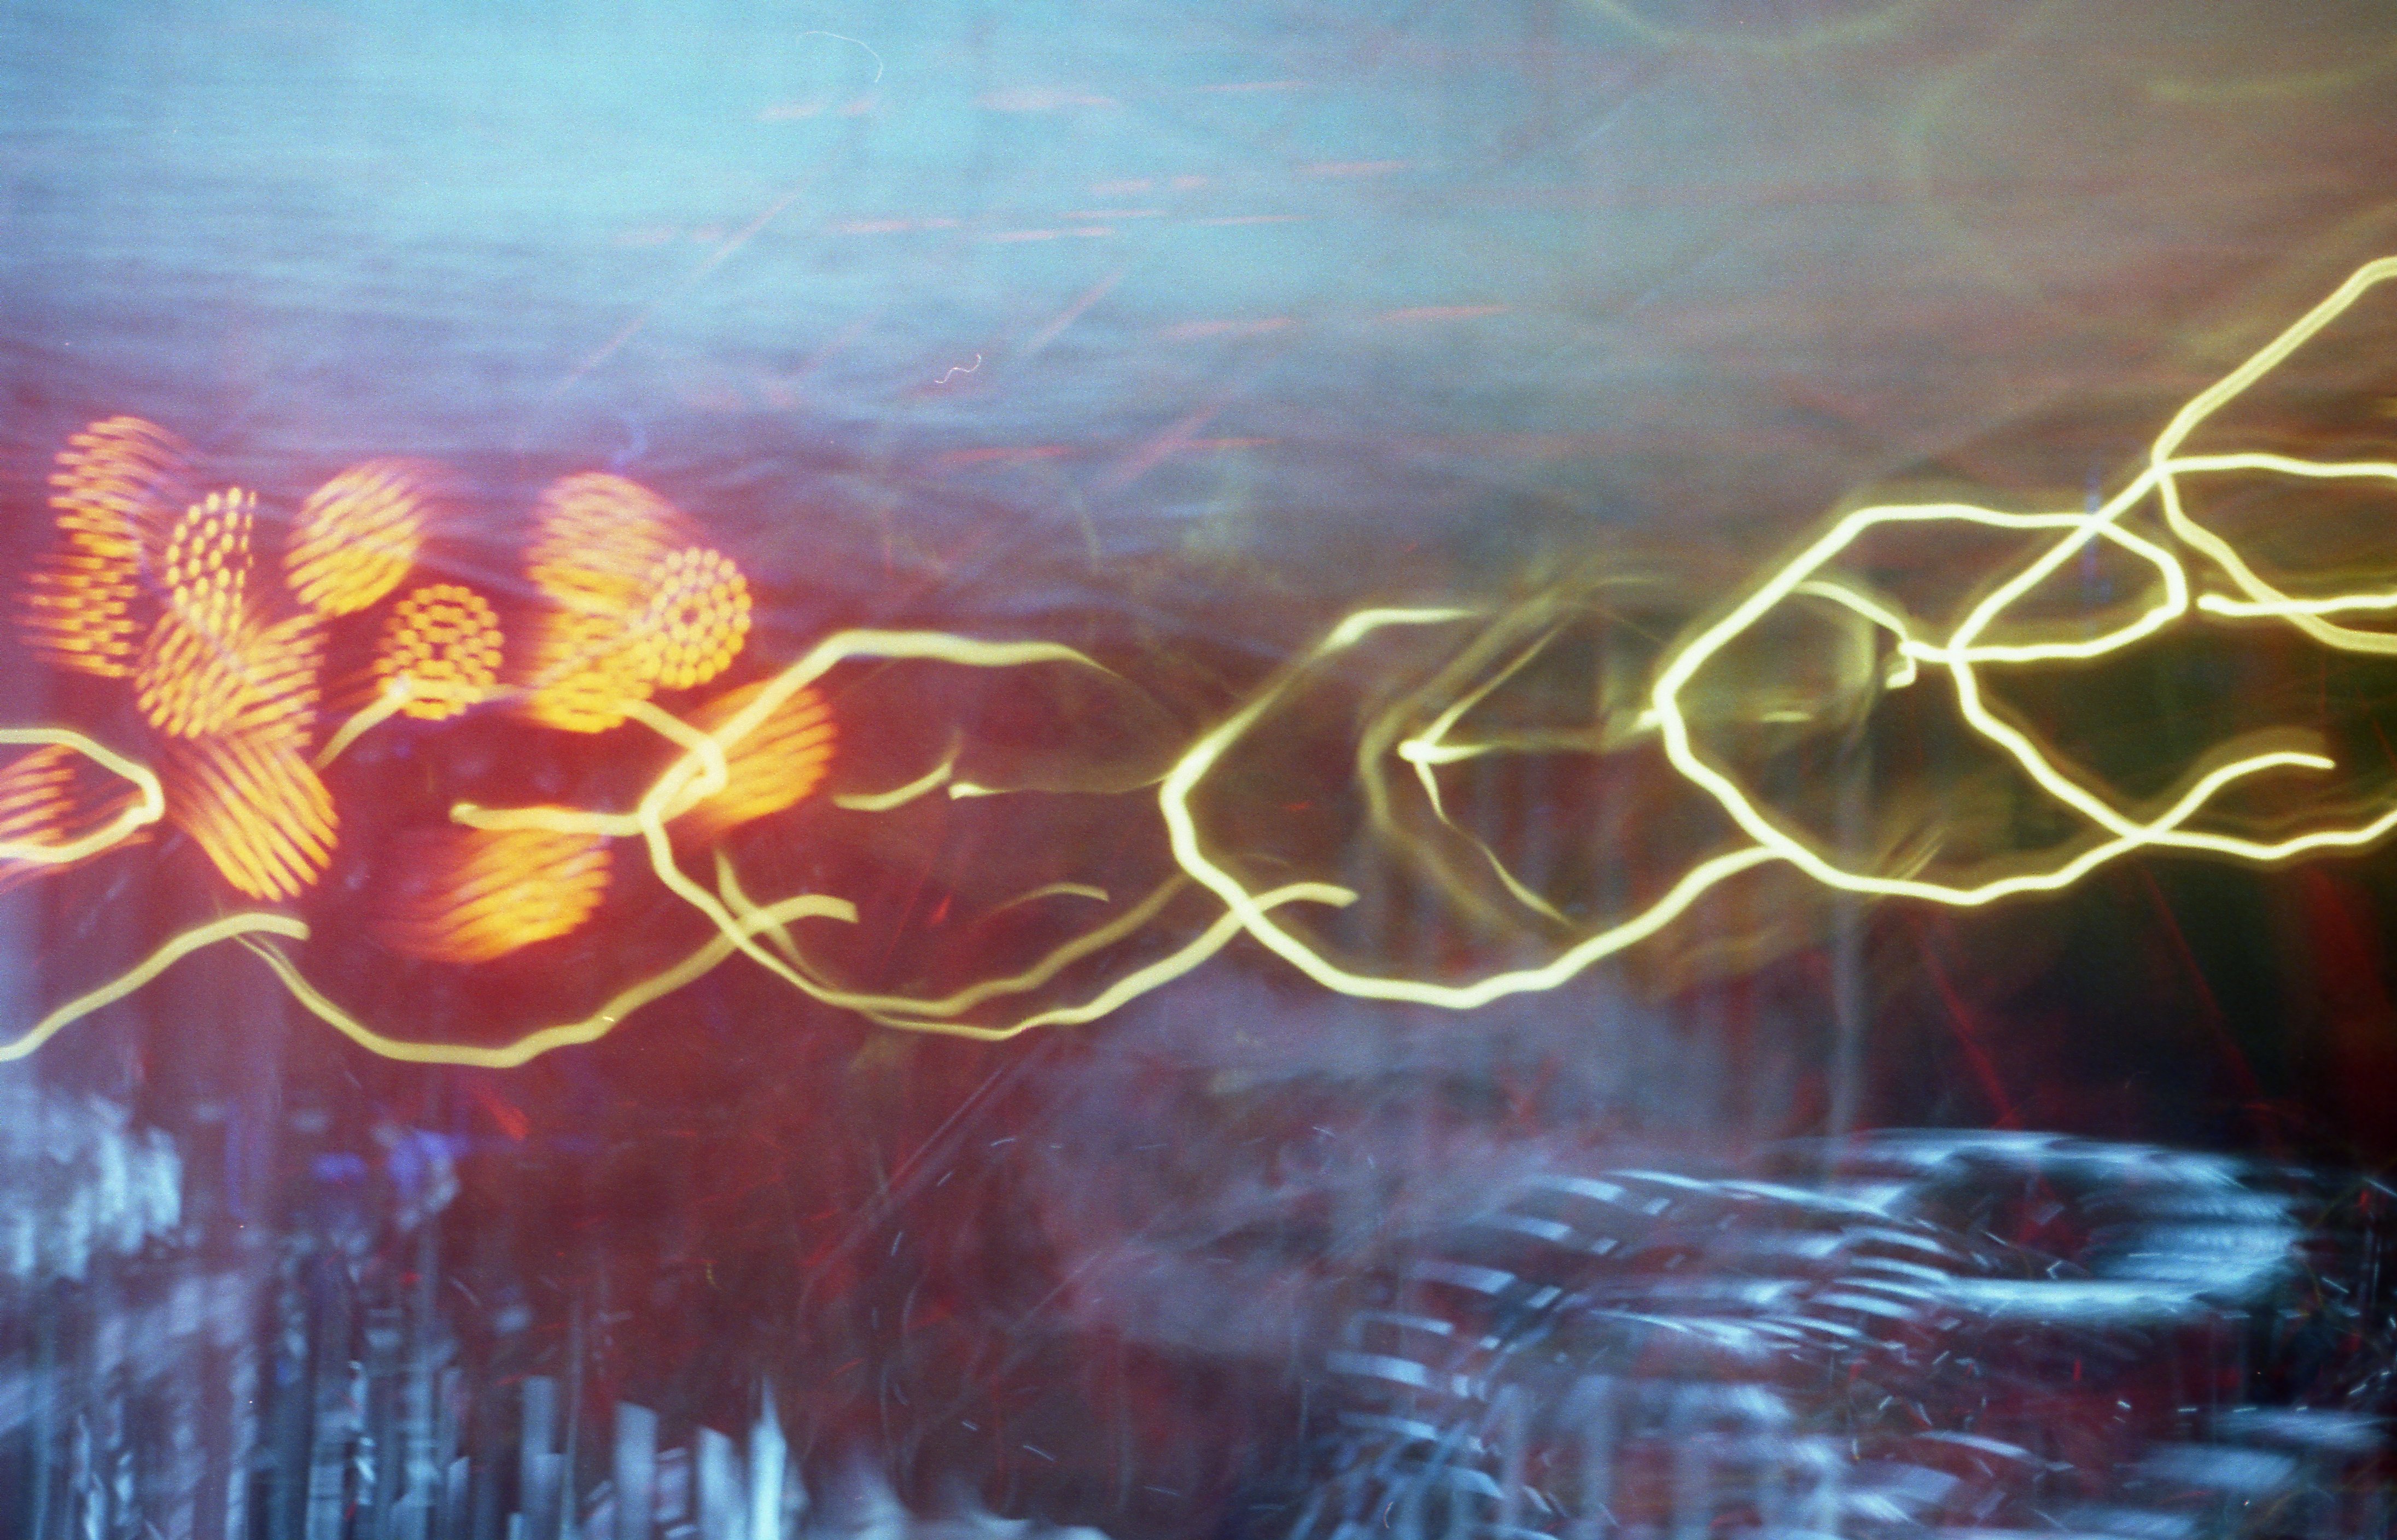
I wanted the sonAqua to be visually hypnotizing and used clear acrylic so the audience can see the computer, wires, and moving water. I was fixated on the idea of glowing water, and fastened ultraviolet LED’s both in the tube and in the breadboard inside the box. I tried filling the tube with tonic water, which glows in UV light due to the quinine. Unfortunately, the LED’s were not powerful enough and the tube failed to glow. Instead, the tube was filled with sticky, sugary tonic water in a failed to fluoresce in the intended way. In the future, I might try stronger LED’s and fluorescent paint mixed with water for a cleaner and less sticky mess.
On the programming side, I was satisfied with the sound of the sonAqua. The percussive sounds make for an interesting performance, and I enjoyed learning how to sample different parts of the instrument to make new timbres. In the patch I might tweak the fading between repetitions of samples. Jumping from the end of the sample to the beginning rapidly causes a small dropout click, which is not very pleasing. Instead, I would add a small fade between the beginning and the end of the sample for a more satisfying sample playback. You can download the current version of the PD patch here.
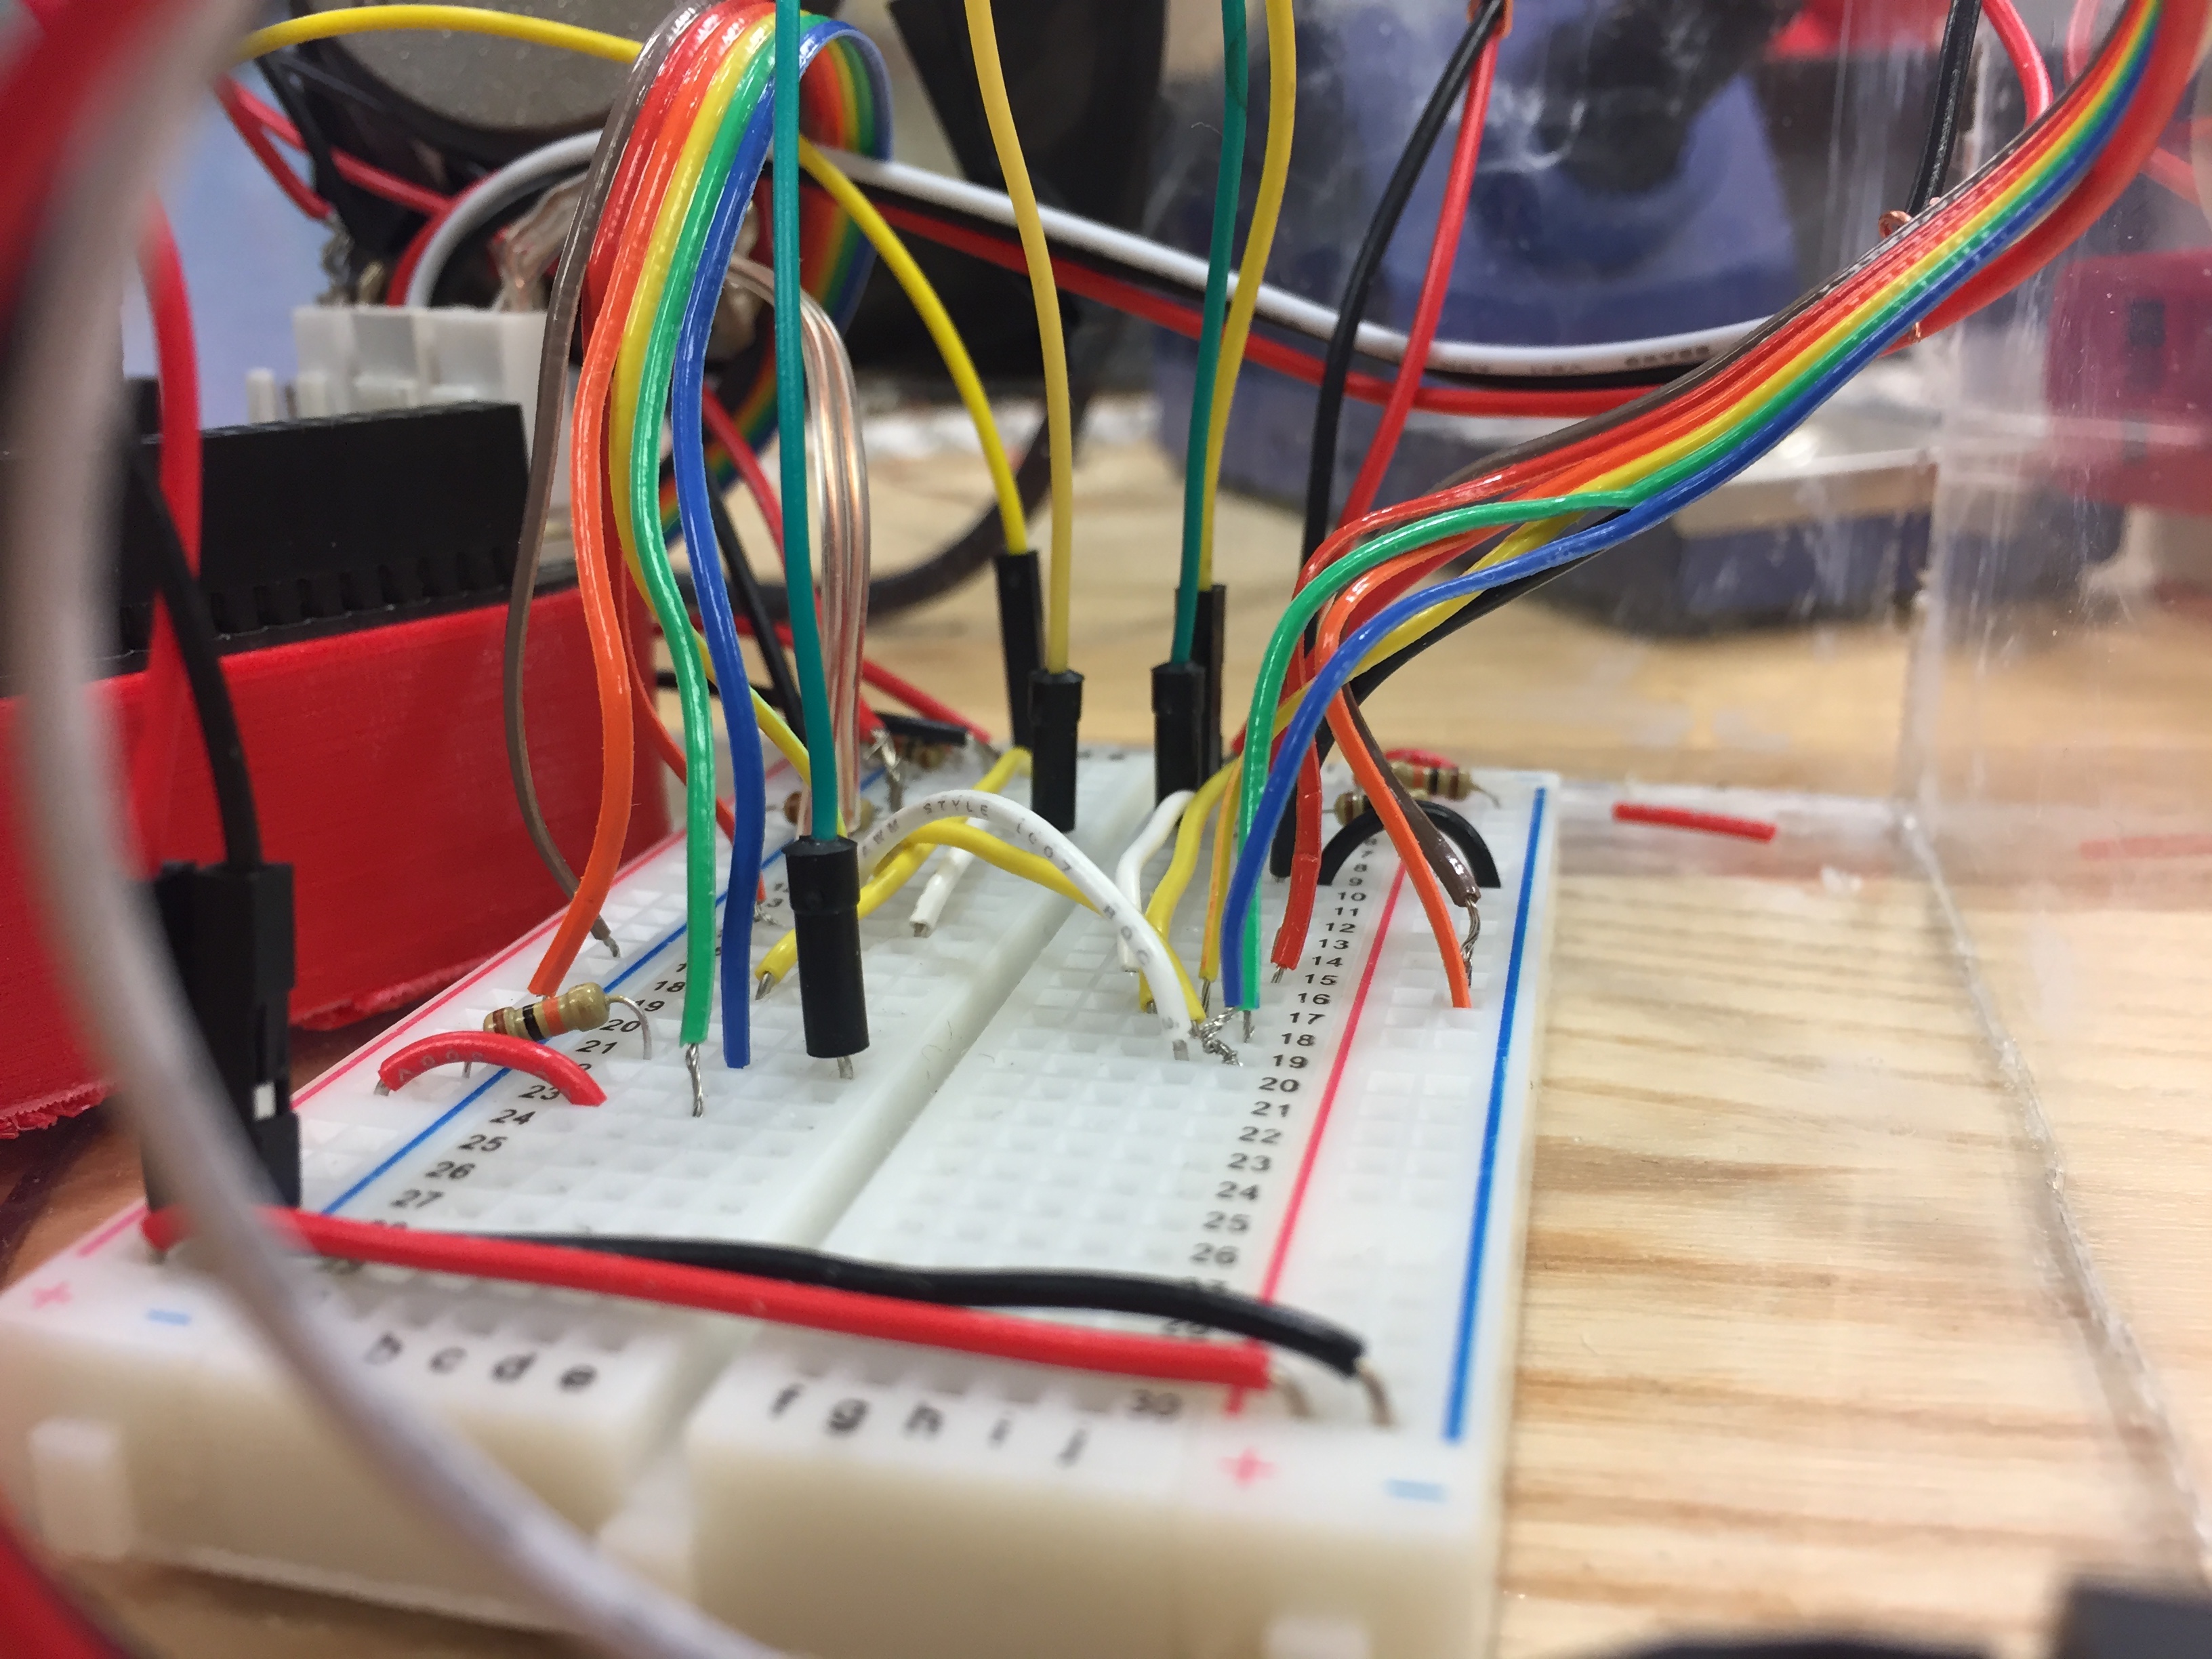
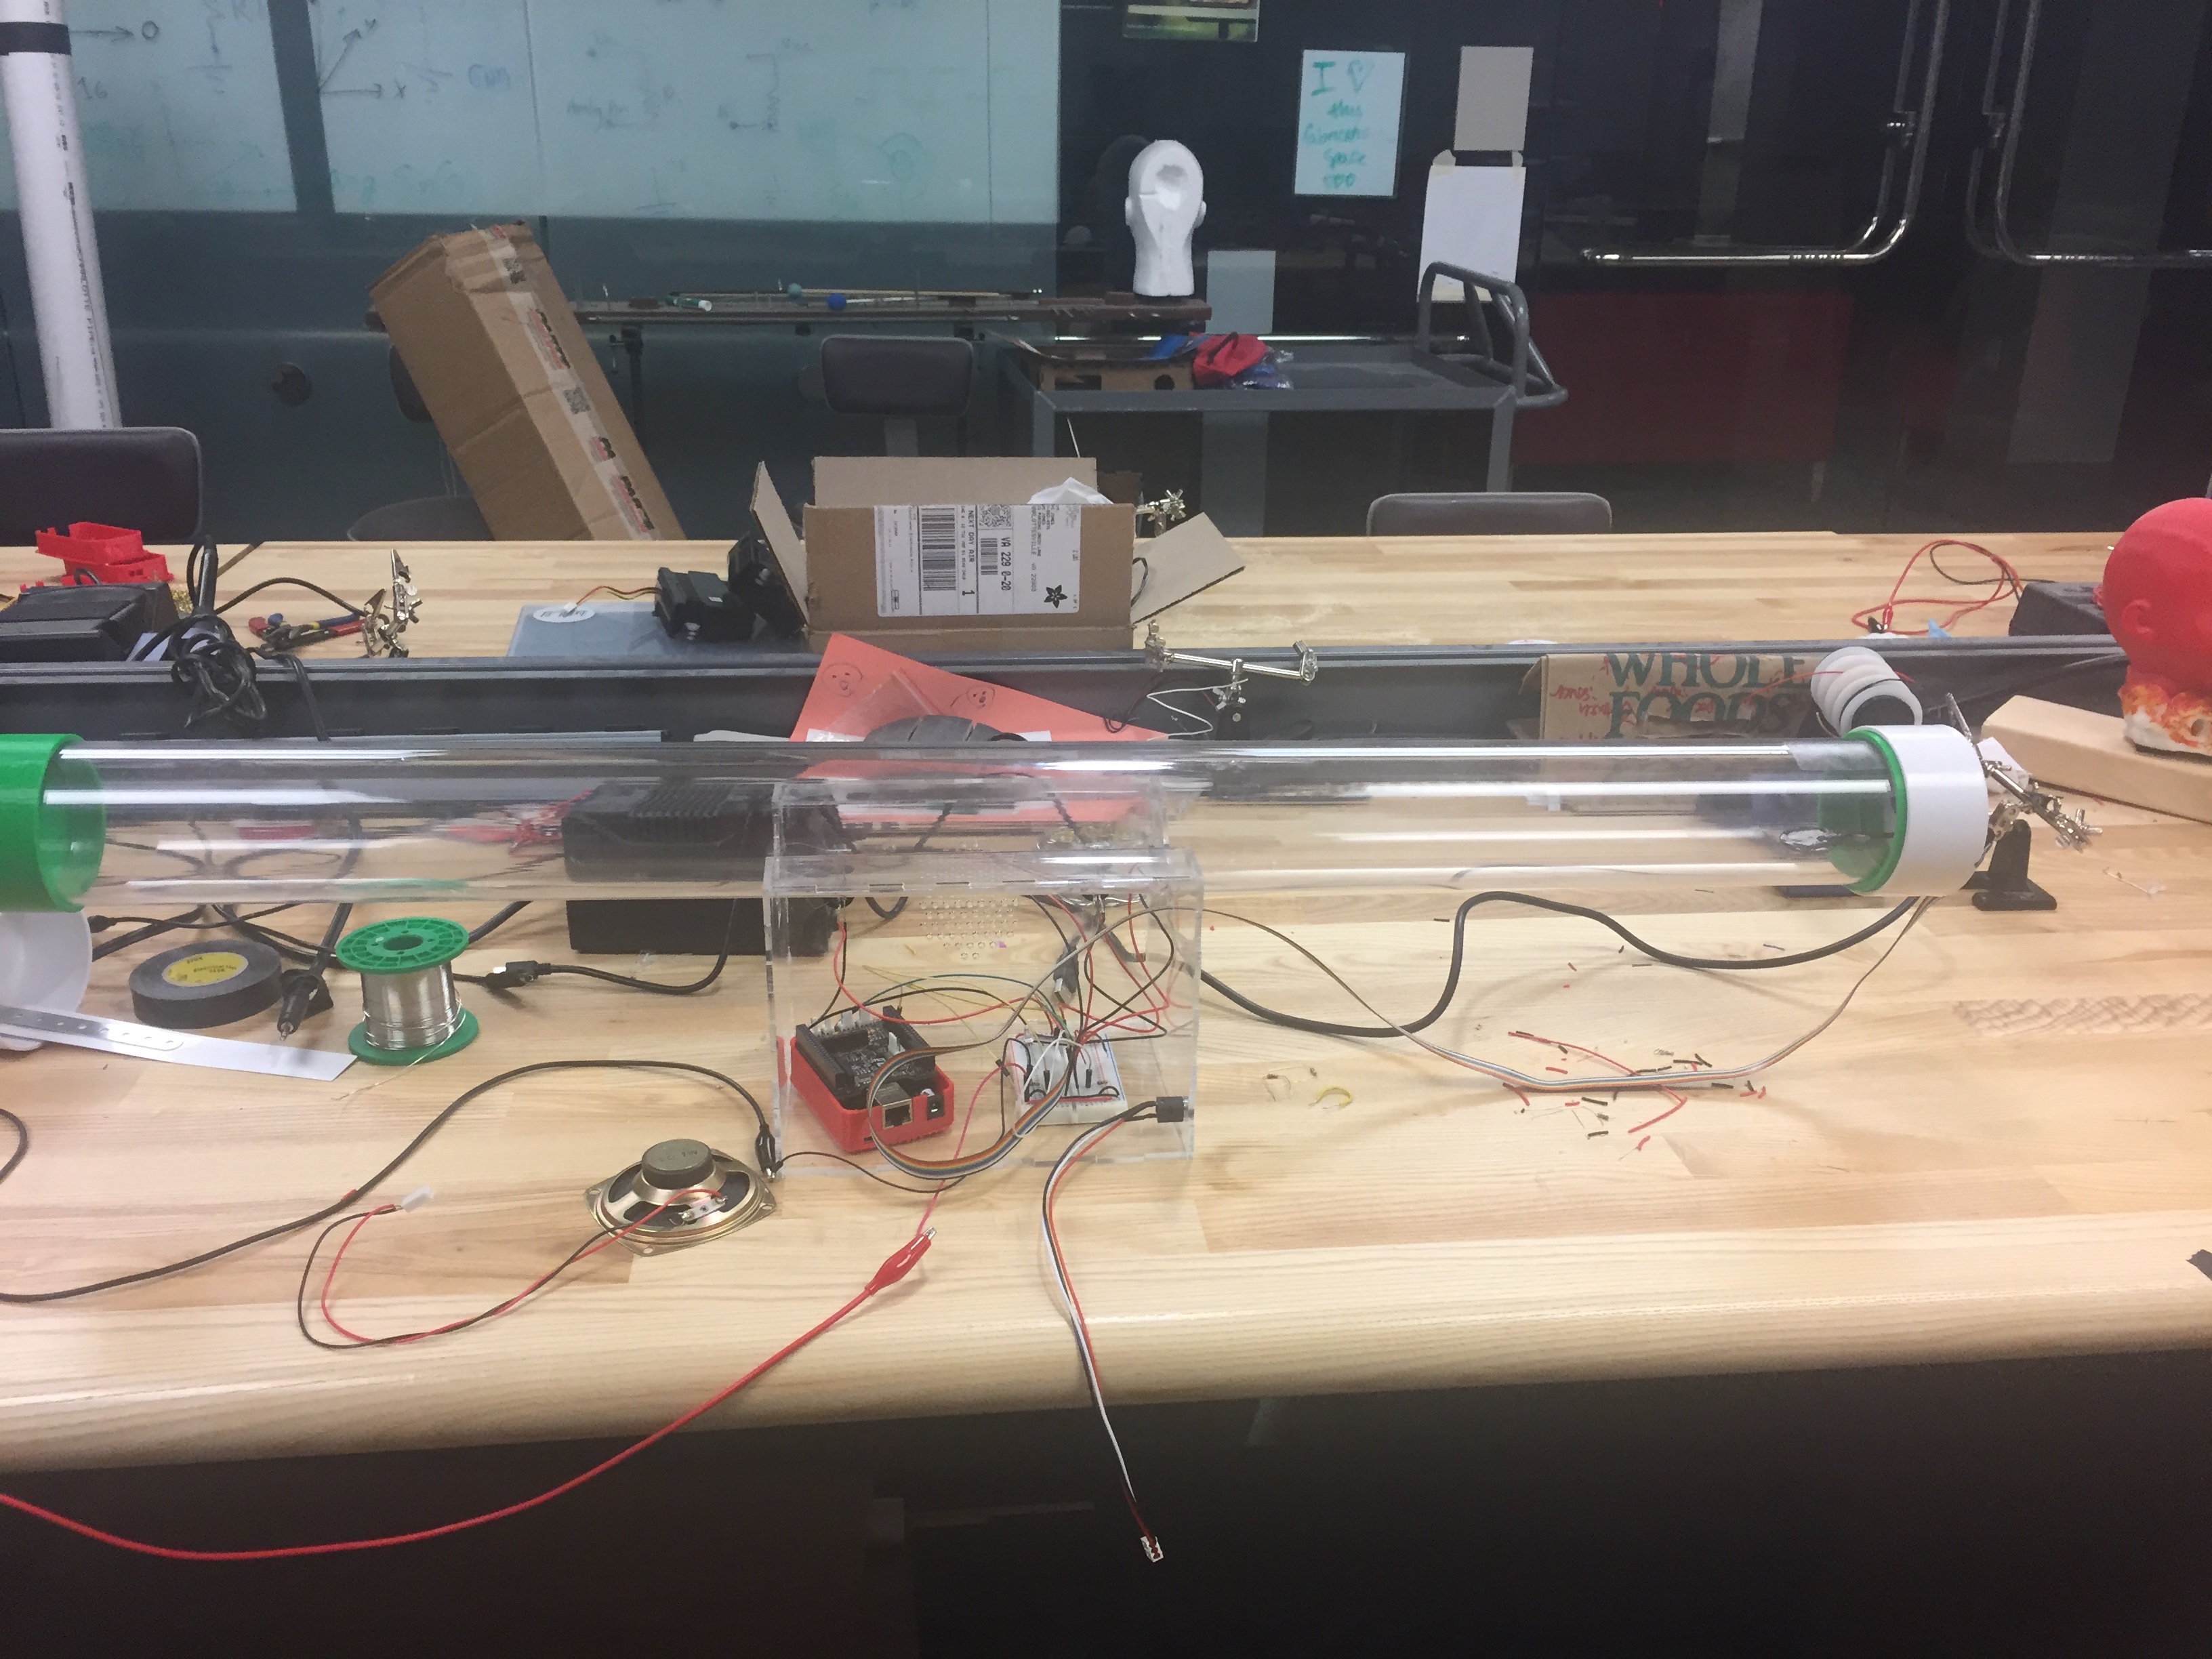
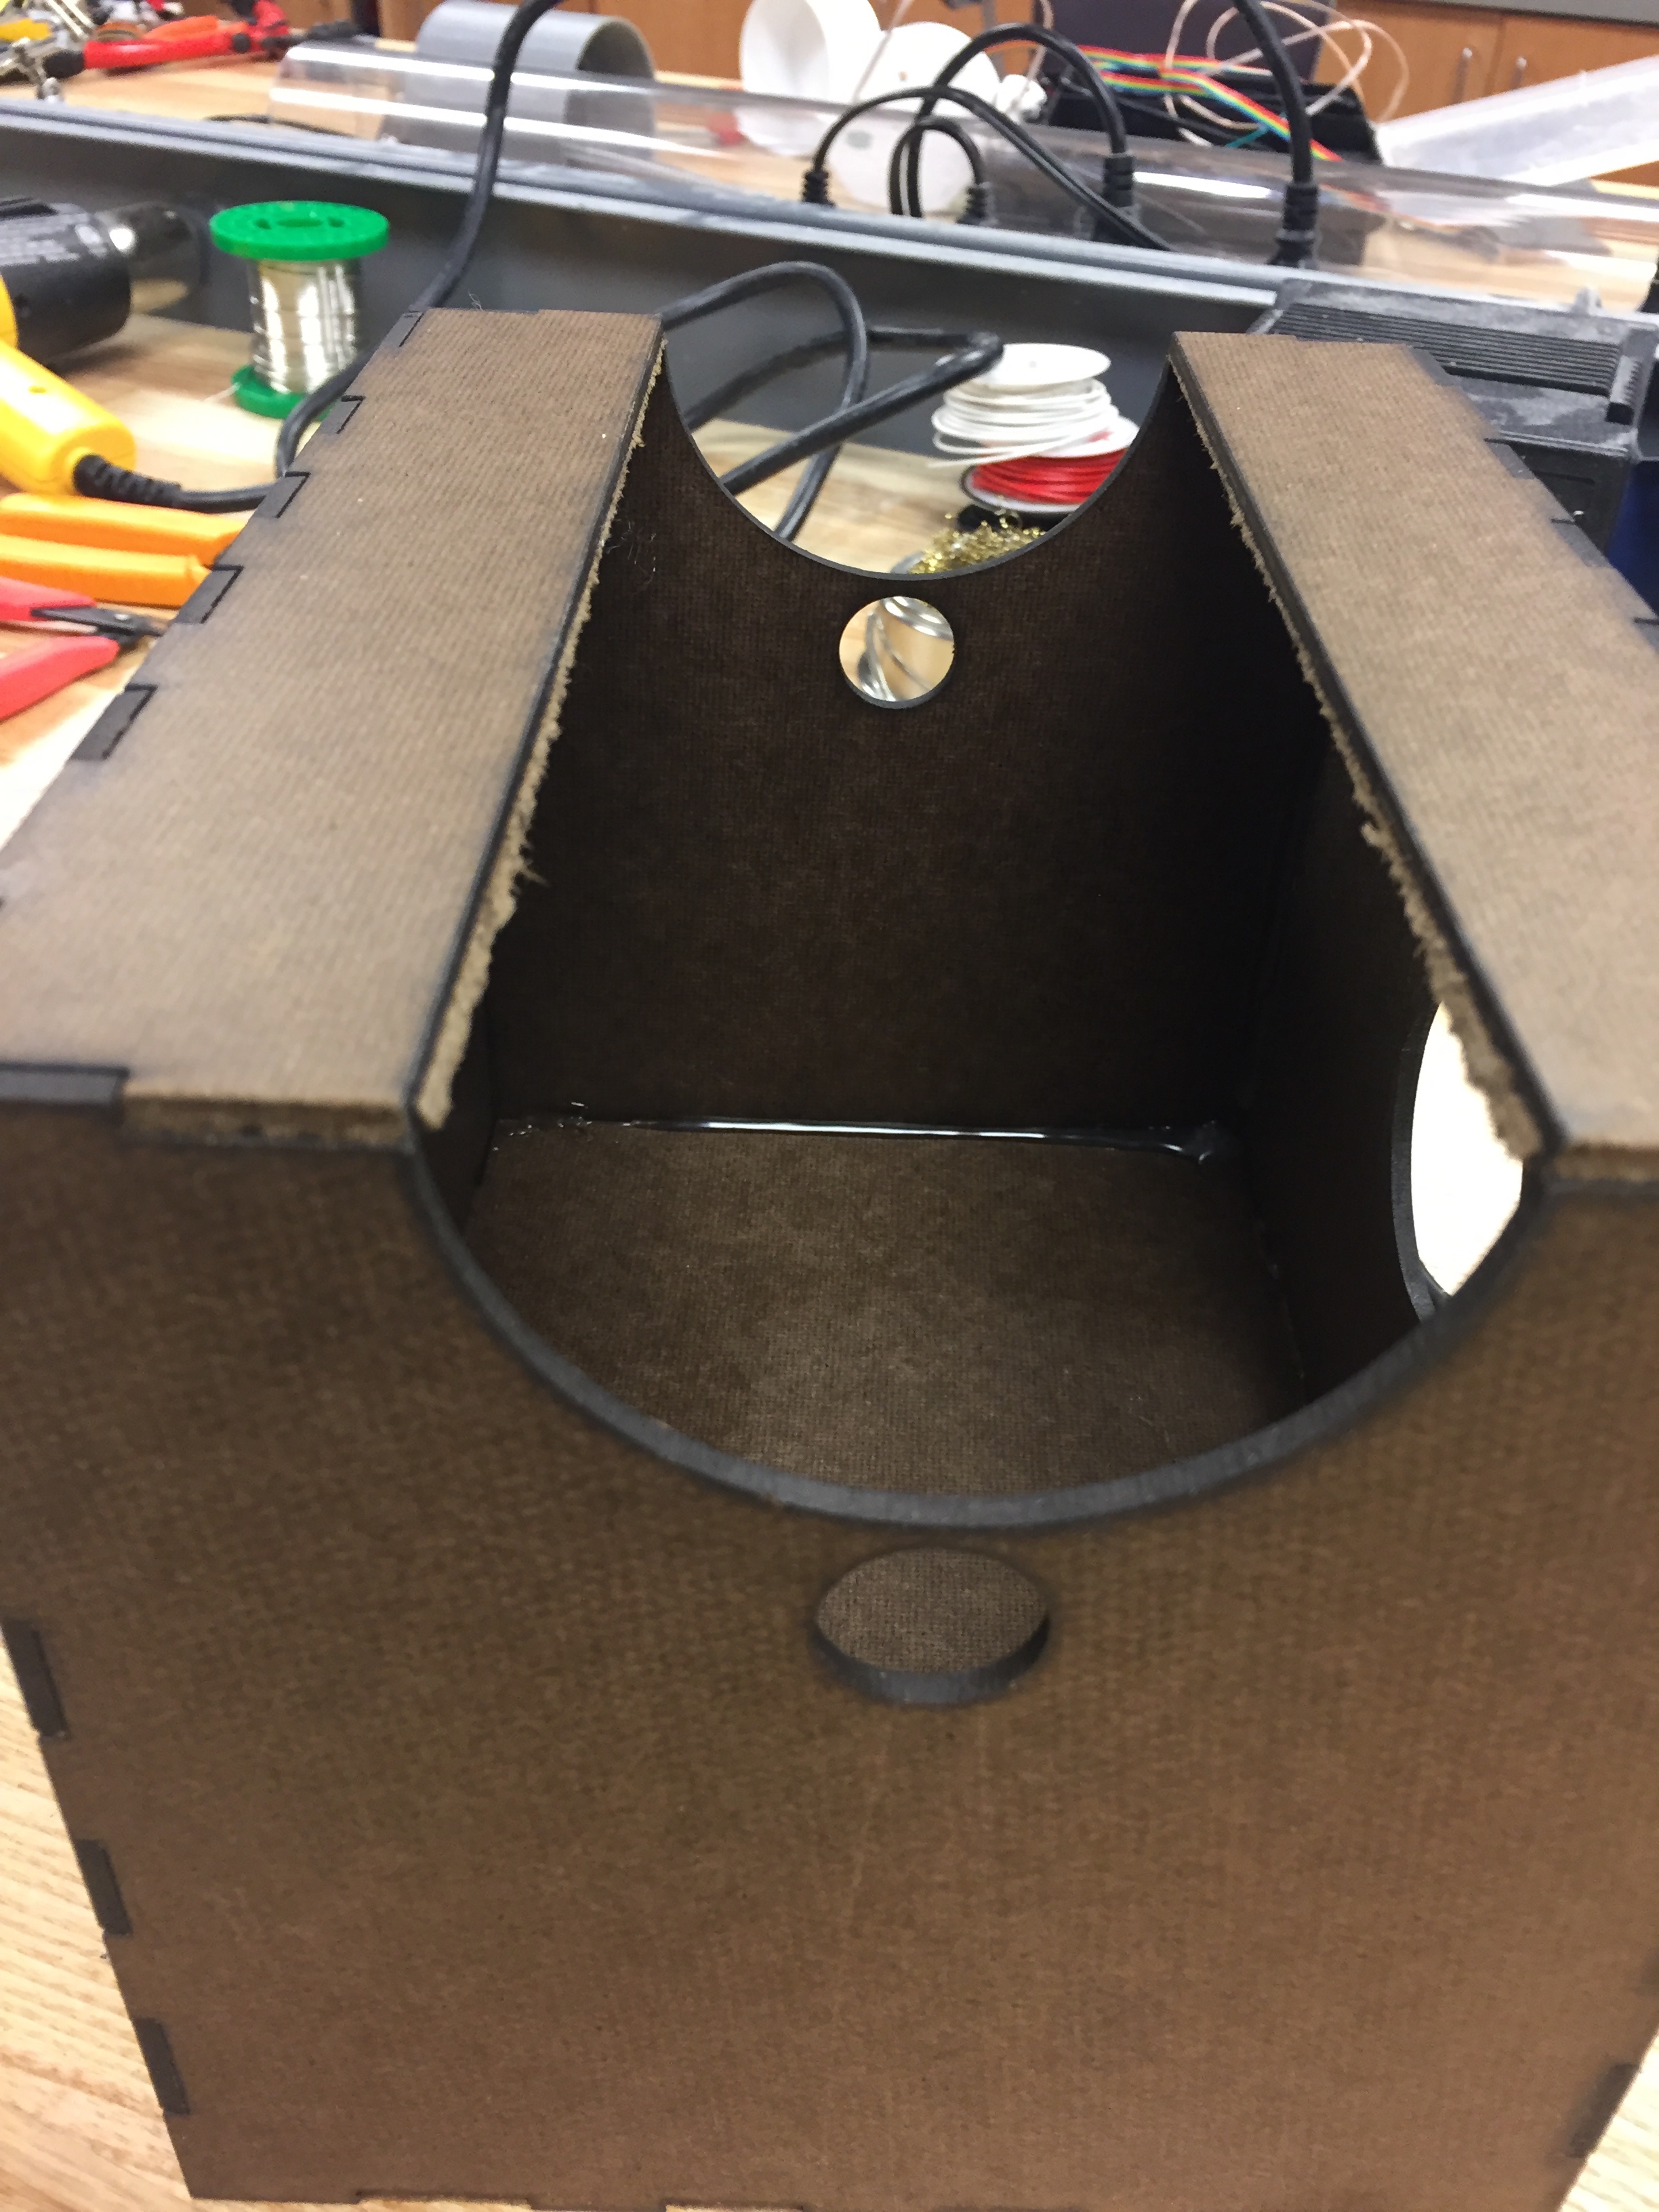
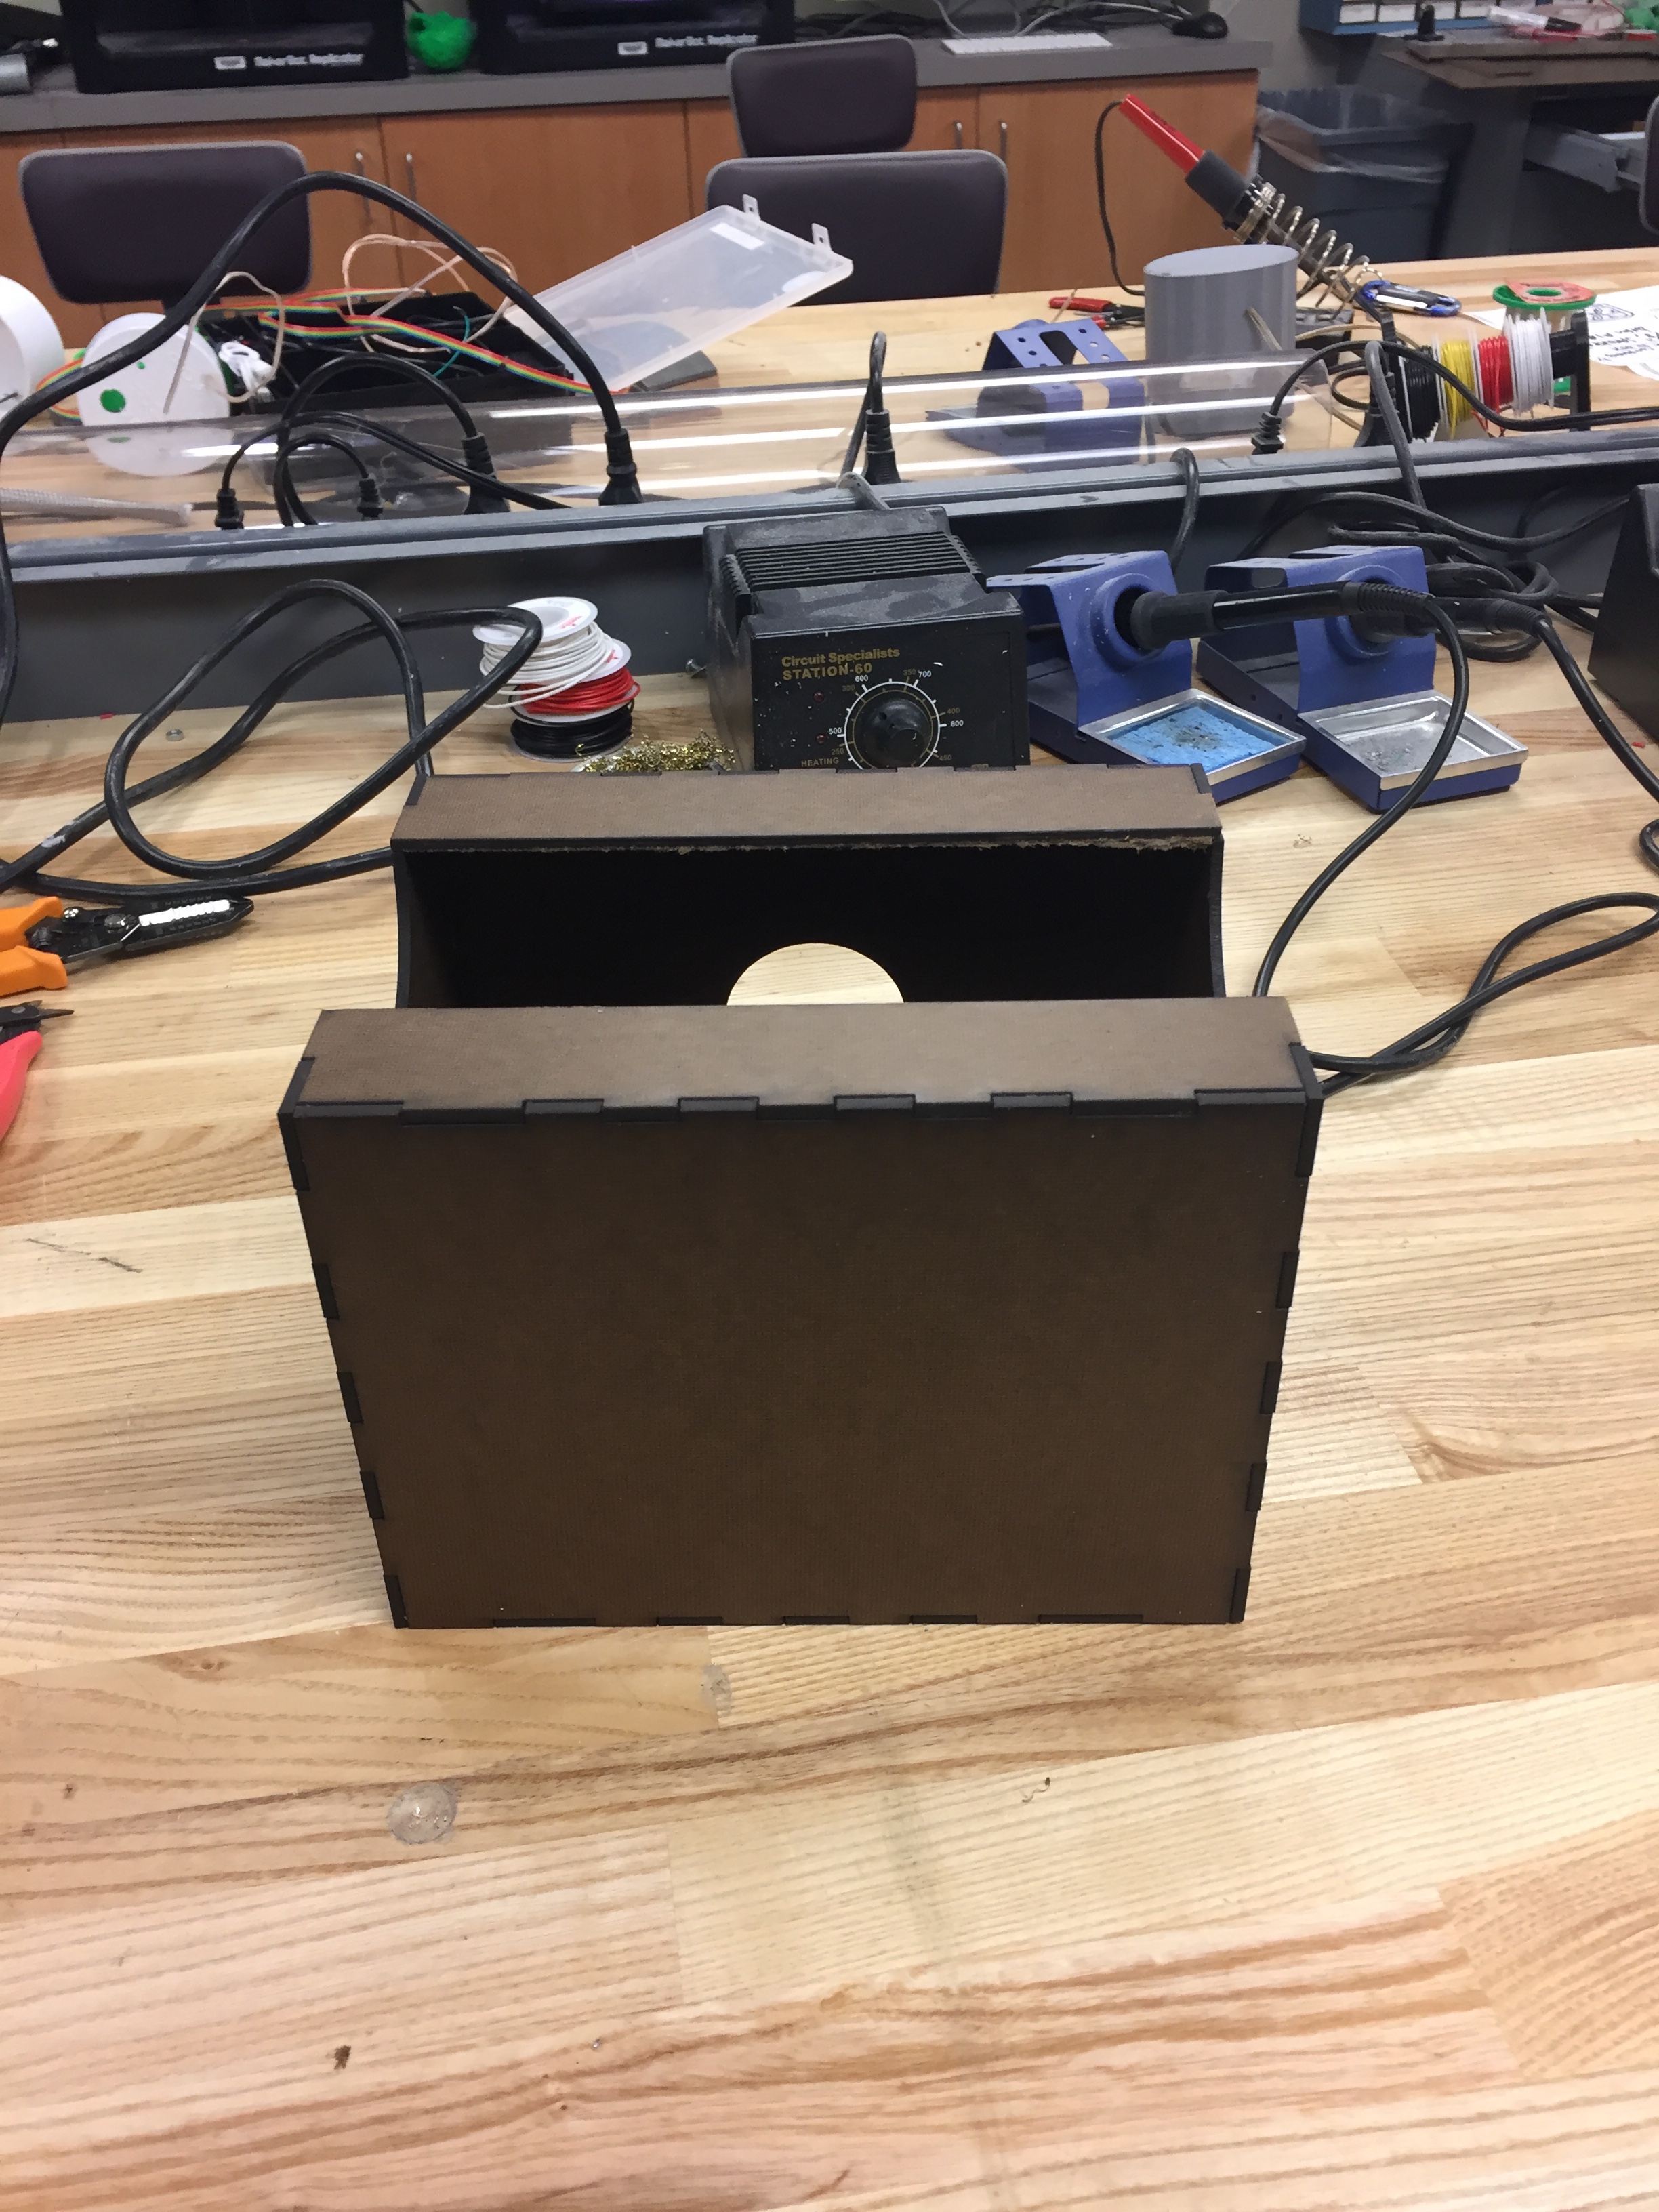
In terms of performance aesthetic, I realized towards the end of development that mounting the tube onto the box cradle is not very fun to play and is more difficult to maneuver. Giving the tube free range of motion allows for a more diverse range of sounds, but is difficult to play with the force sensitive resistors (FSR’s) and buttons mounted on the tube. I think a more worthwhile control mechanism would be to use four FSR’s and attach them to the surface of the tube. One pair of FSR’s would control the playback functionality, and the other pair would function as a button to trigger the recording of new samples. I would also use longer cables to connect the tube to the box, allowing for a wider range of motion. Rather than using rainbow wires to connect the tube components to the box, I might use Ethernet cable in future iterations which would allow for long connections with locking and removable functionality. This would make the instrument easier to transport and manage. I believe this layout would be more practical and would be more interesting and fun to perform.
In the end, I am very happy with how the sonAqua turned out. While it is by no means perfect, I am proud of the sounds and visuals that this device is able to produce. Most of all, I have learned a lot about designing and implementing a completely new instrument concept. I view the sonAqua as the first iteration of a more complex instrument to come in the future. Some day I would like to perfect the mistakes I have made with the sonAqua and create a more cohesive, stable, and fun instrument.
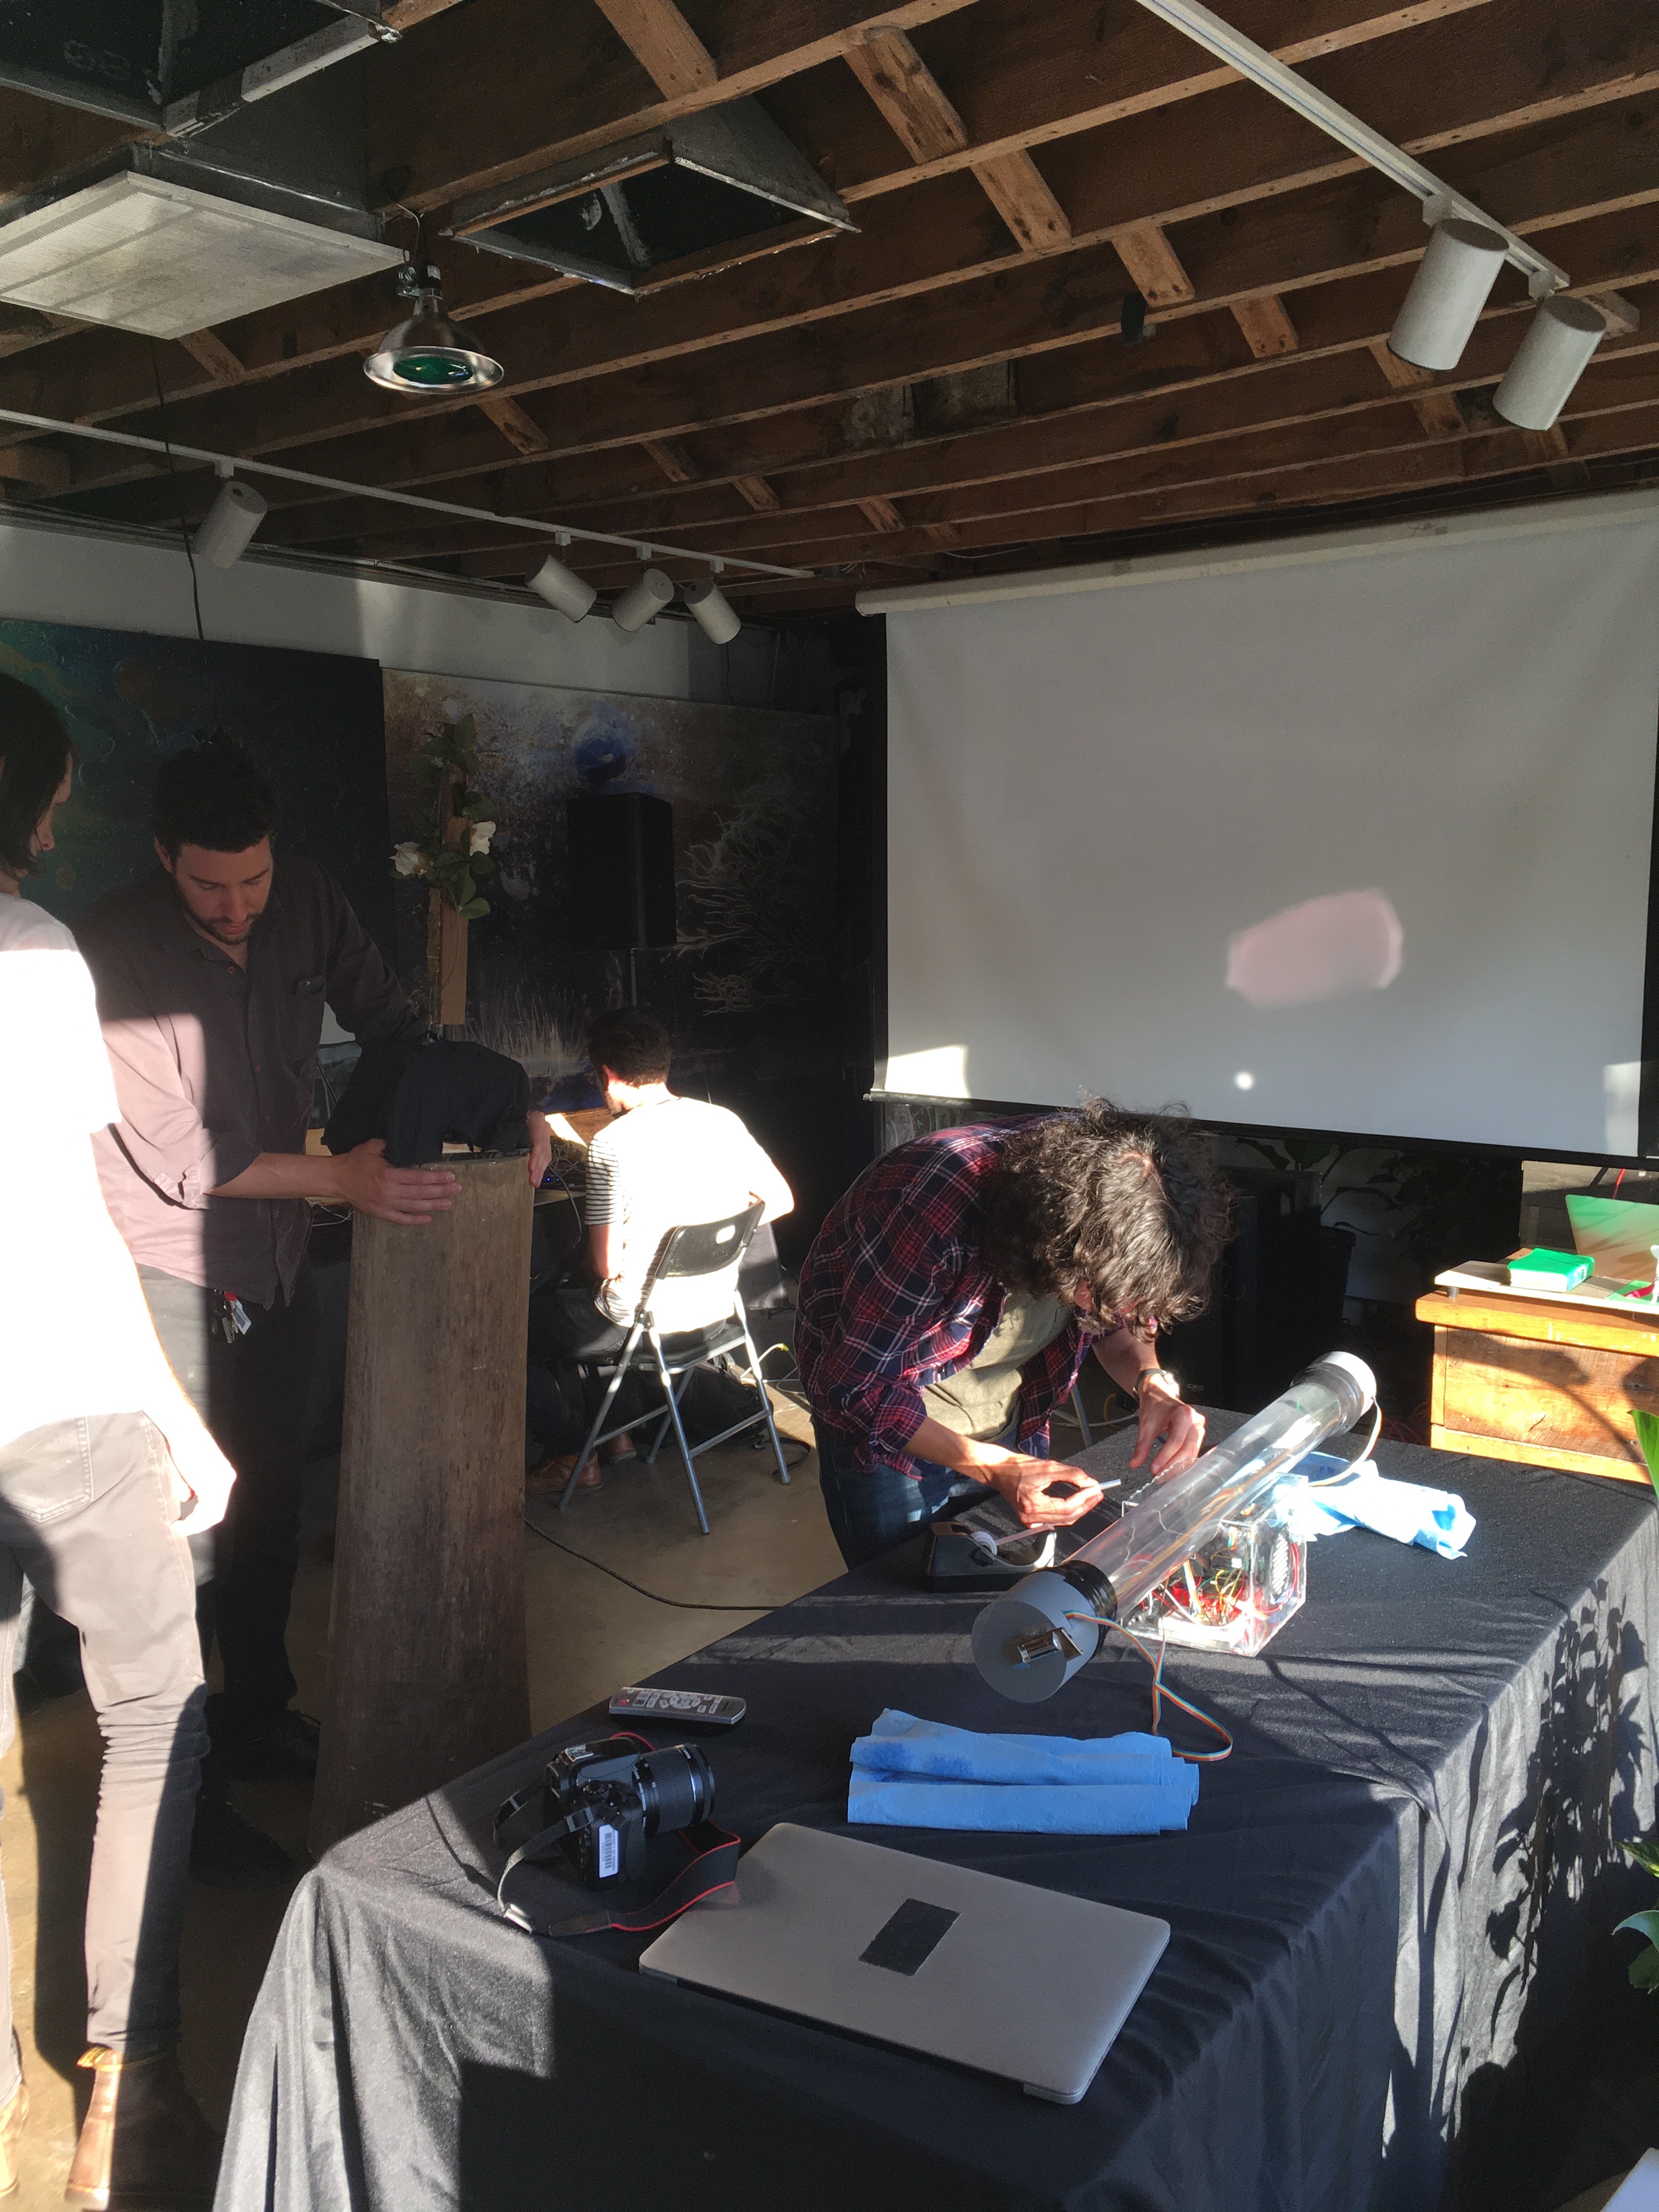
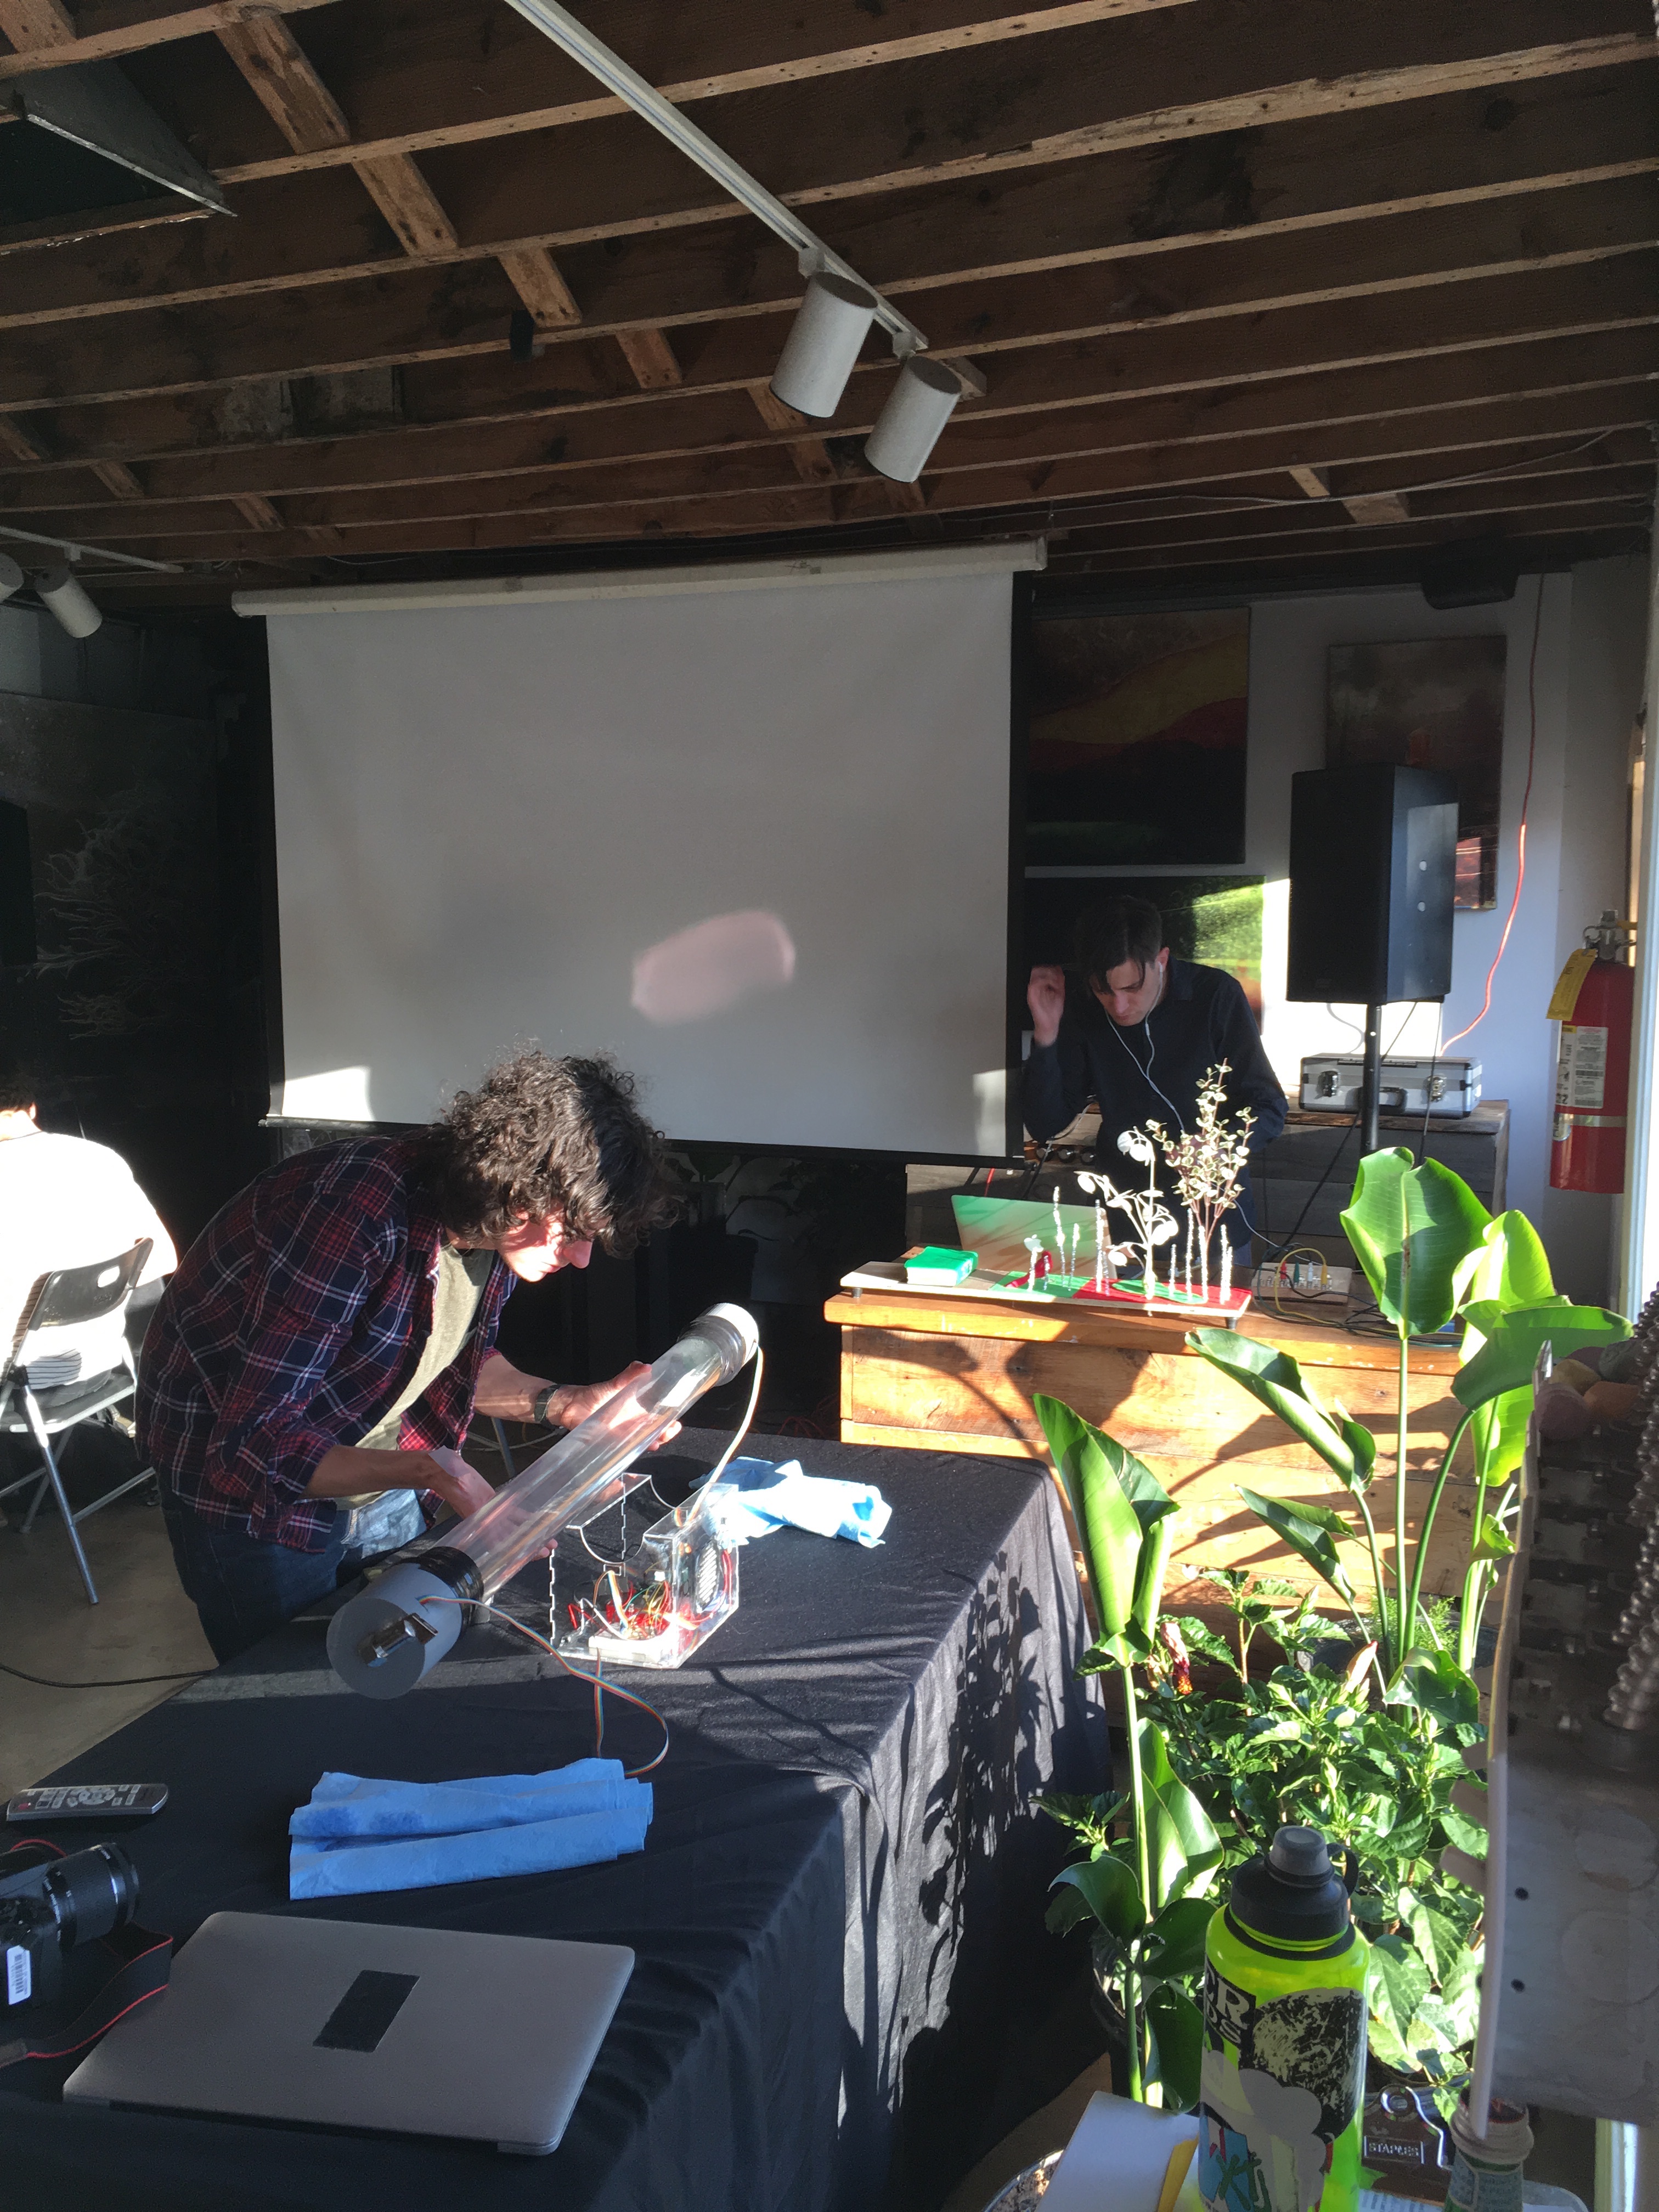
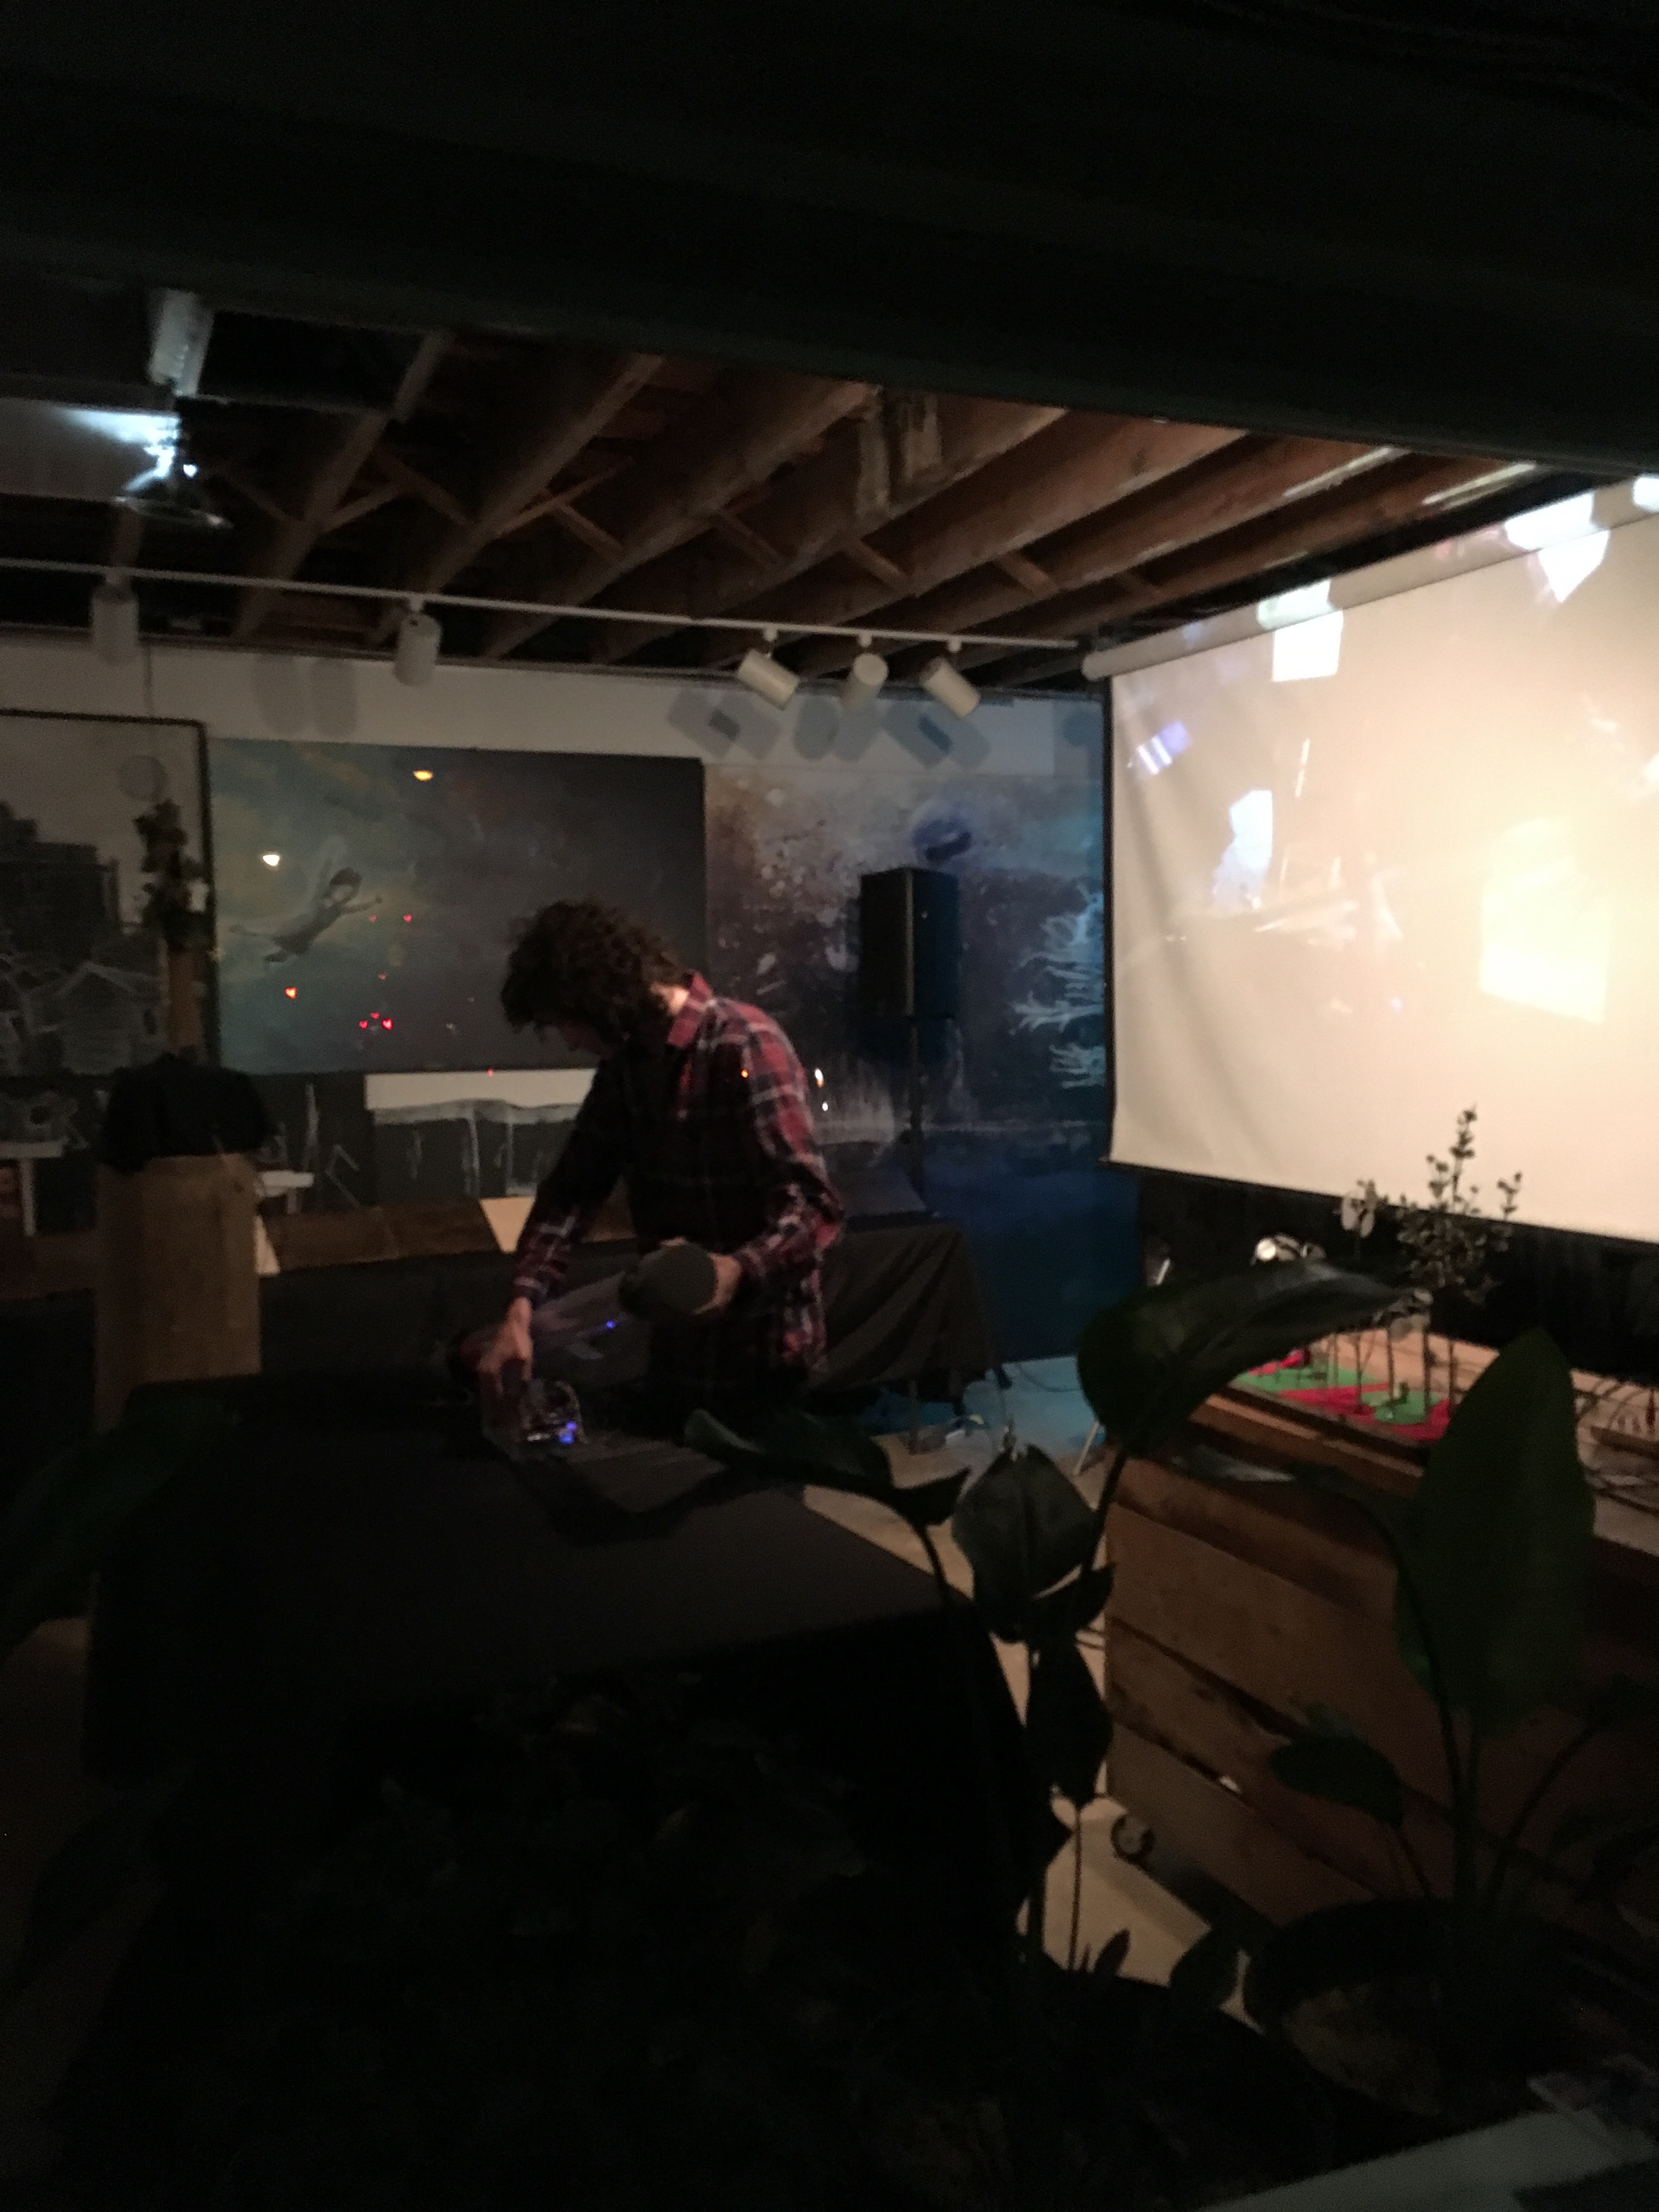
Here are some pictures of me setting up and performing the sonAqua: